This is Airfix’s now fairly old Seafire 46/47 kit. The kit is the same mould as the Spitfire Mk 22/24 kit and there are some modifications needed to get a more accurate Seafire.
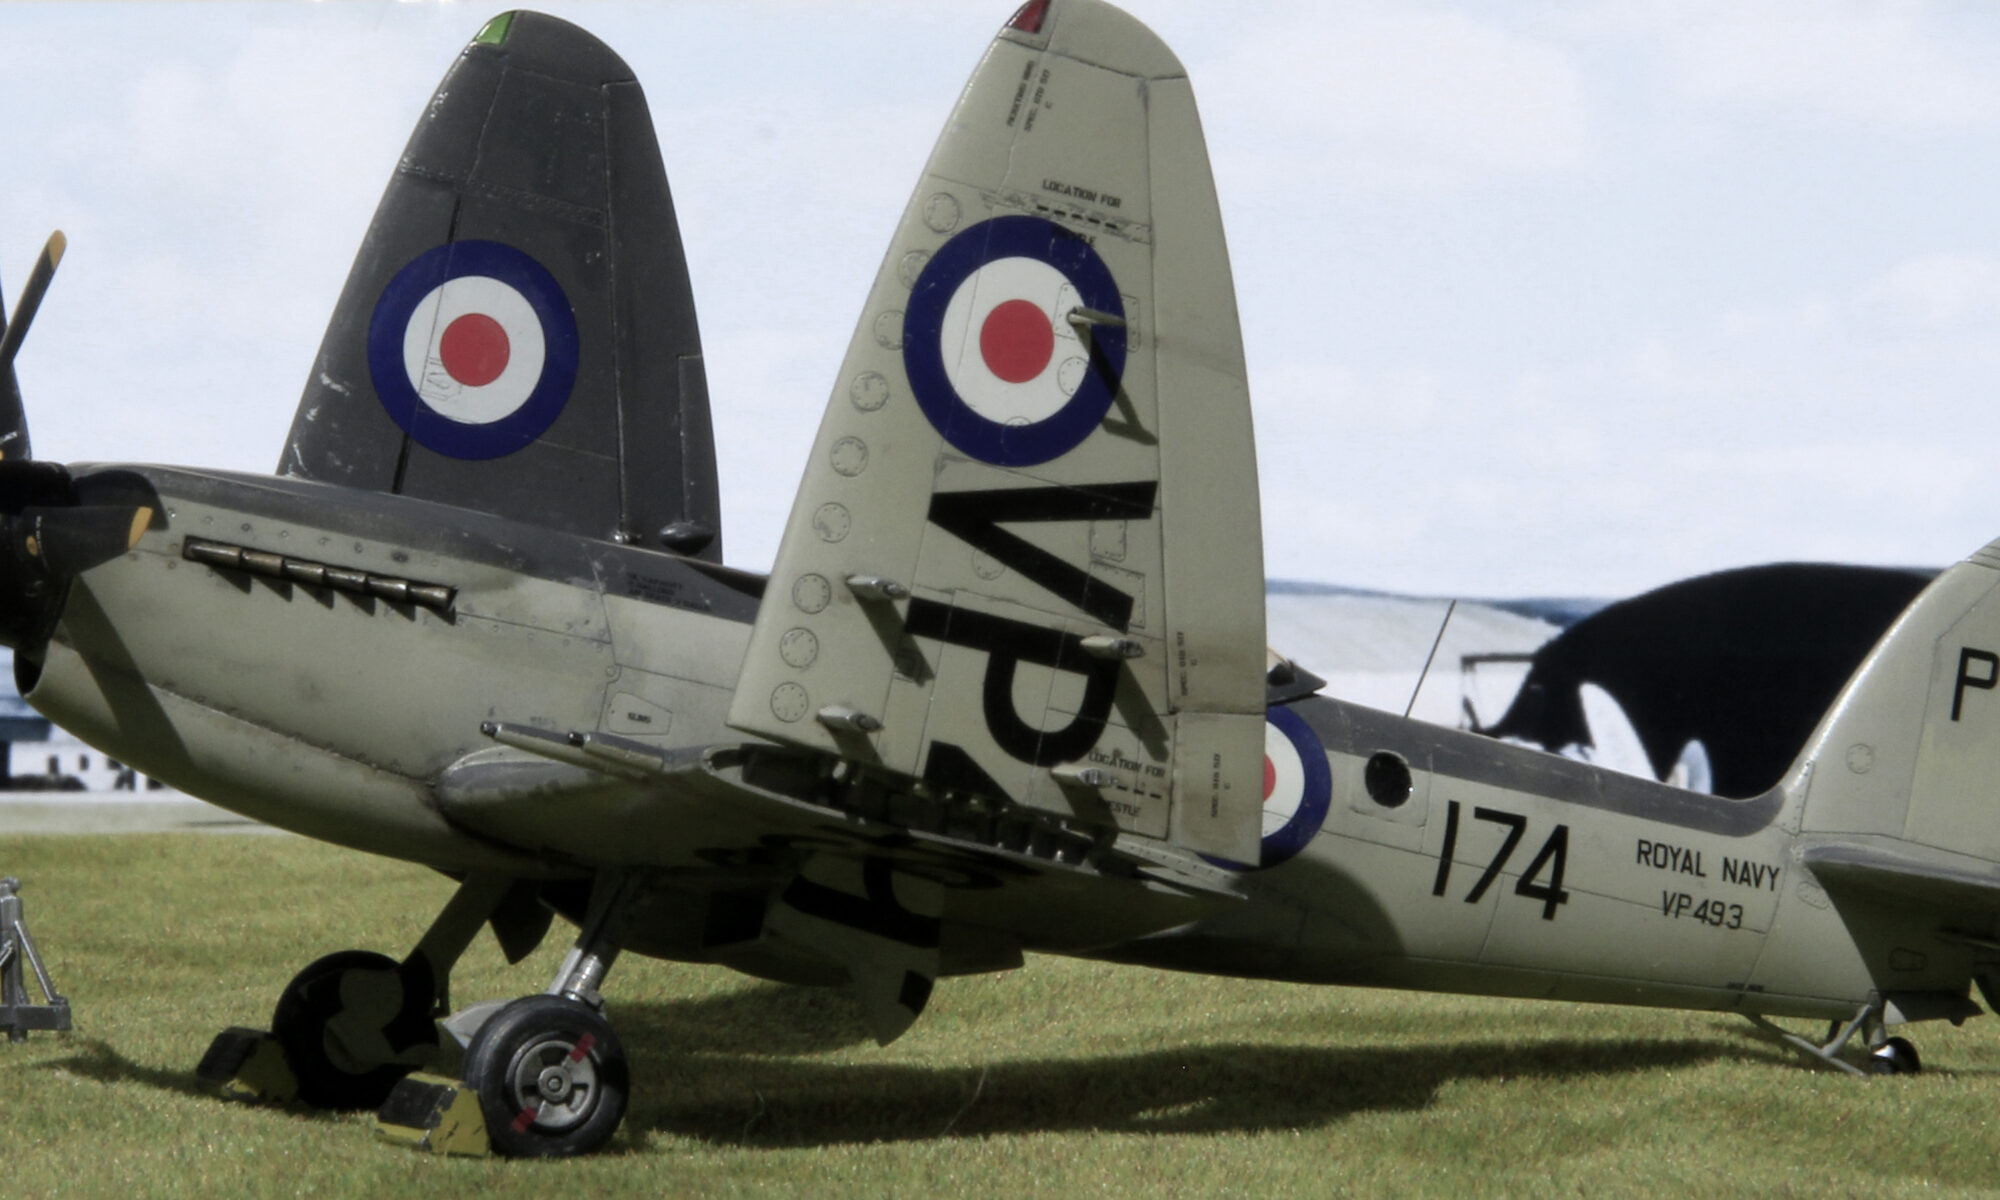
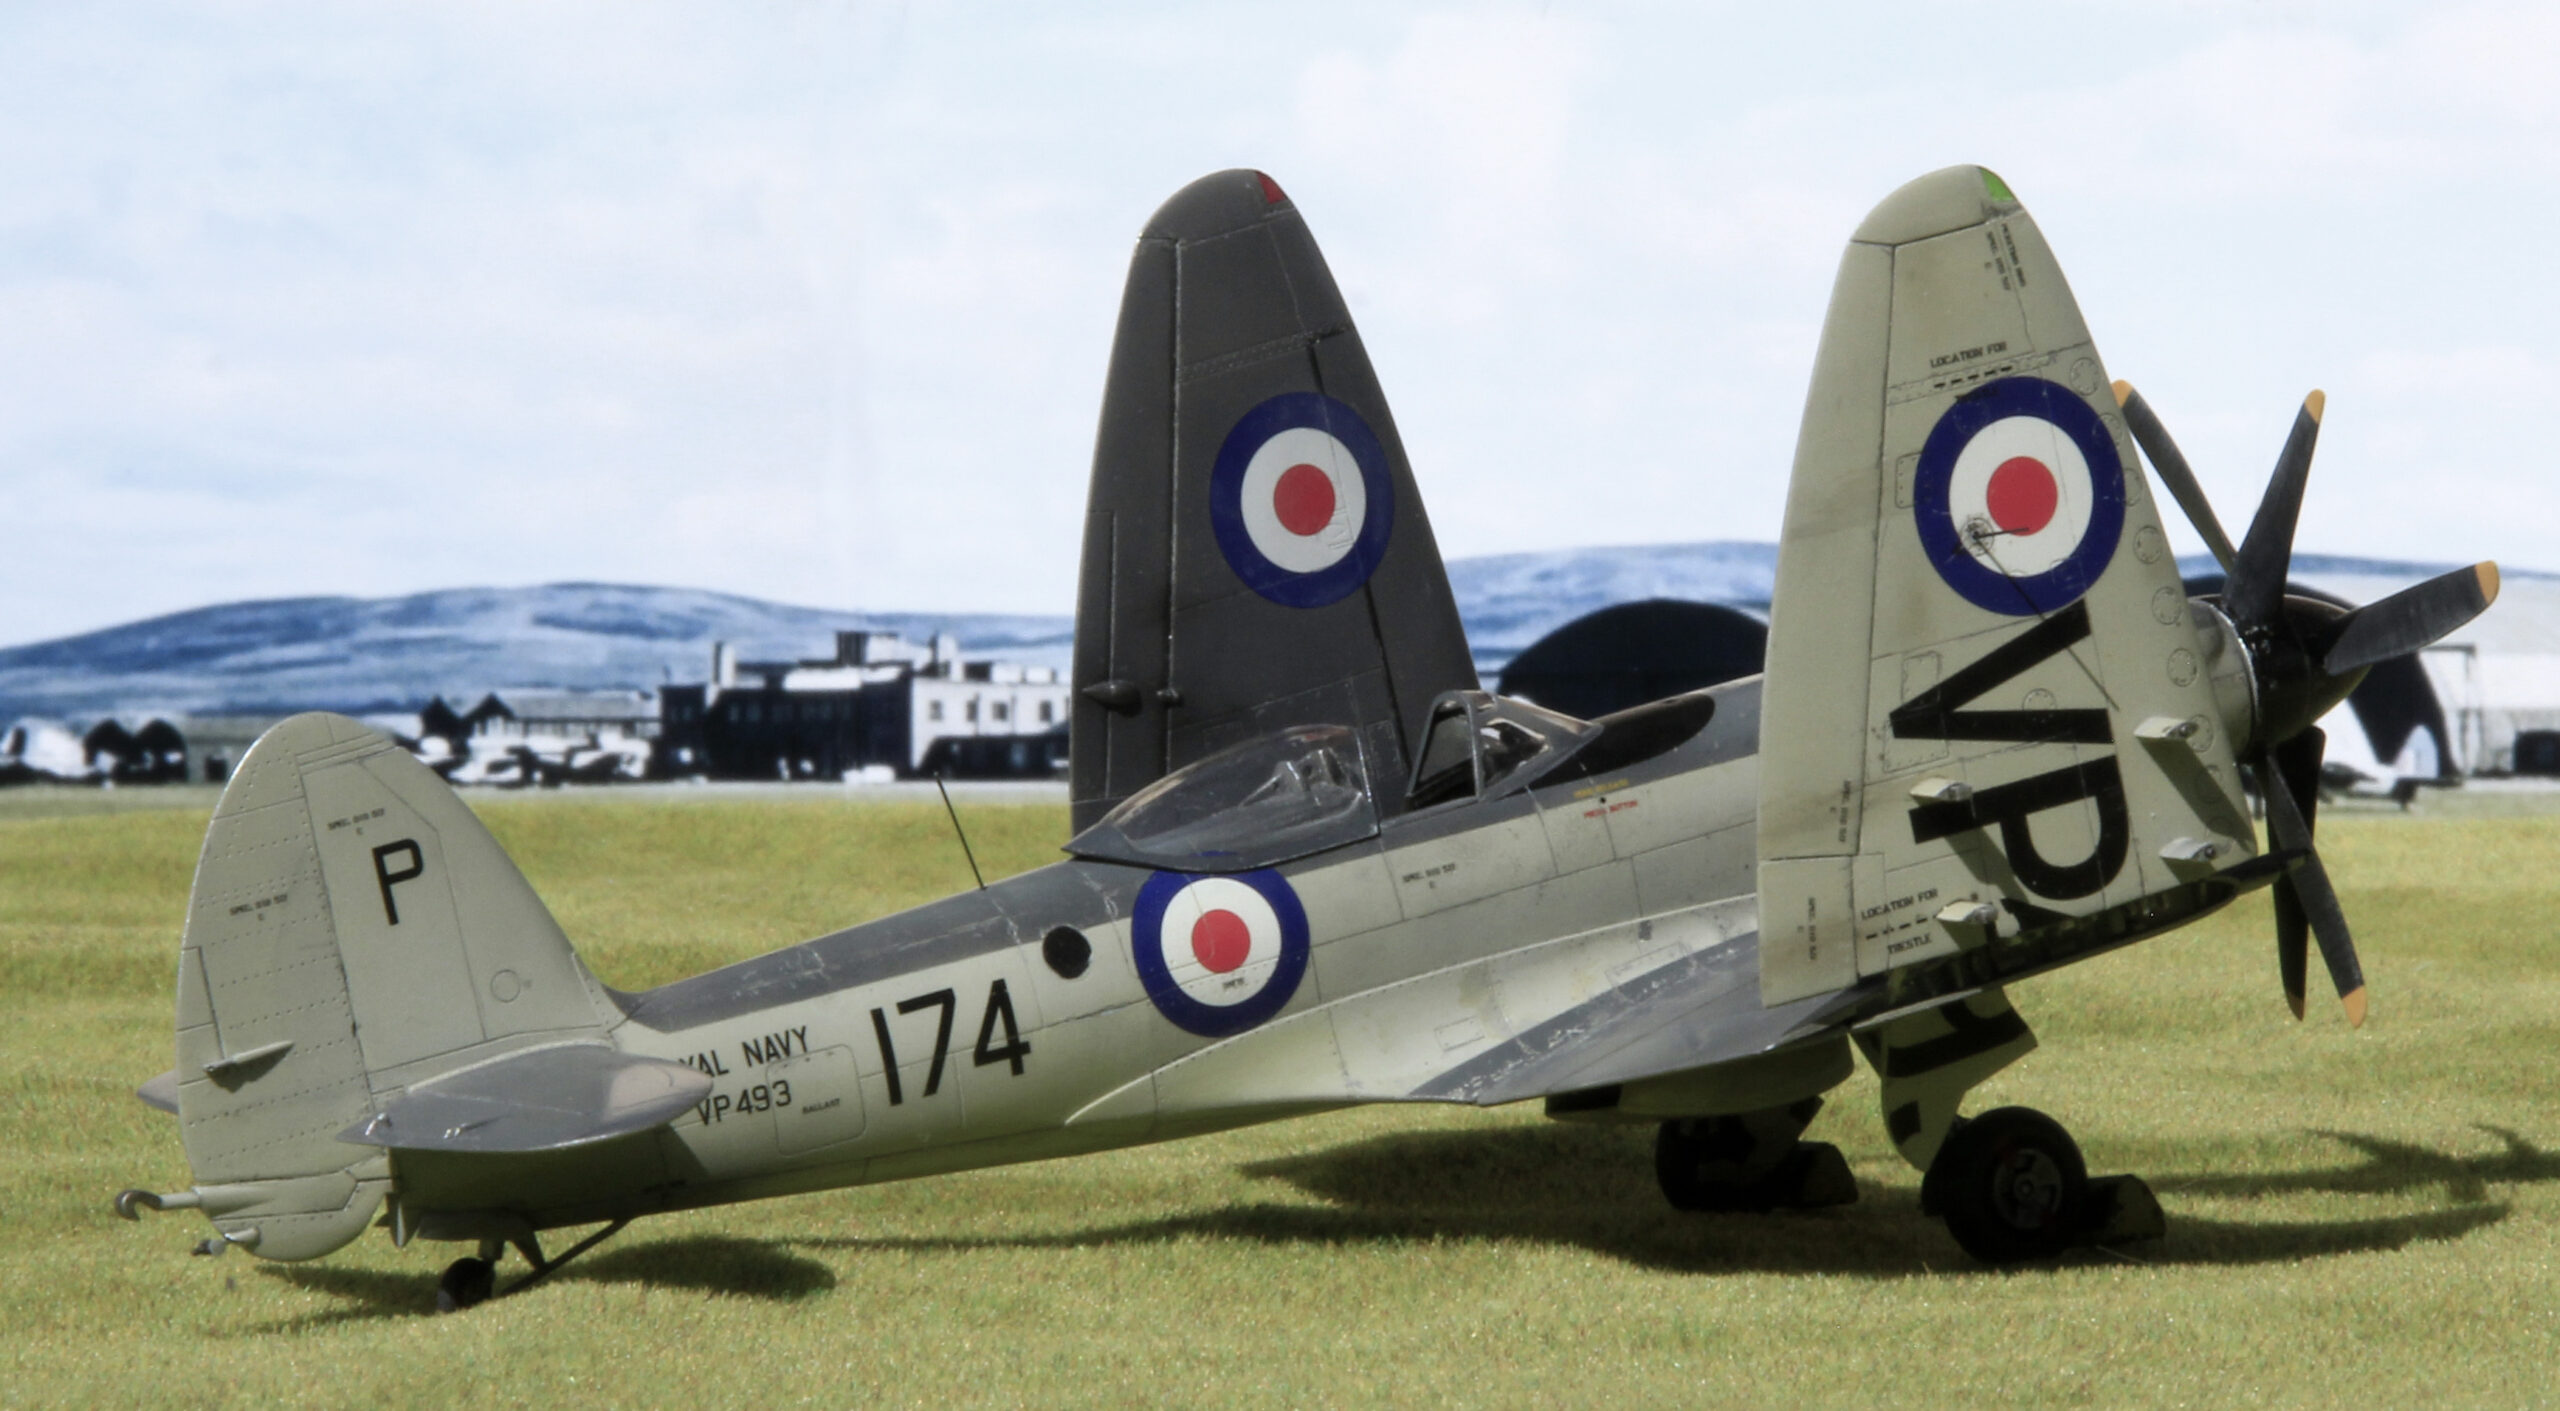
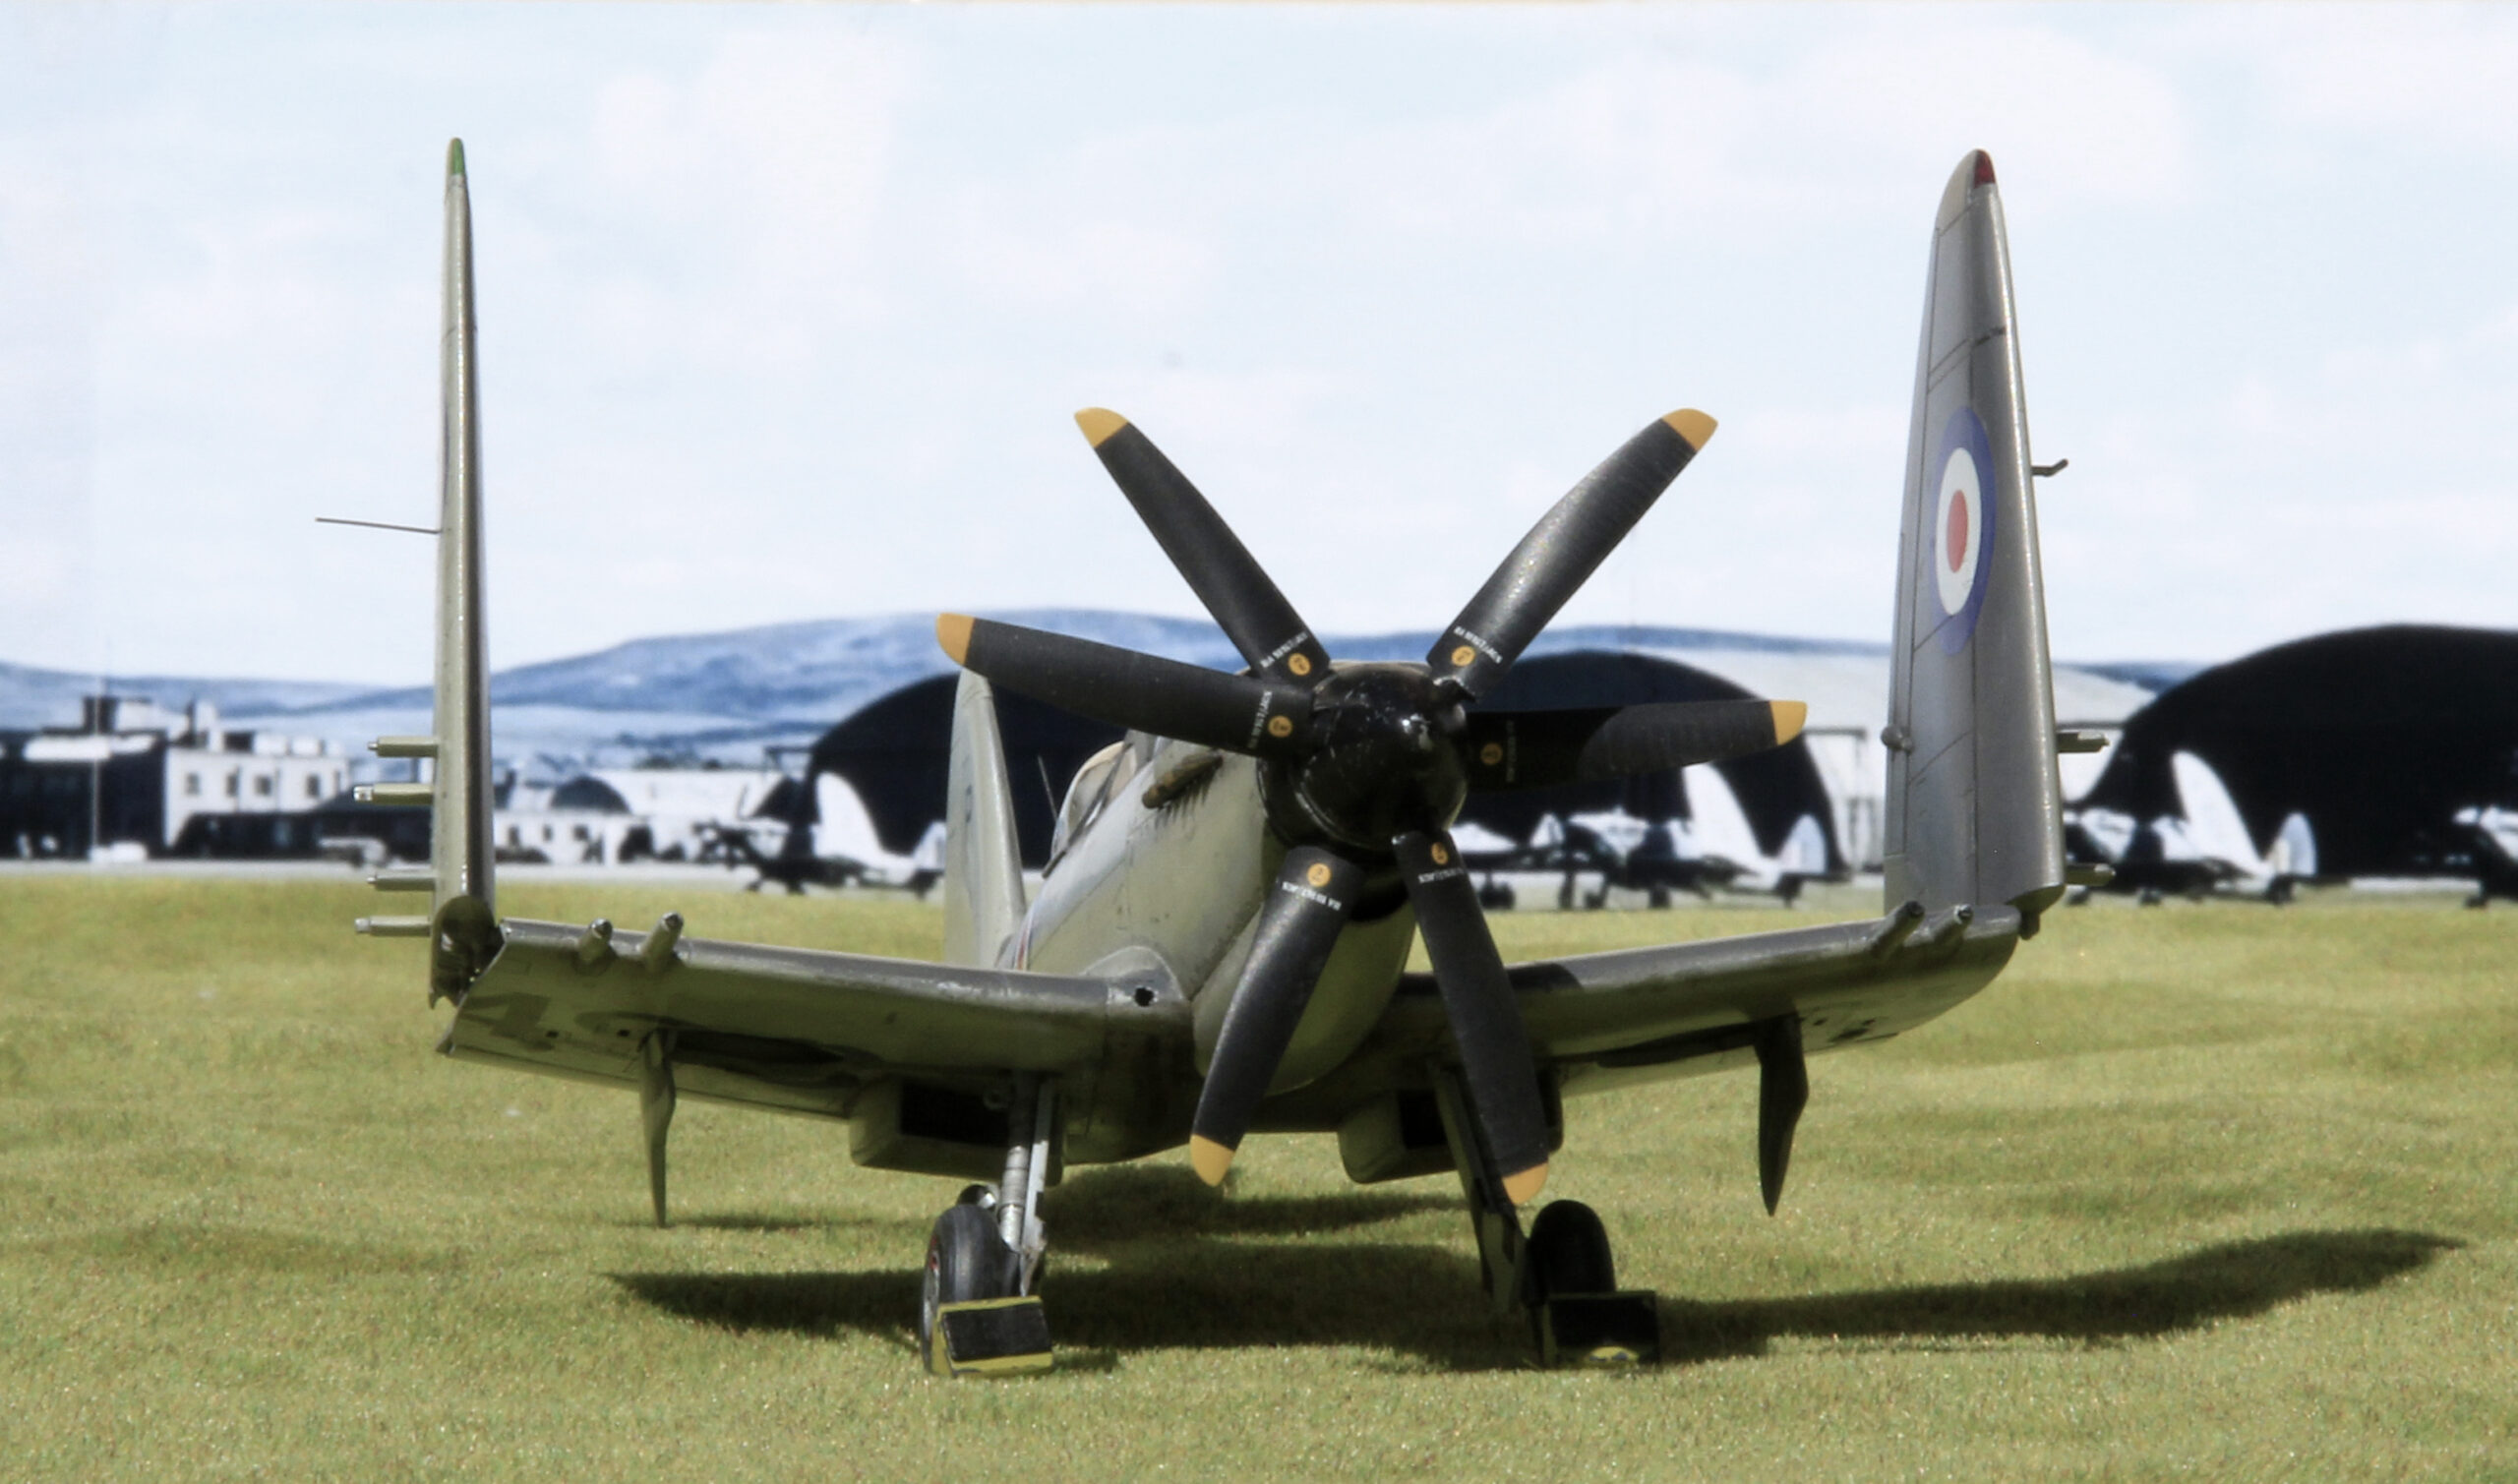
This model is actual part of a pair, the other model being my Spitfire Mk21. This kit was used to mould parts to add to the Spitfire MkXIX kit along with donating the extended spare wings. So this Seafire was always going to have the wings folded.
Some of the modifications to this kit:
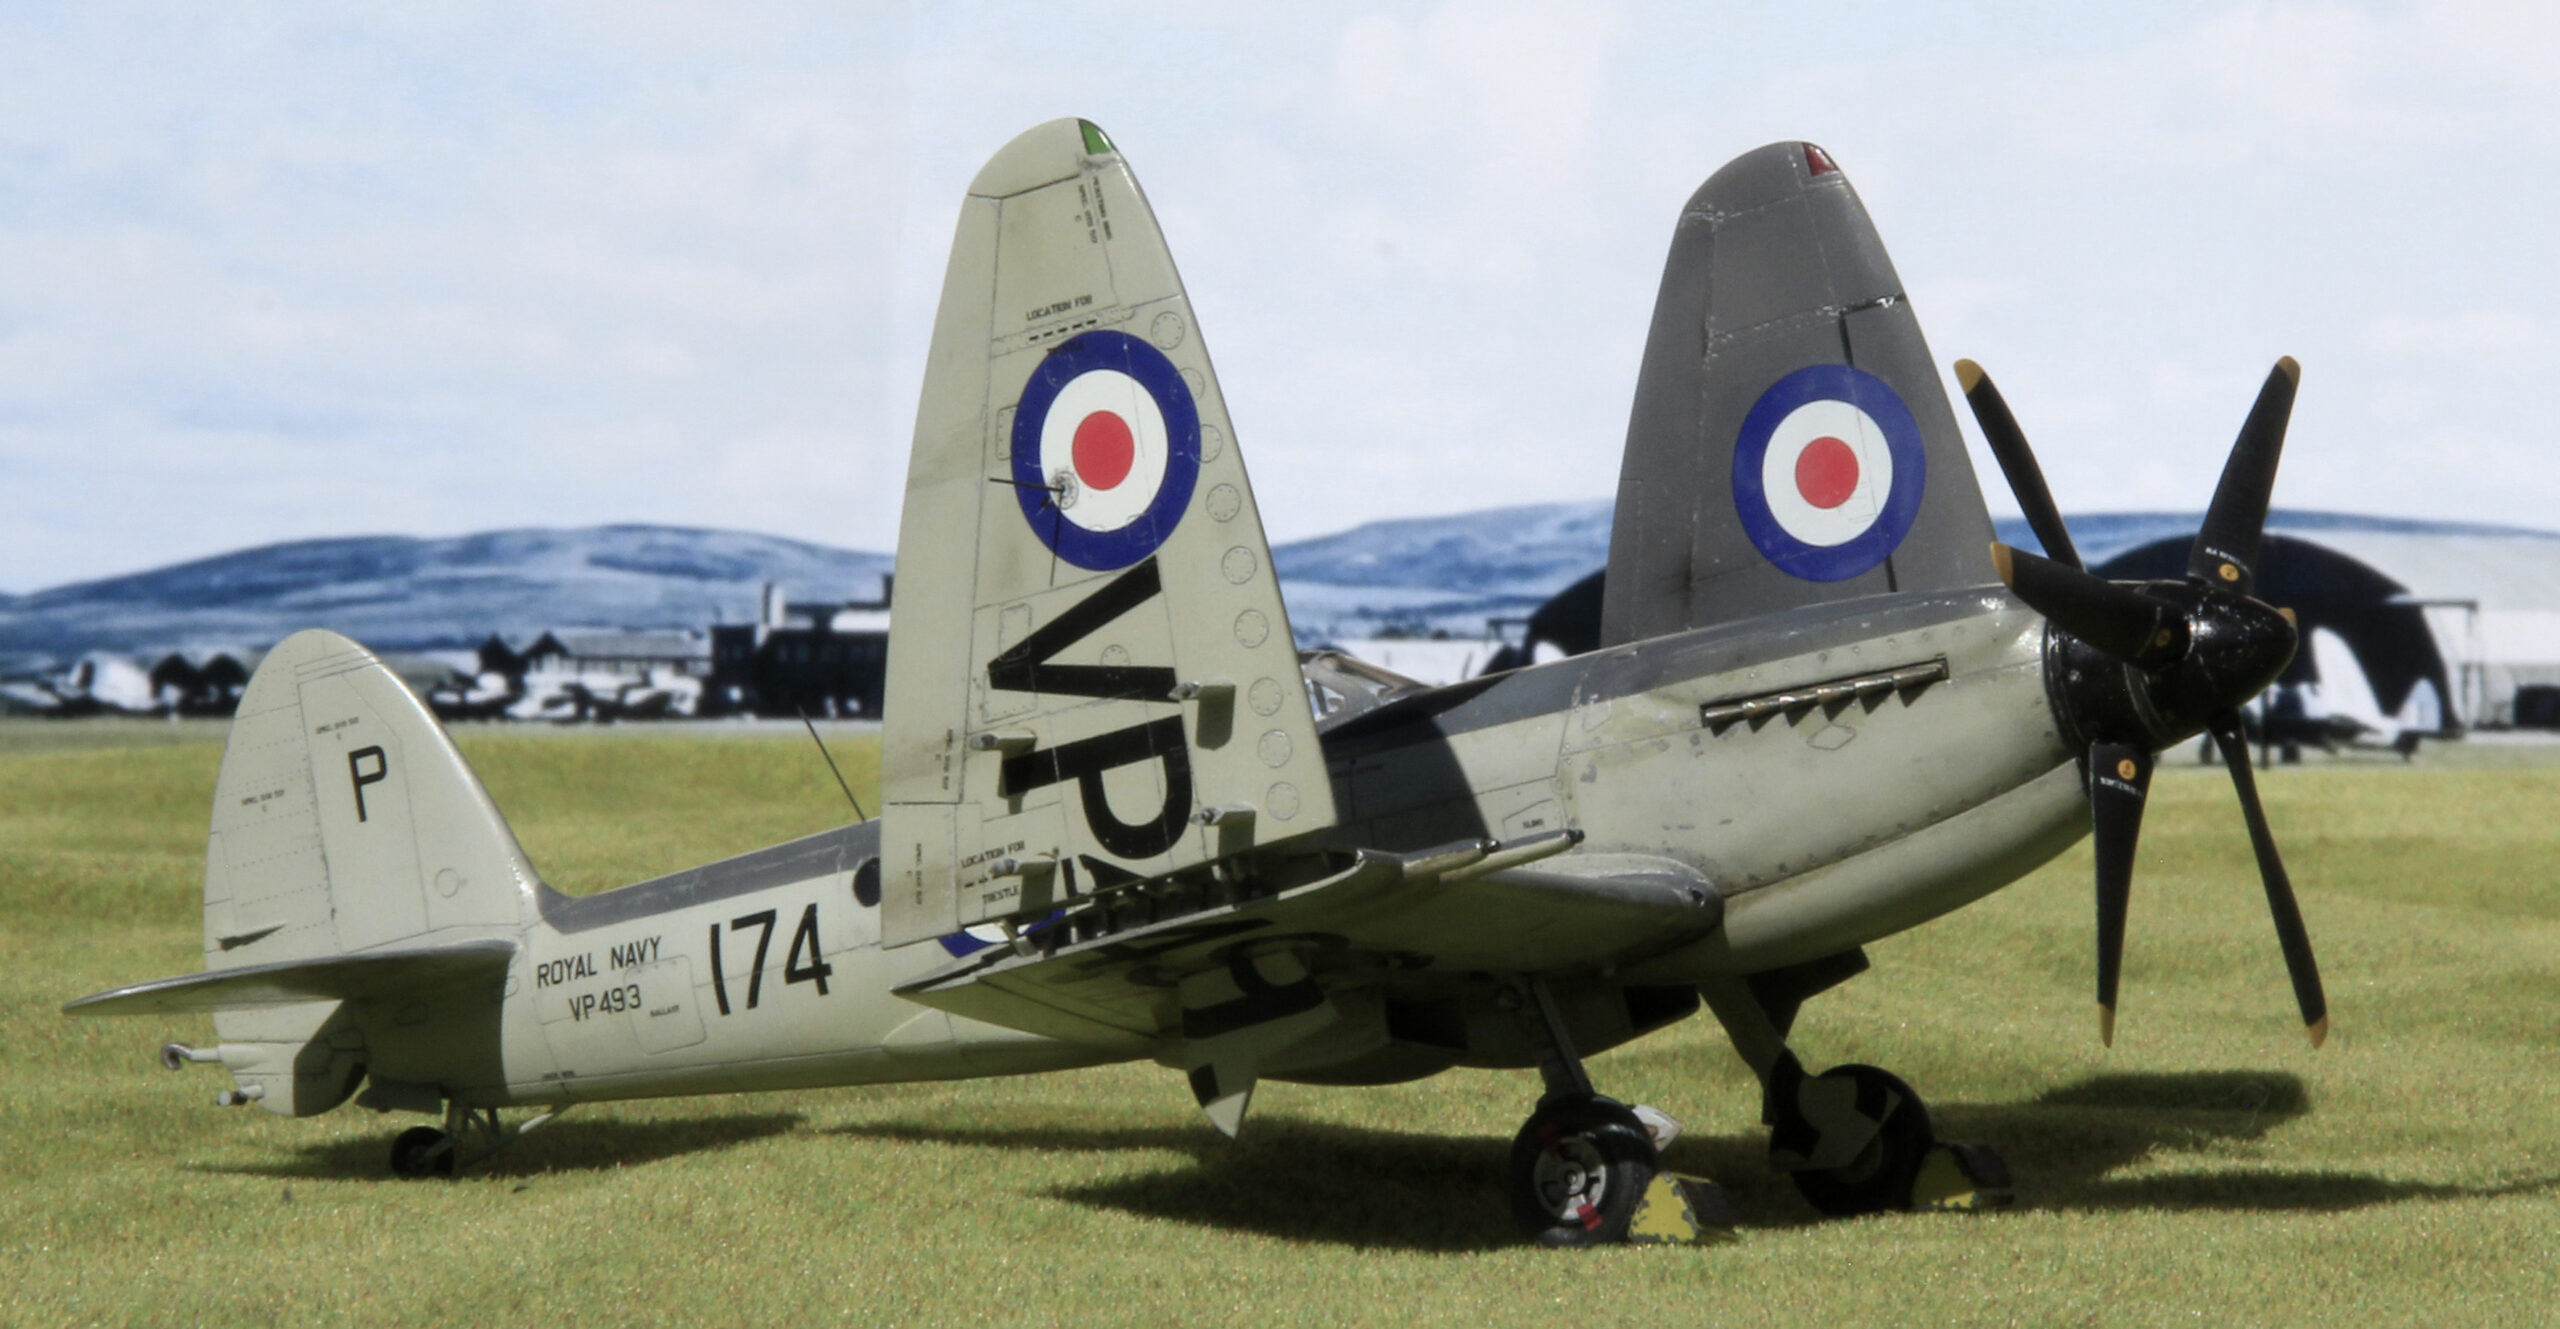
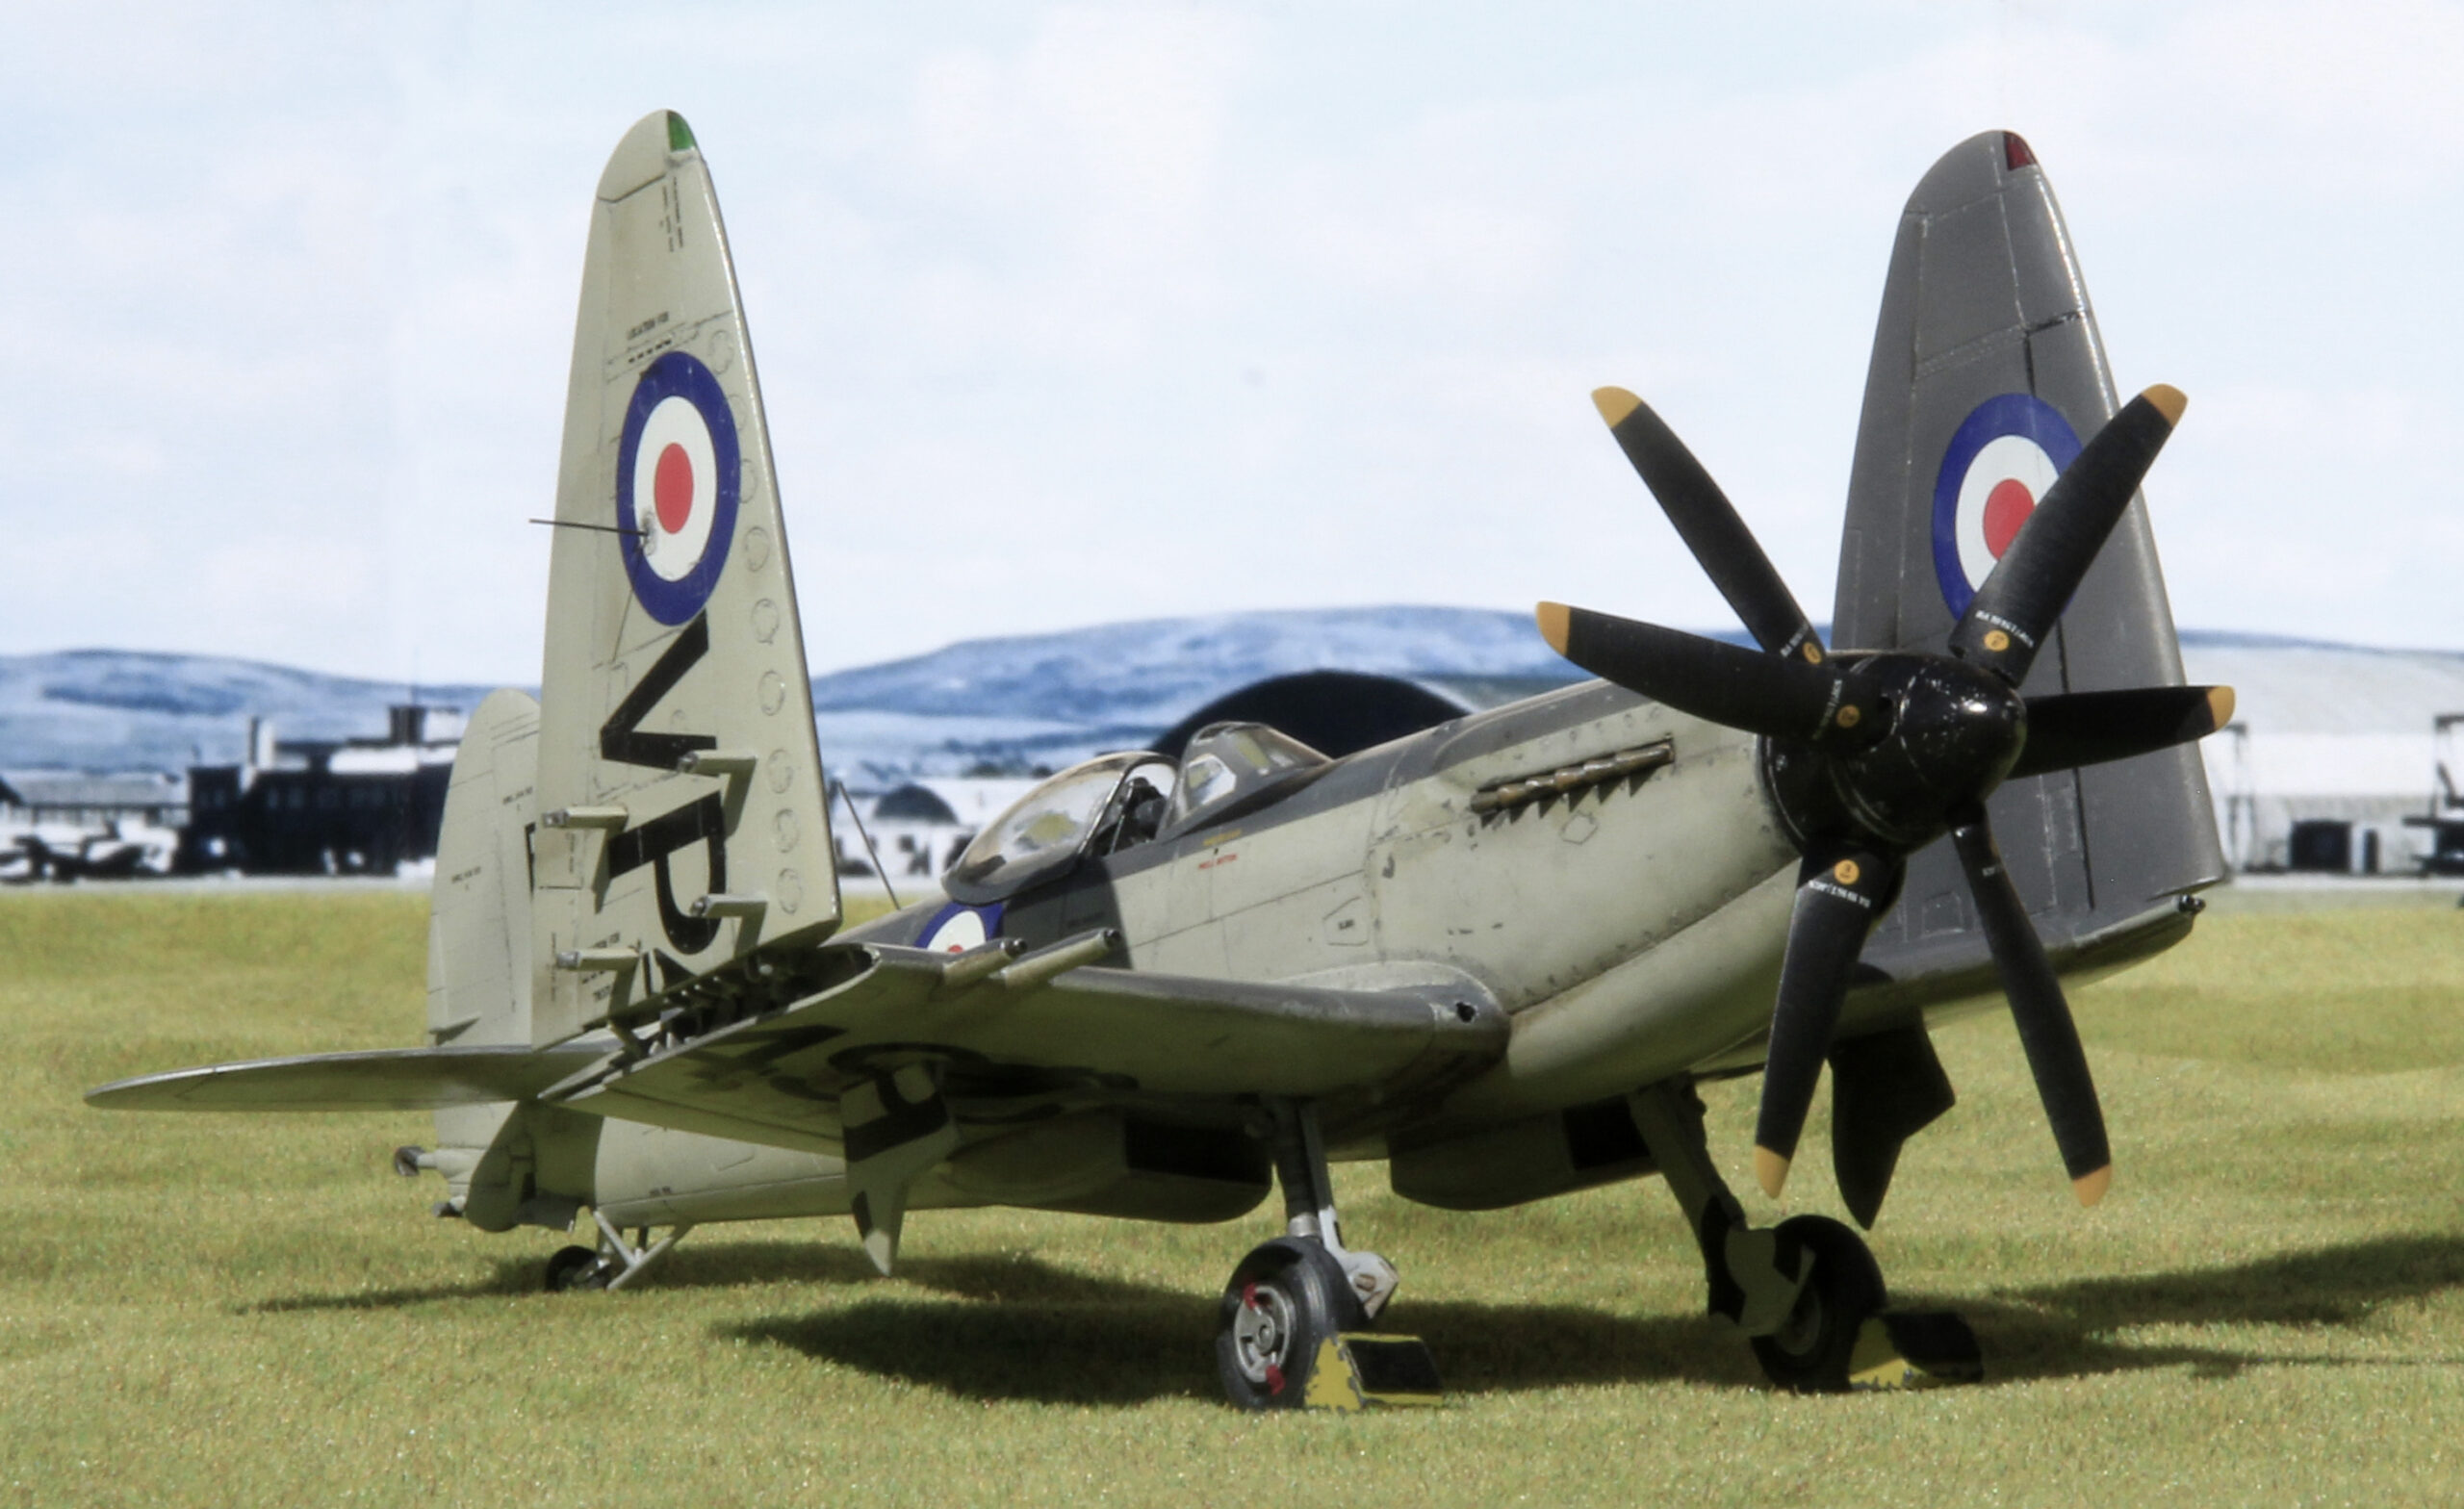
- Resin exhaust stubs. Hollowed out stubs always look better.
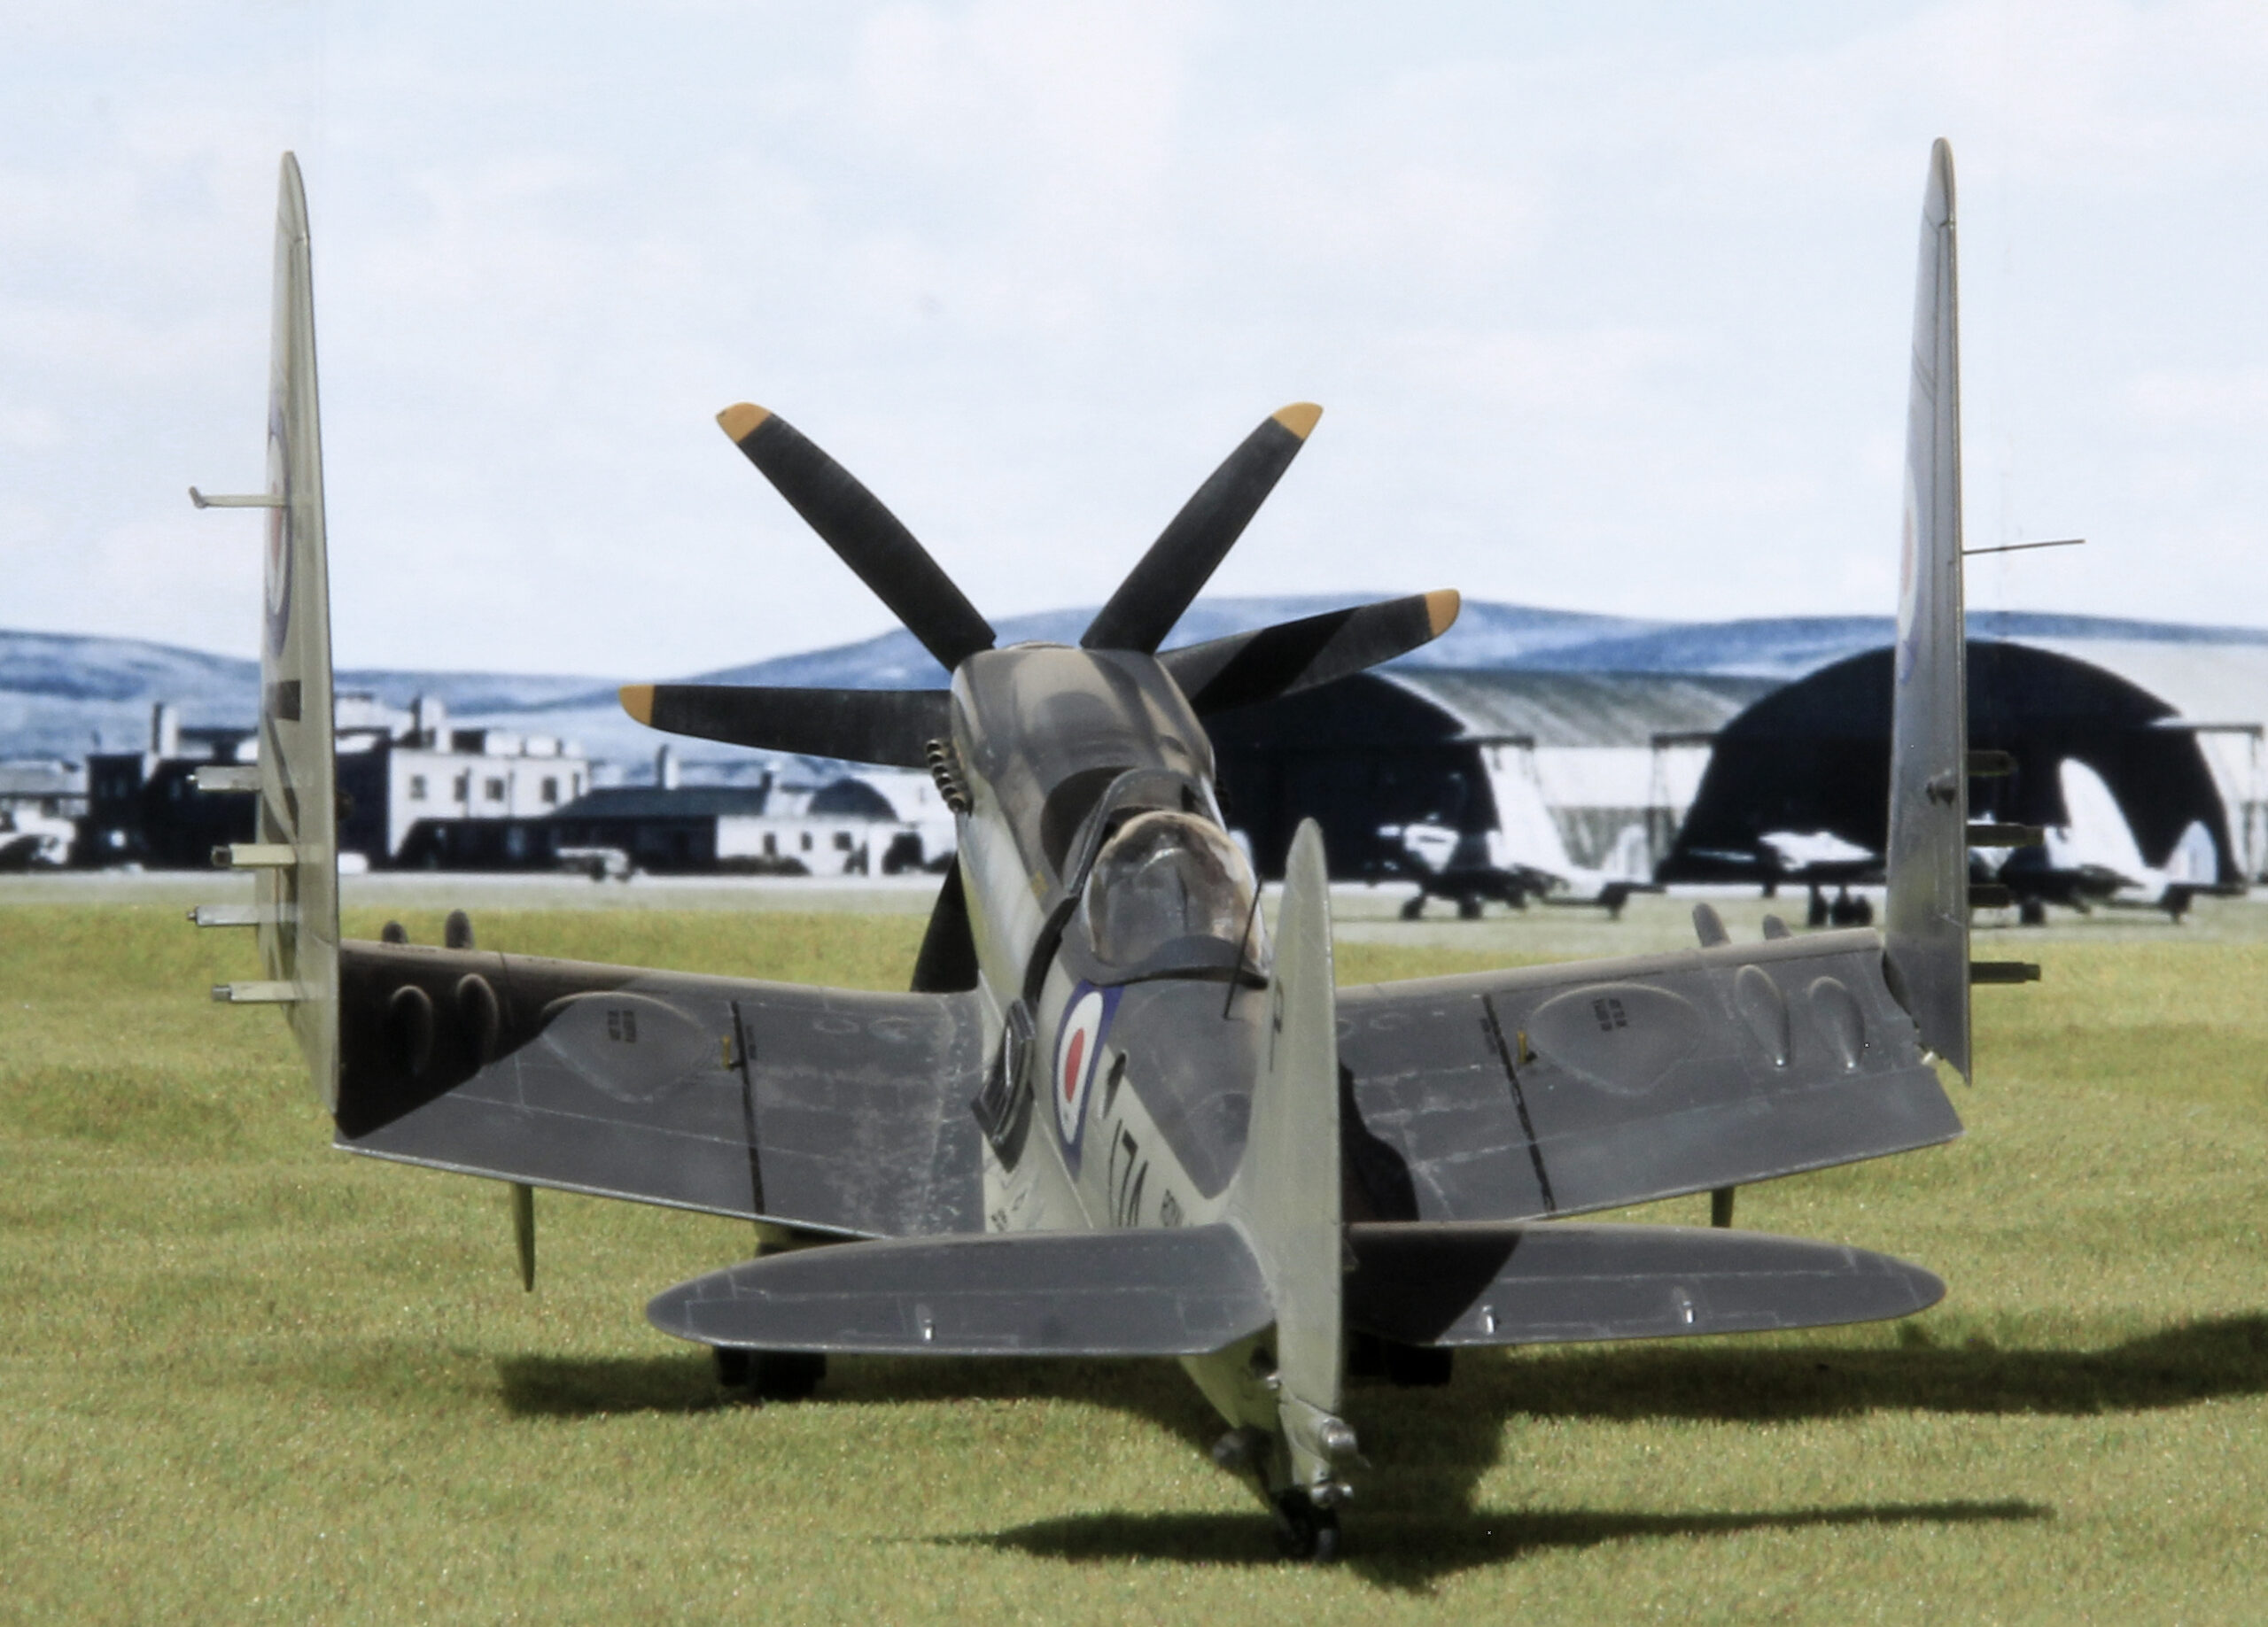
- Corrected radiator tub profiles. These are moulded such that the sides are perpendicular to the ground giving a ‘rhombus’ shape when viewed from the front. They should be rectangular with the sides perpendicular to the lower wing surface. To get the shape correct I scored along the inside edge and then bent the sides to the correct angle. A little liquid cement and some surface touch was then needed.
- Replaced rear canopy with one from MkXIV/MkXVIII Airfix kit. When I look at the photos I can see that this was a mistake. The Mk XIV is wider than the canopy supplied with the kit so it fits better on the fuselage, though still not perfectly. I had to remove material from the area above the canopy rails in order to improve the fit still further. The kit canopy is too small and sits to high if attached without attention. I have a vac-form replacement that I should have used as the Mk XIVs canopy does not have enough angle forward to match the front screen frame.
- Added scratch built hold-back. This a small device fitted below the arrestor hook.
- Modified undercart covers to represent those of a Seafire (the kit parts are for Spitfires). When lowered the covers angle up more at the front to clear deck cables. The fix is to cut material from main doors and add material to the secondary doors. See the image bellow.
- Added Eduard seat belts.

Manufacturer
Scale
1/48
Links
Scalemates – Supermarine Seafire FR.46/FR.47 No. A06103

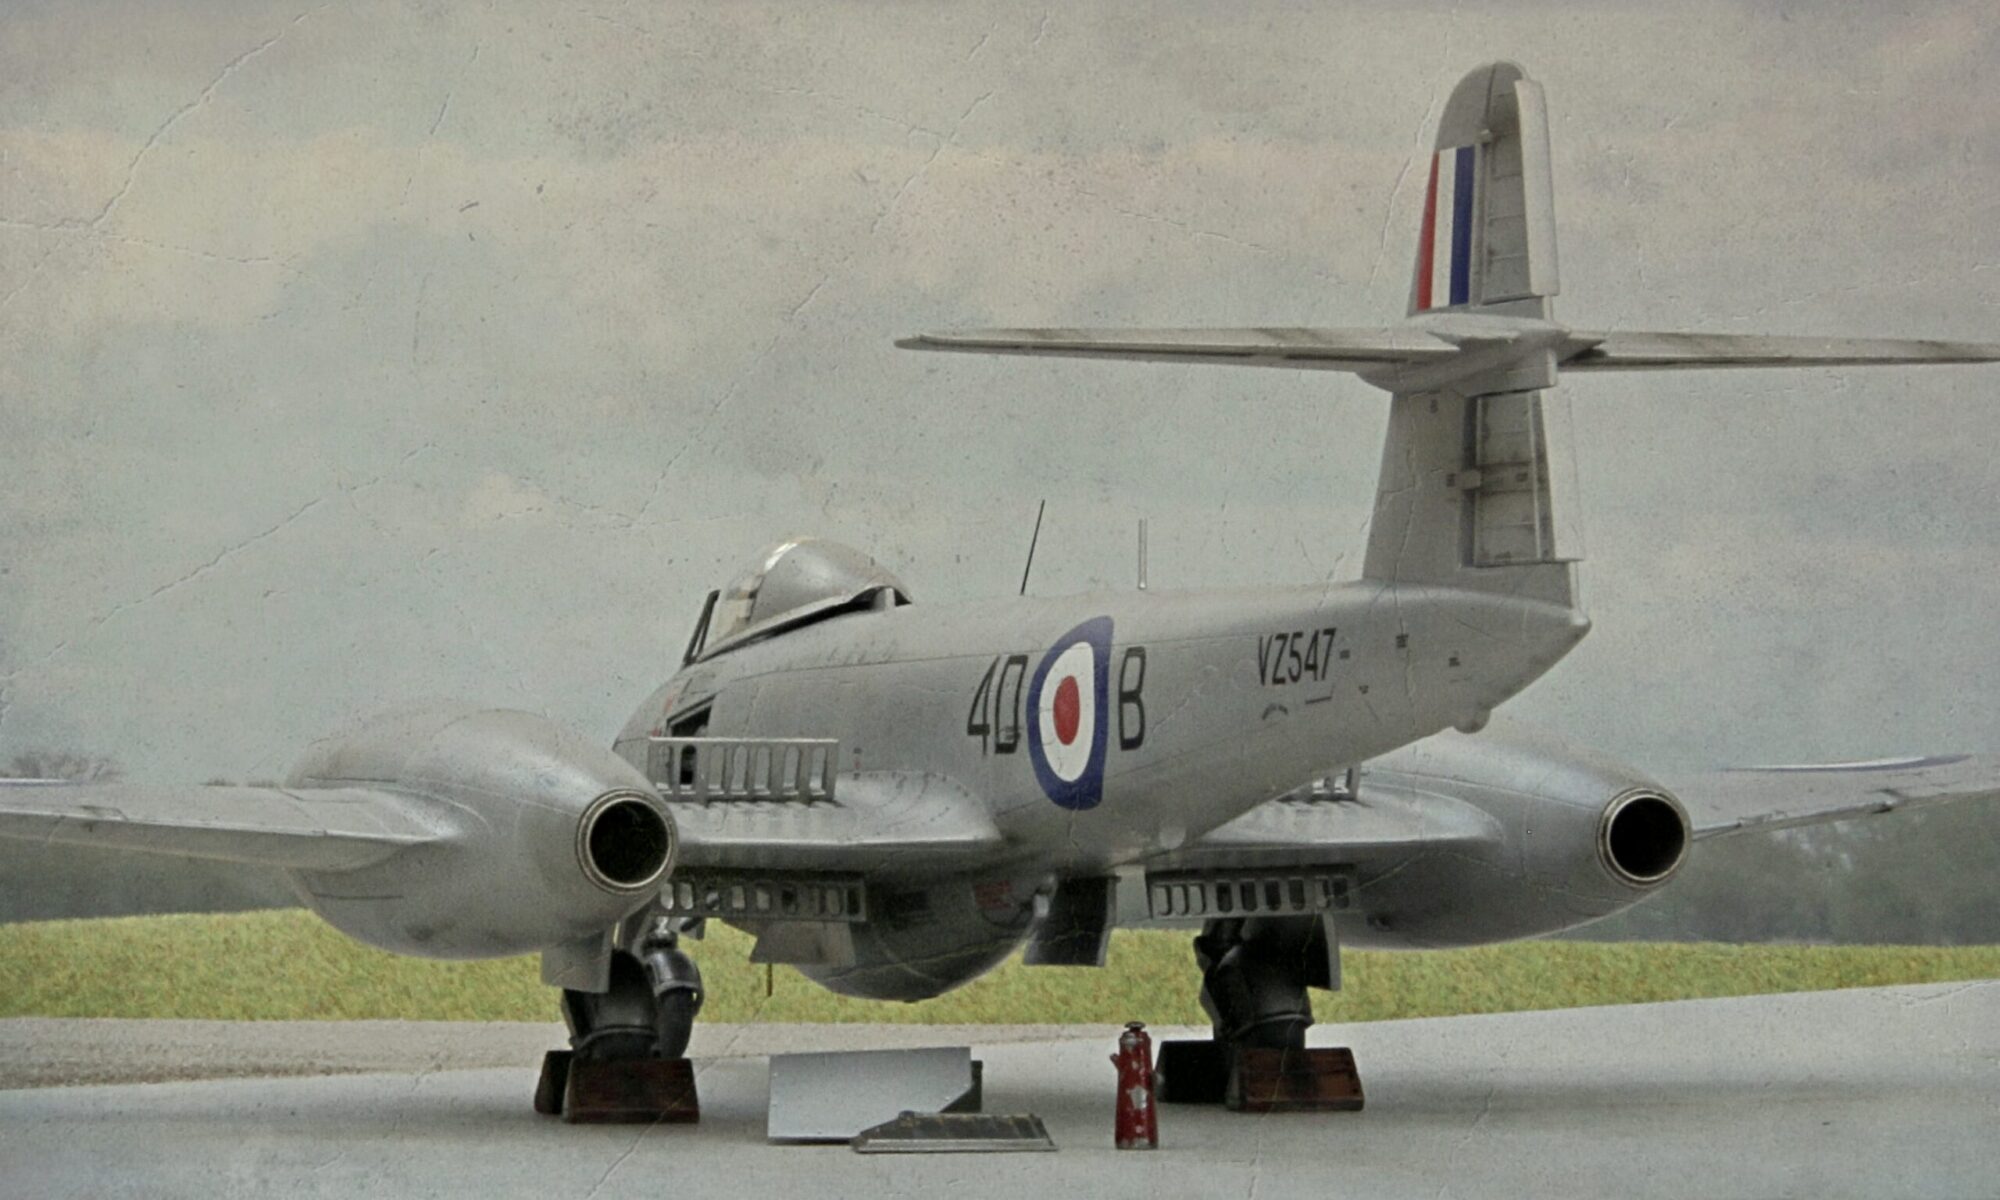
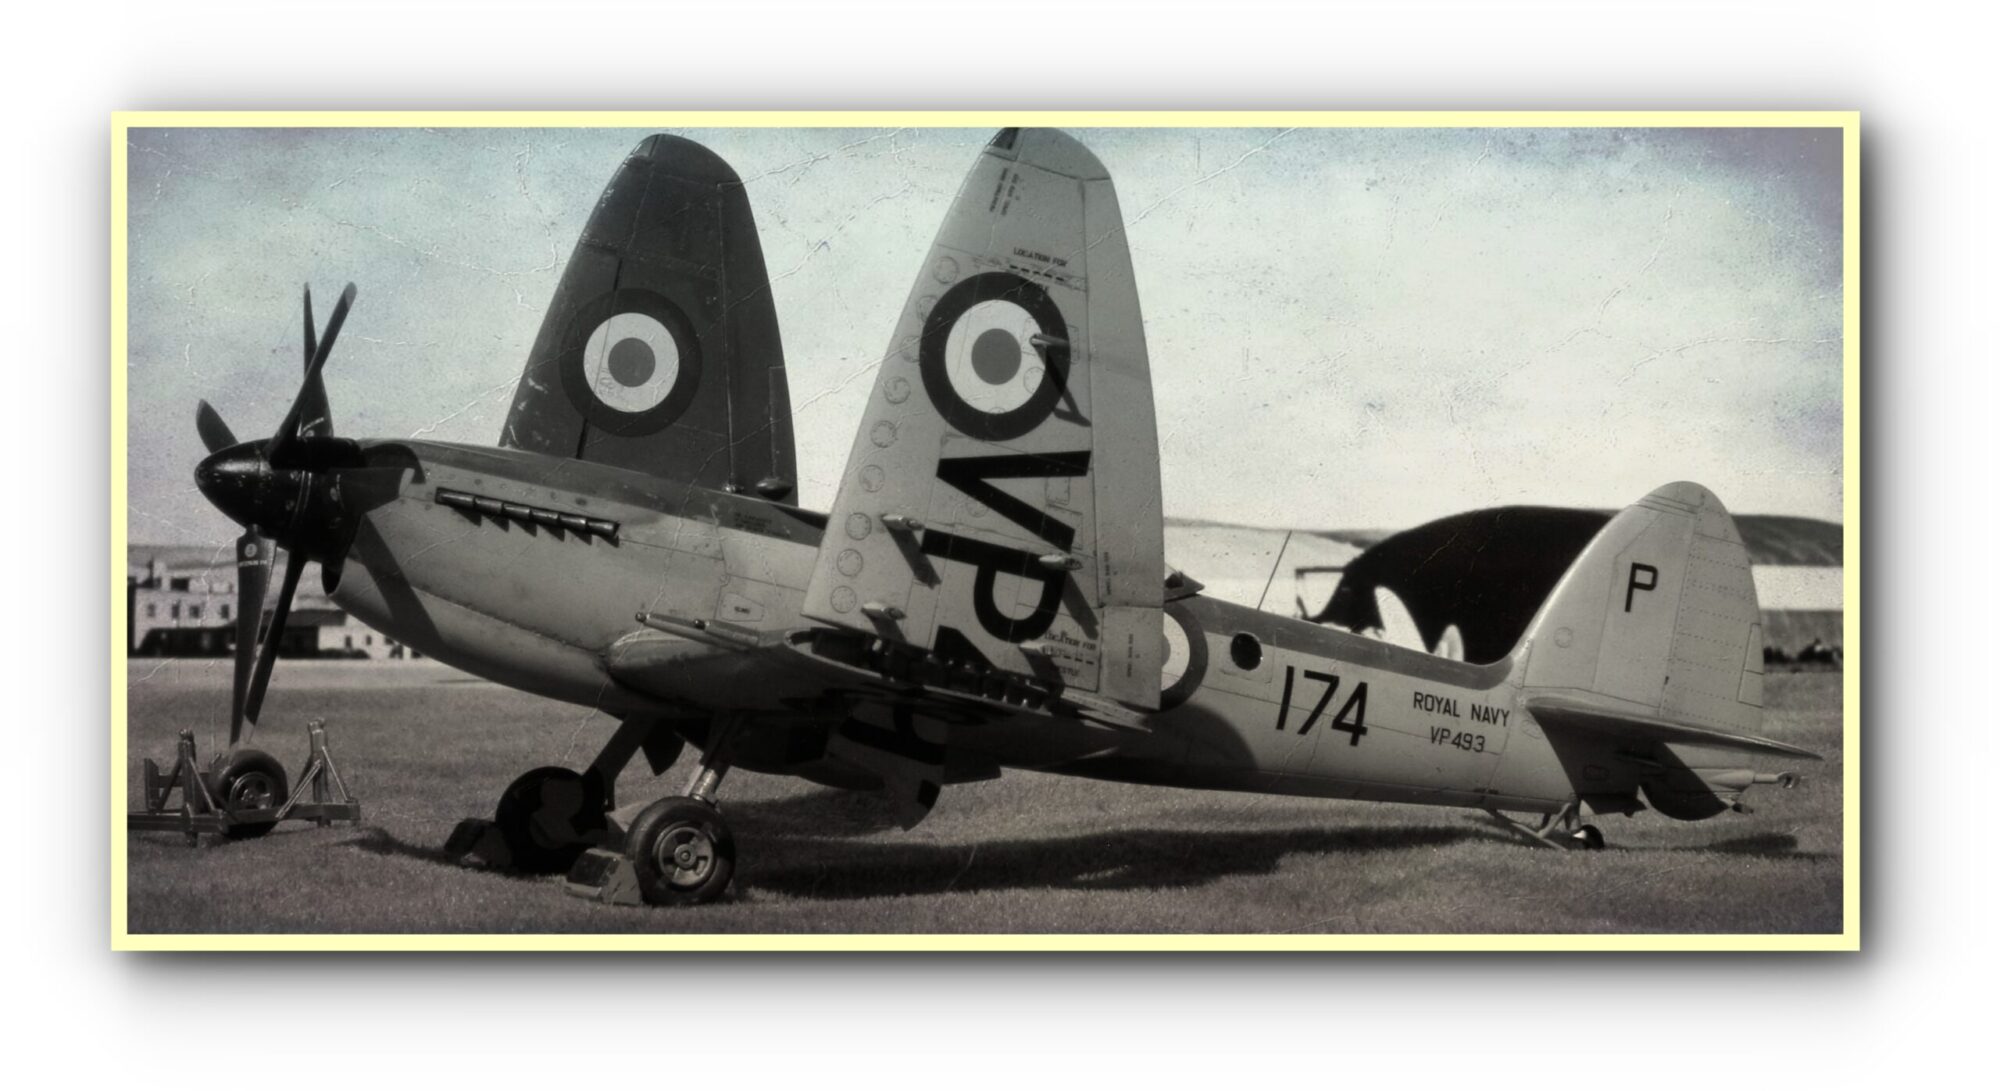
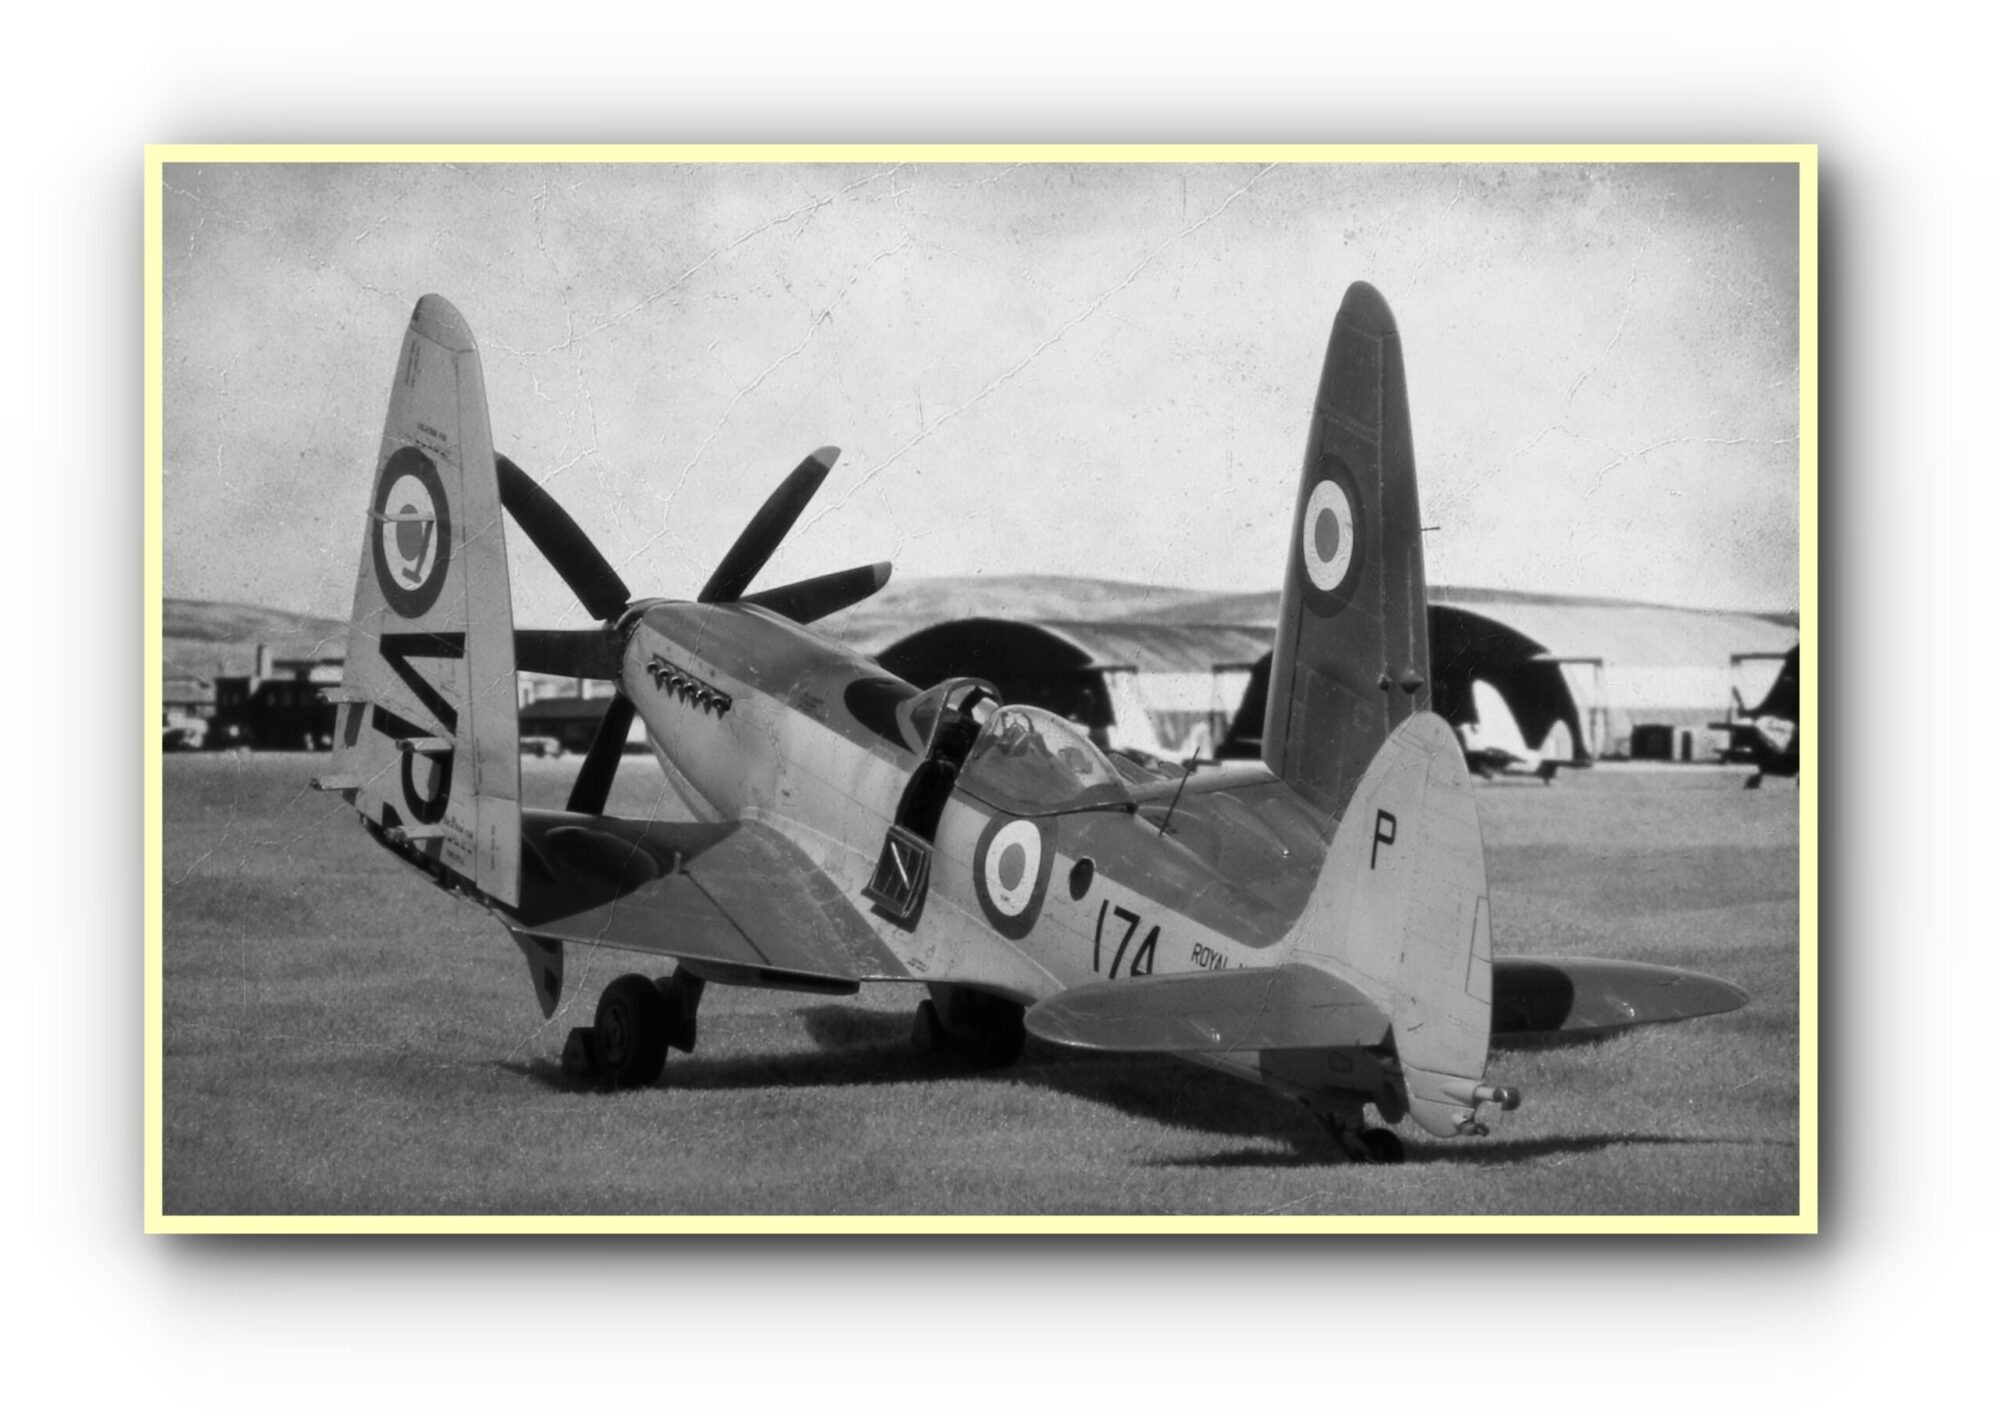
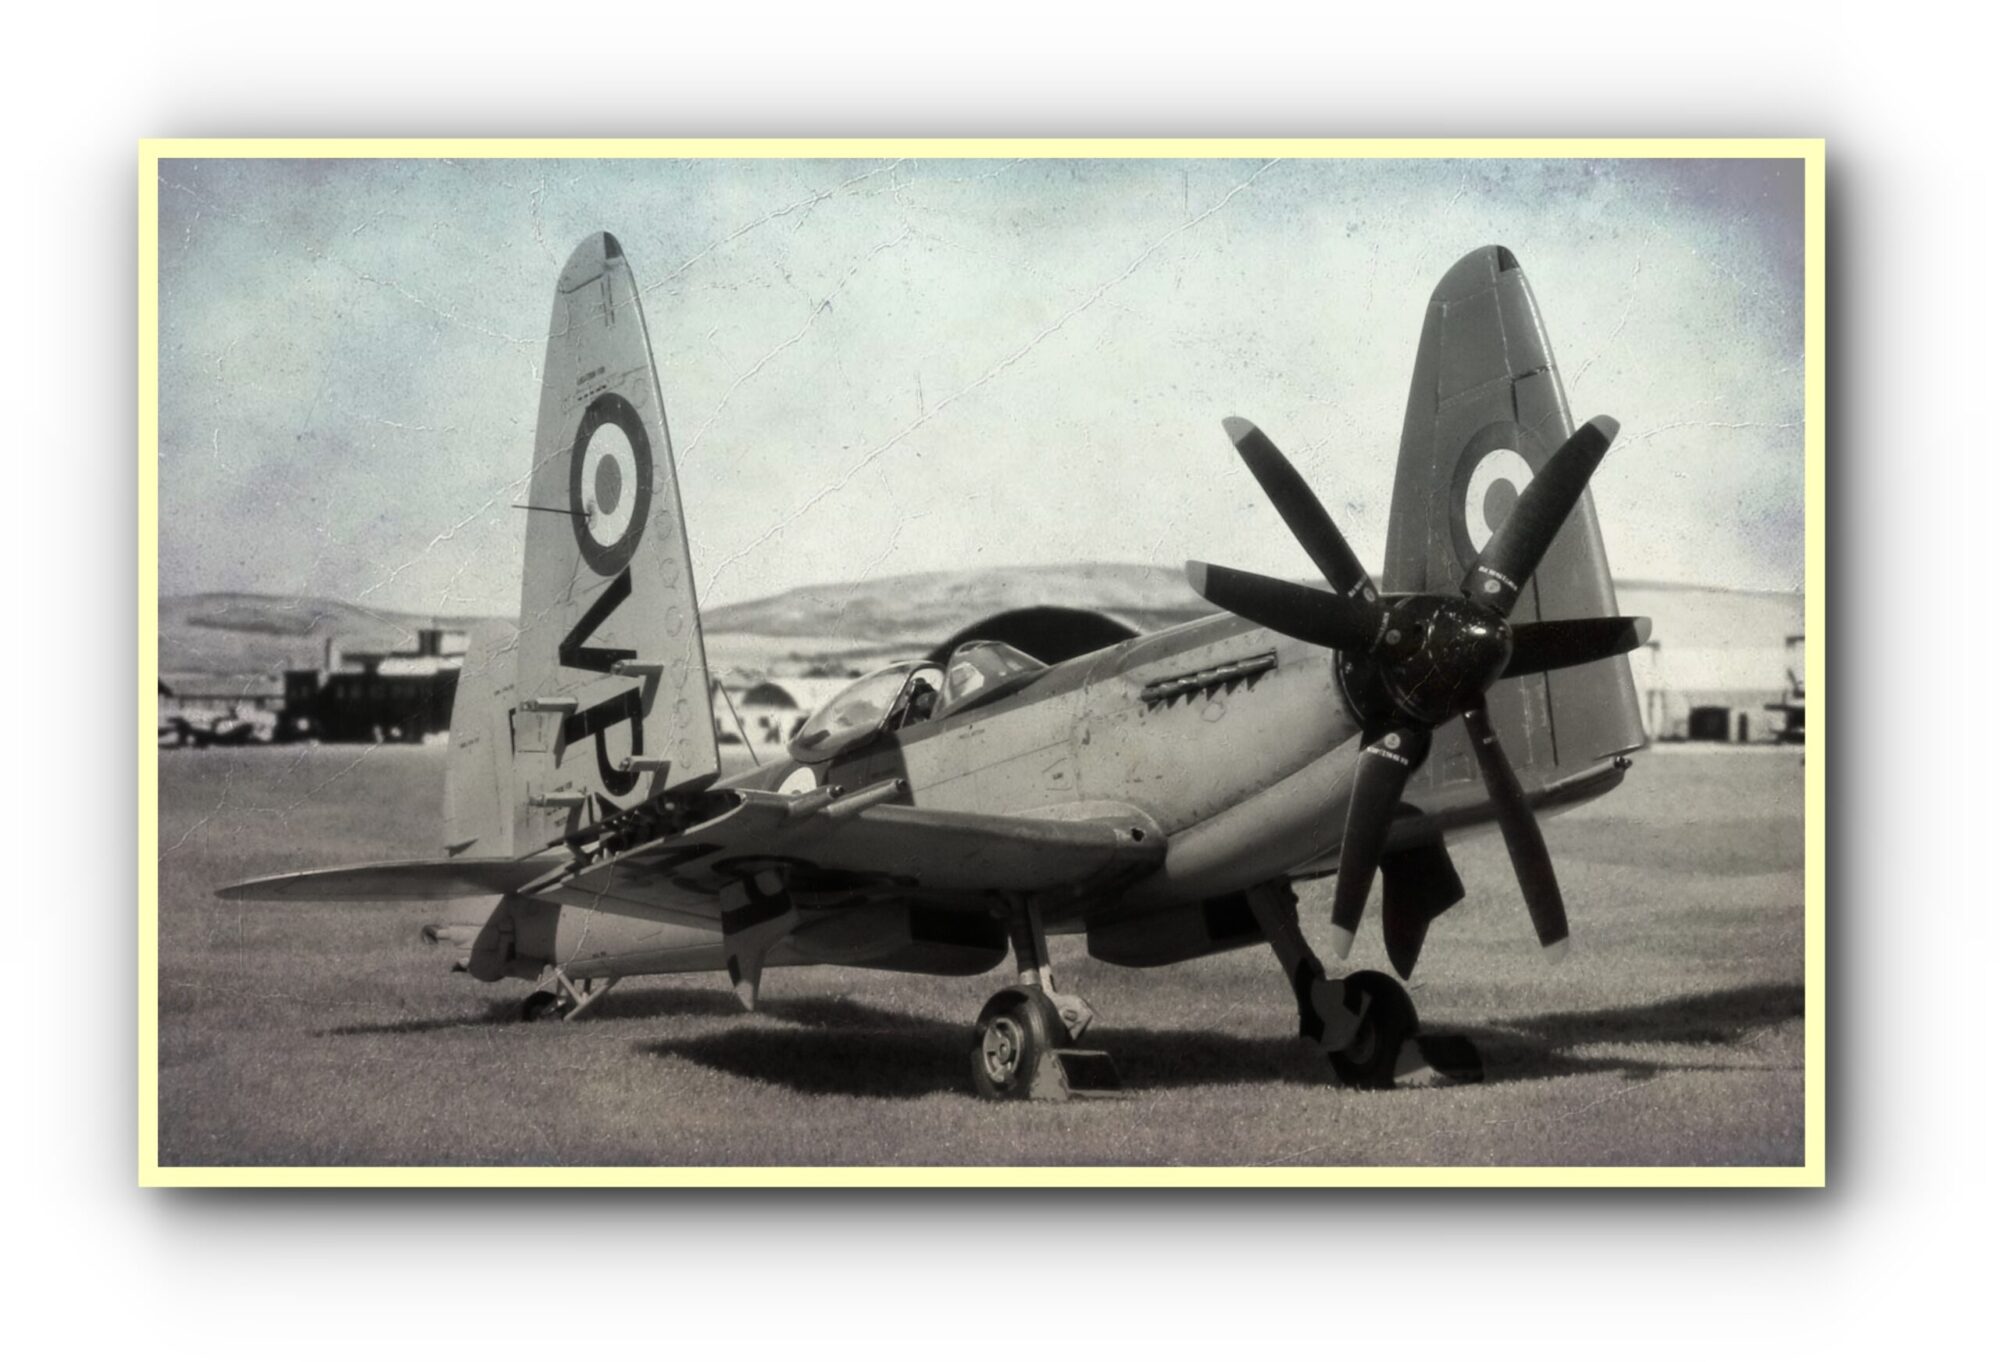
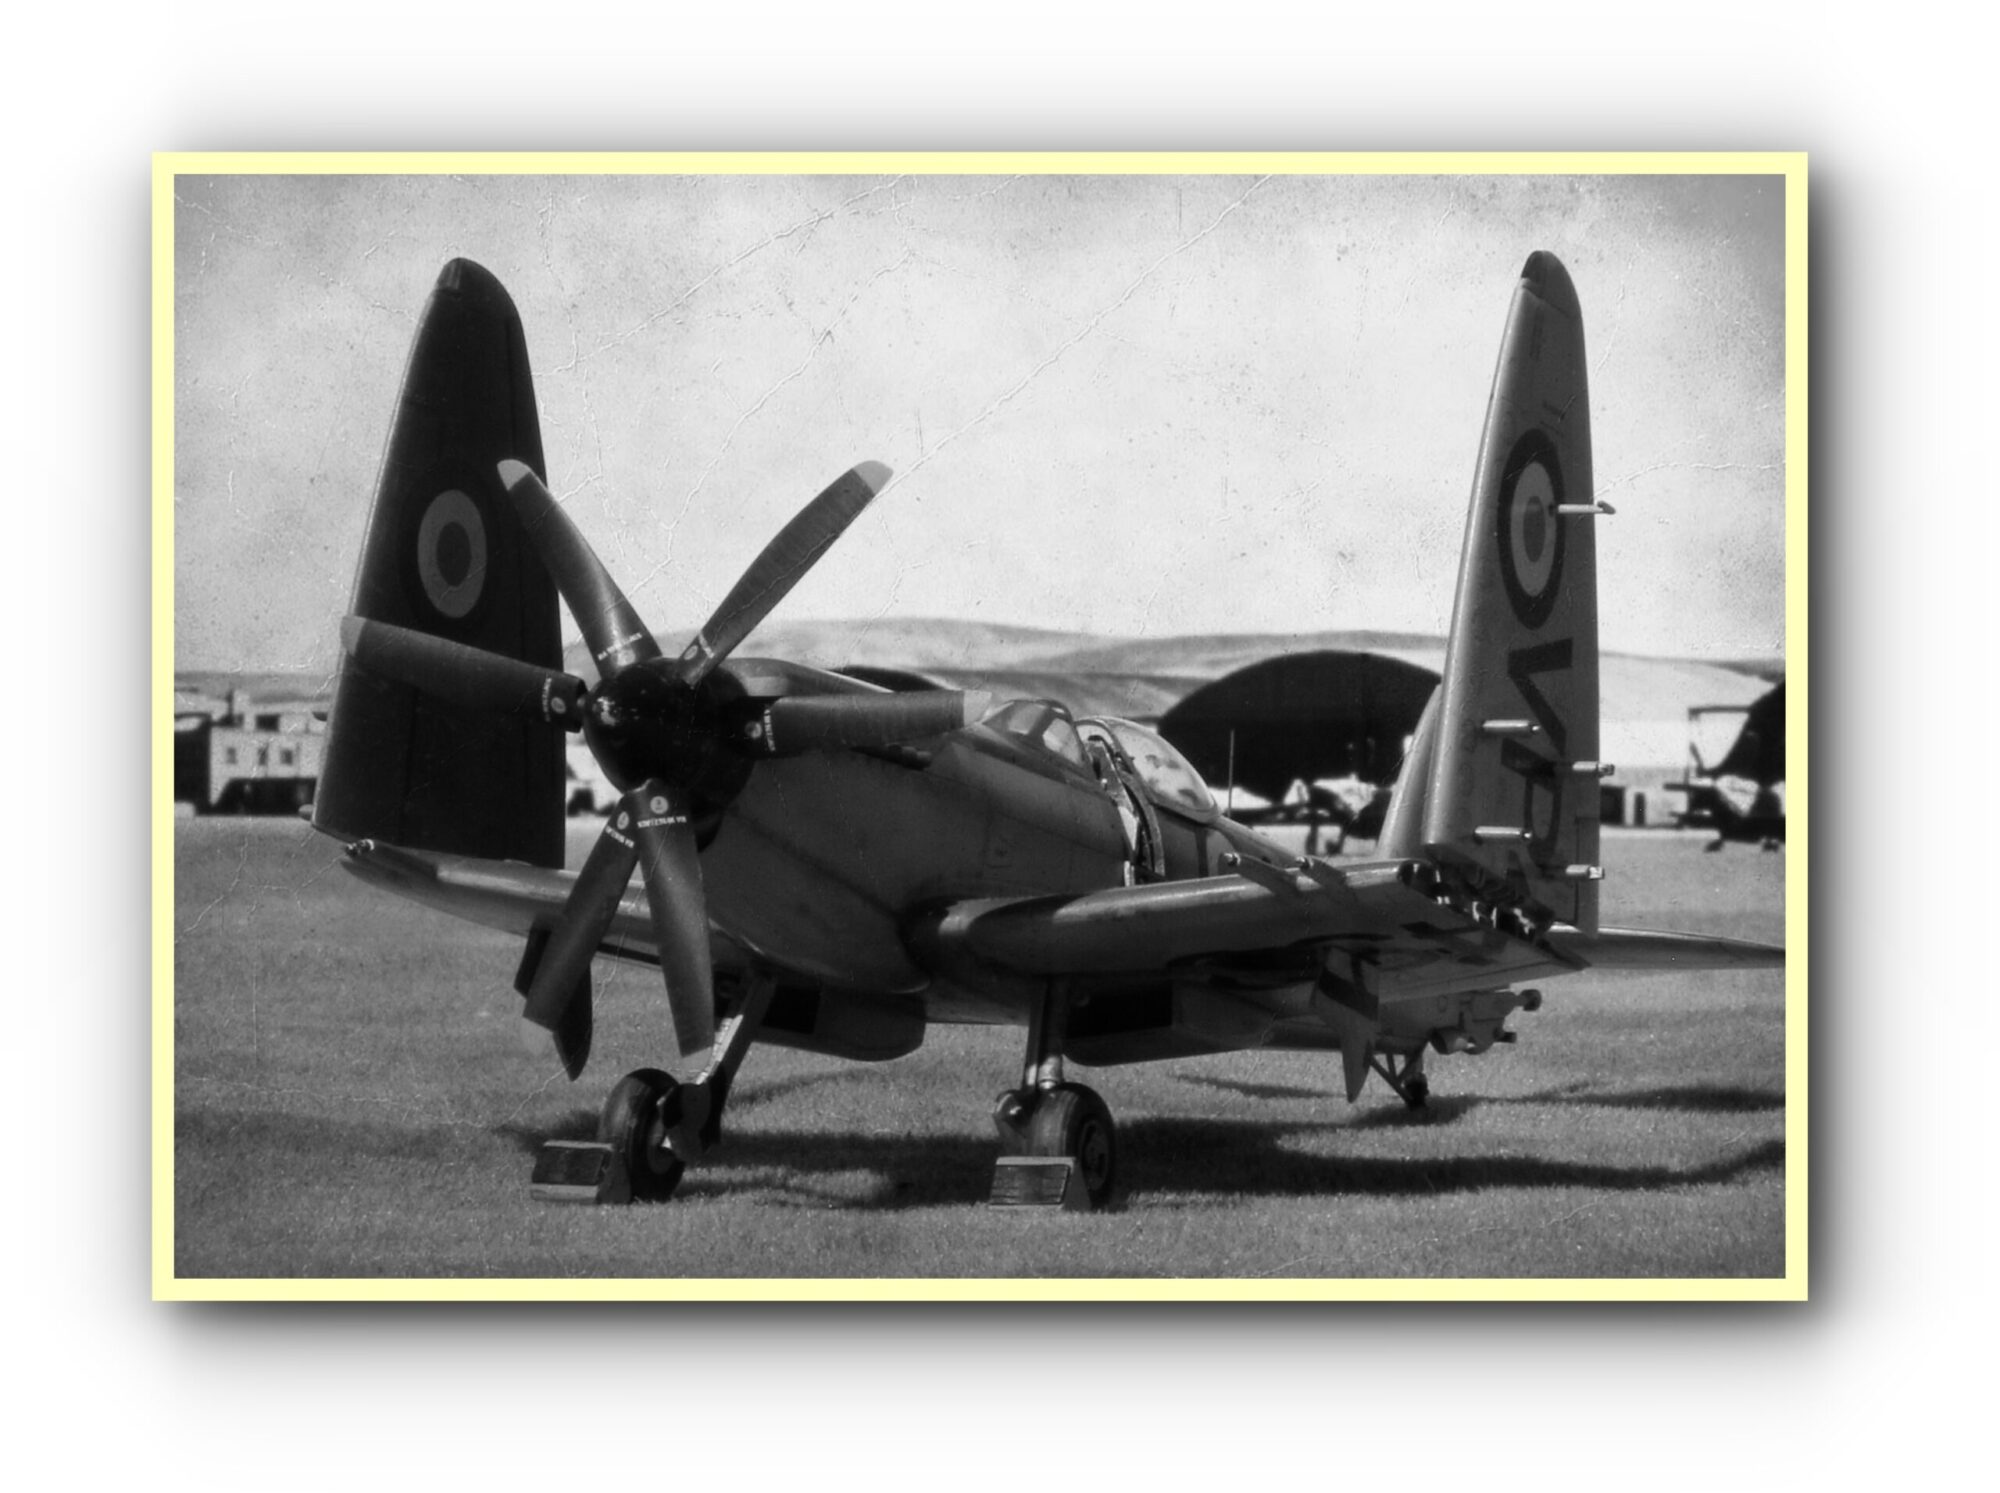
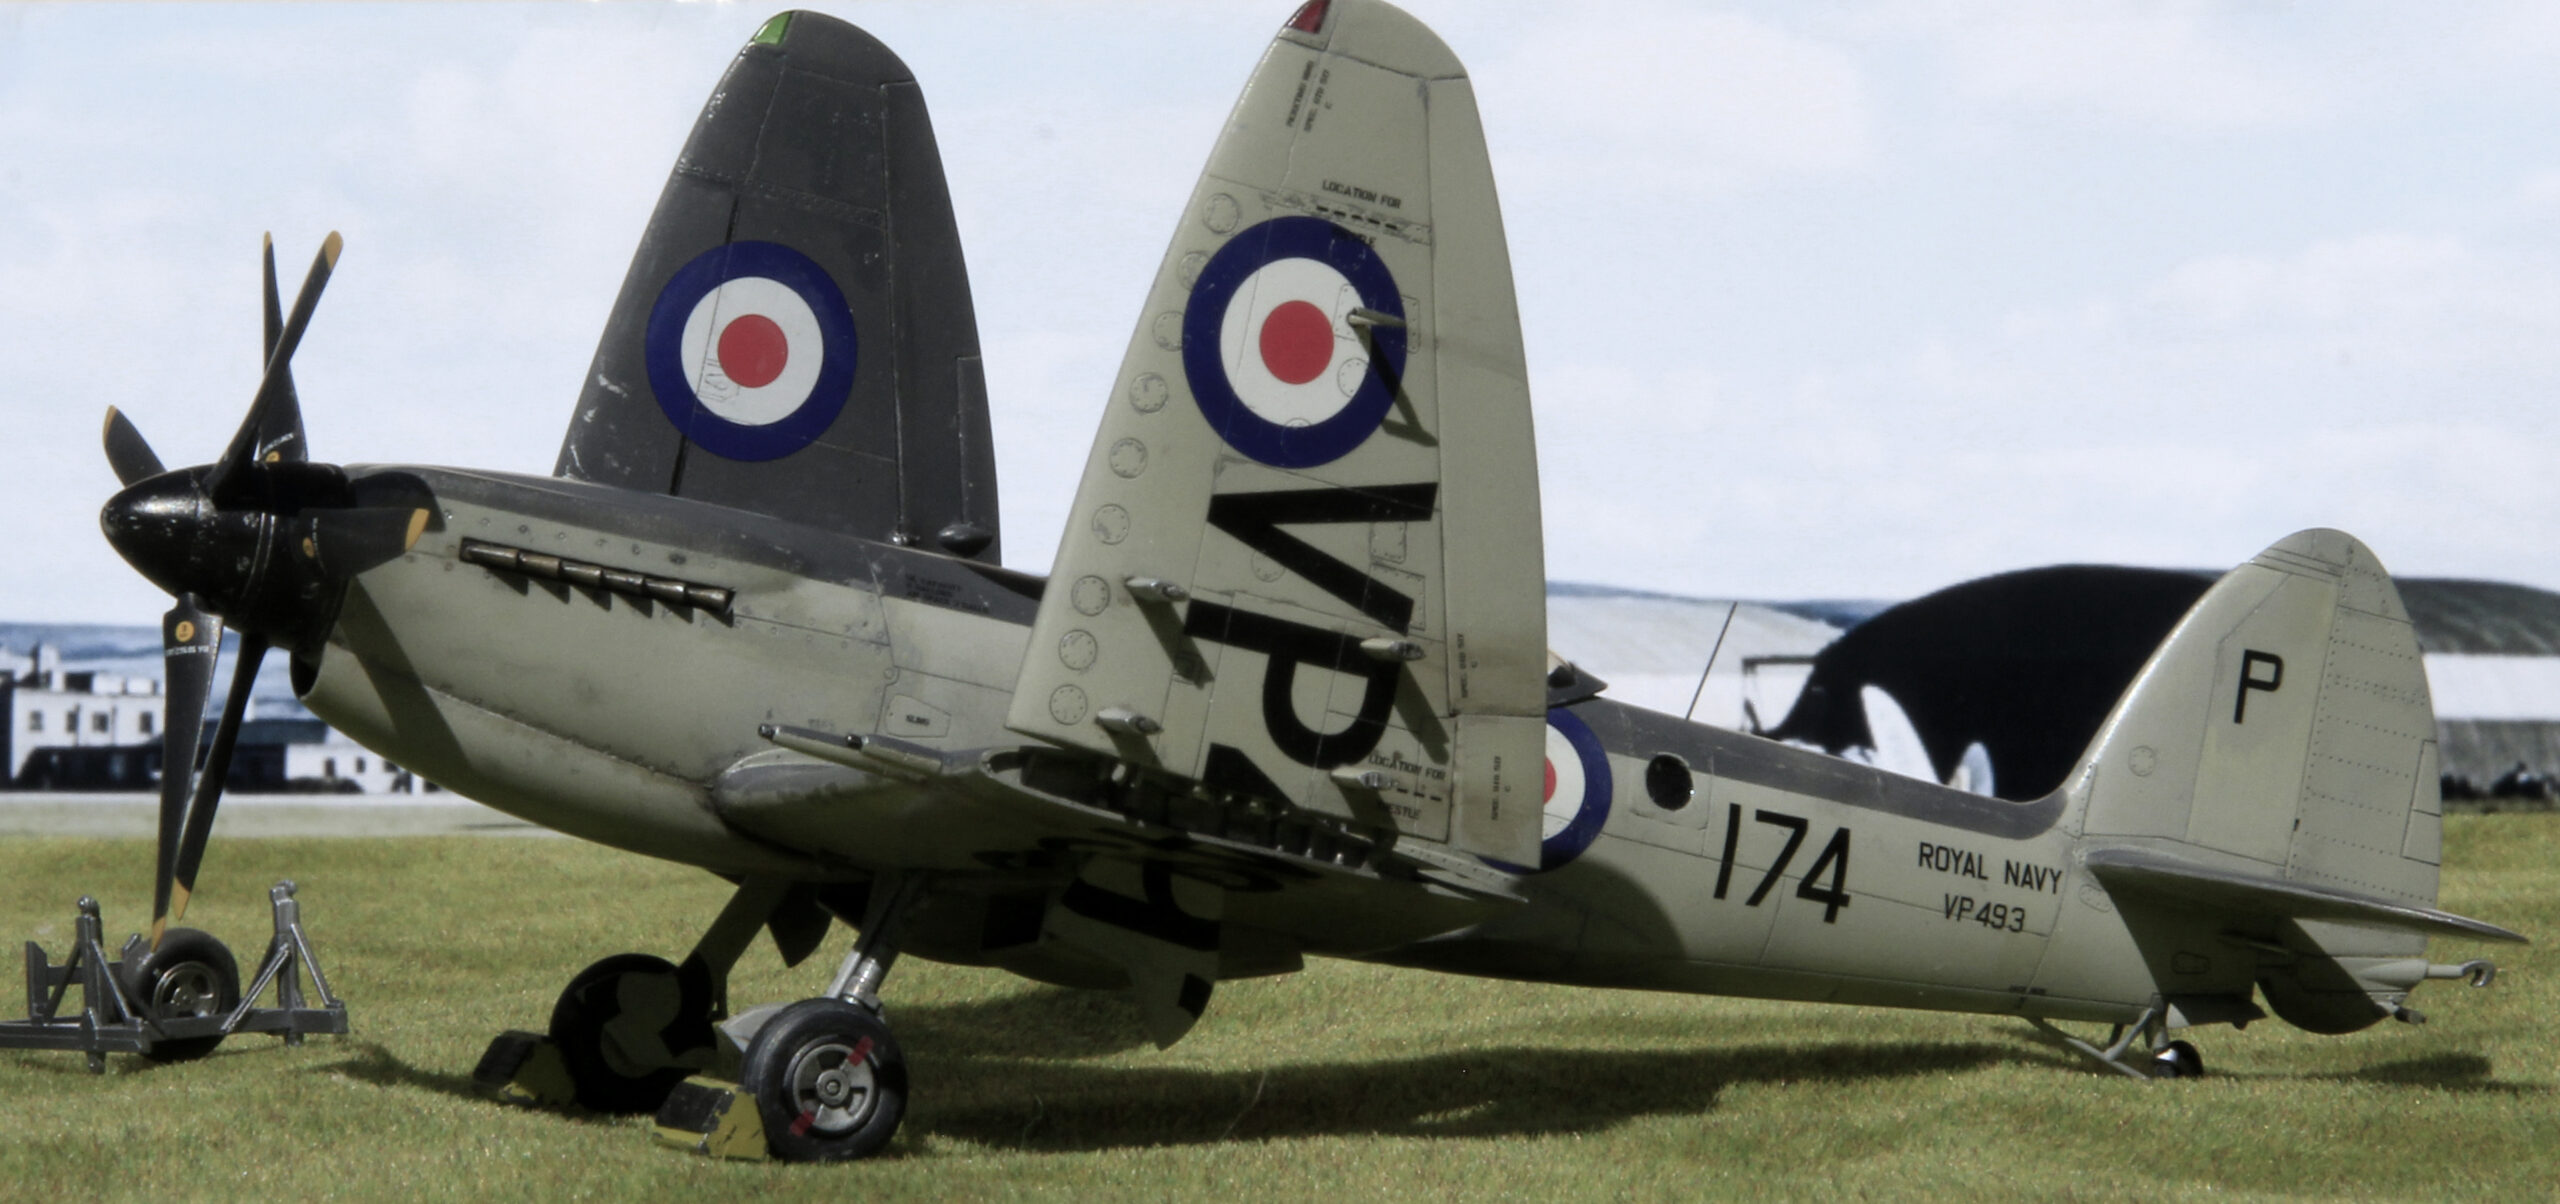
Black And White Images (aged)
(click on images to enlarge)
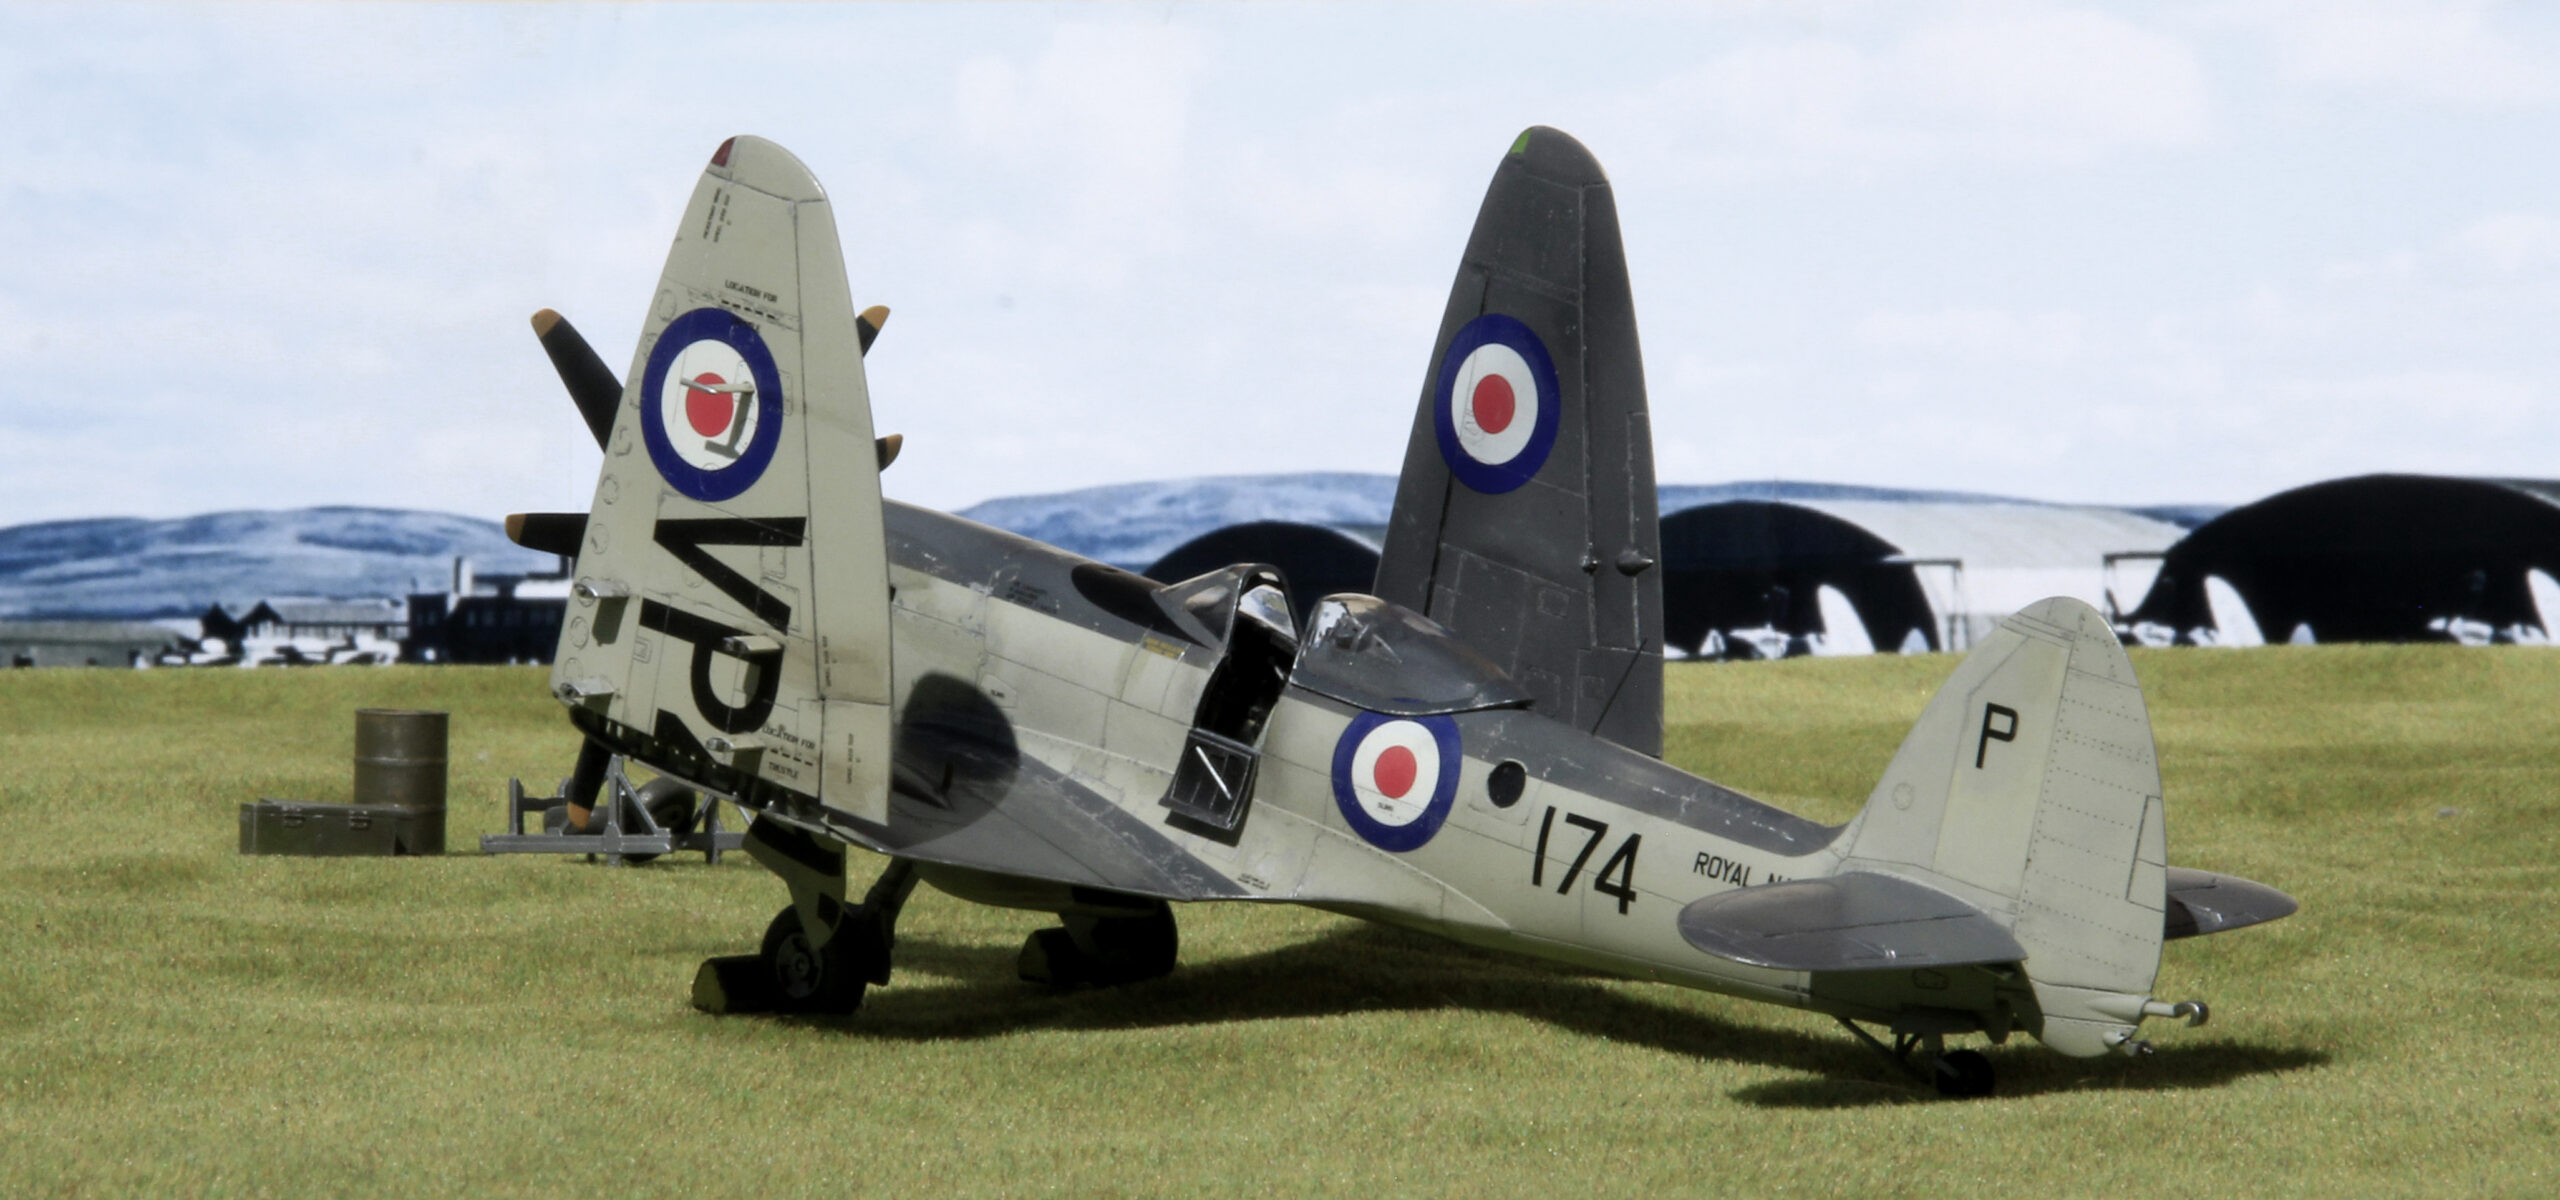
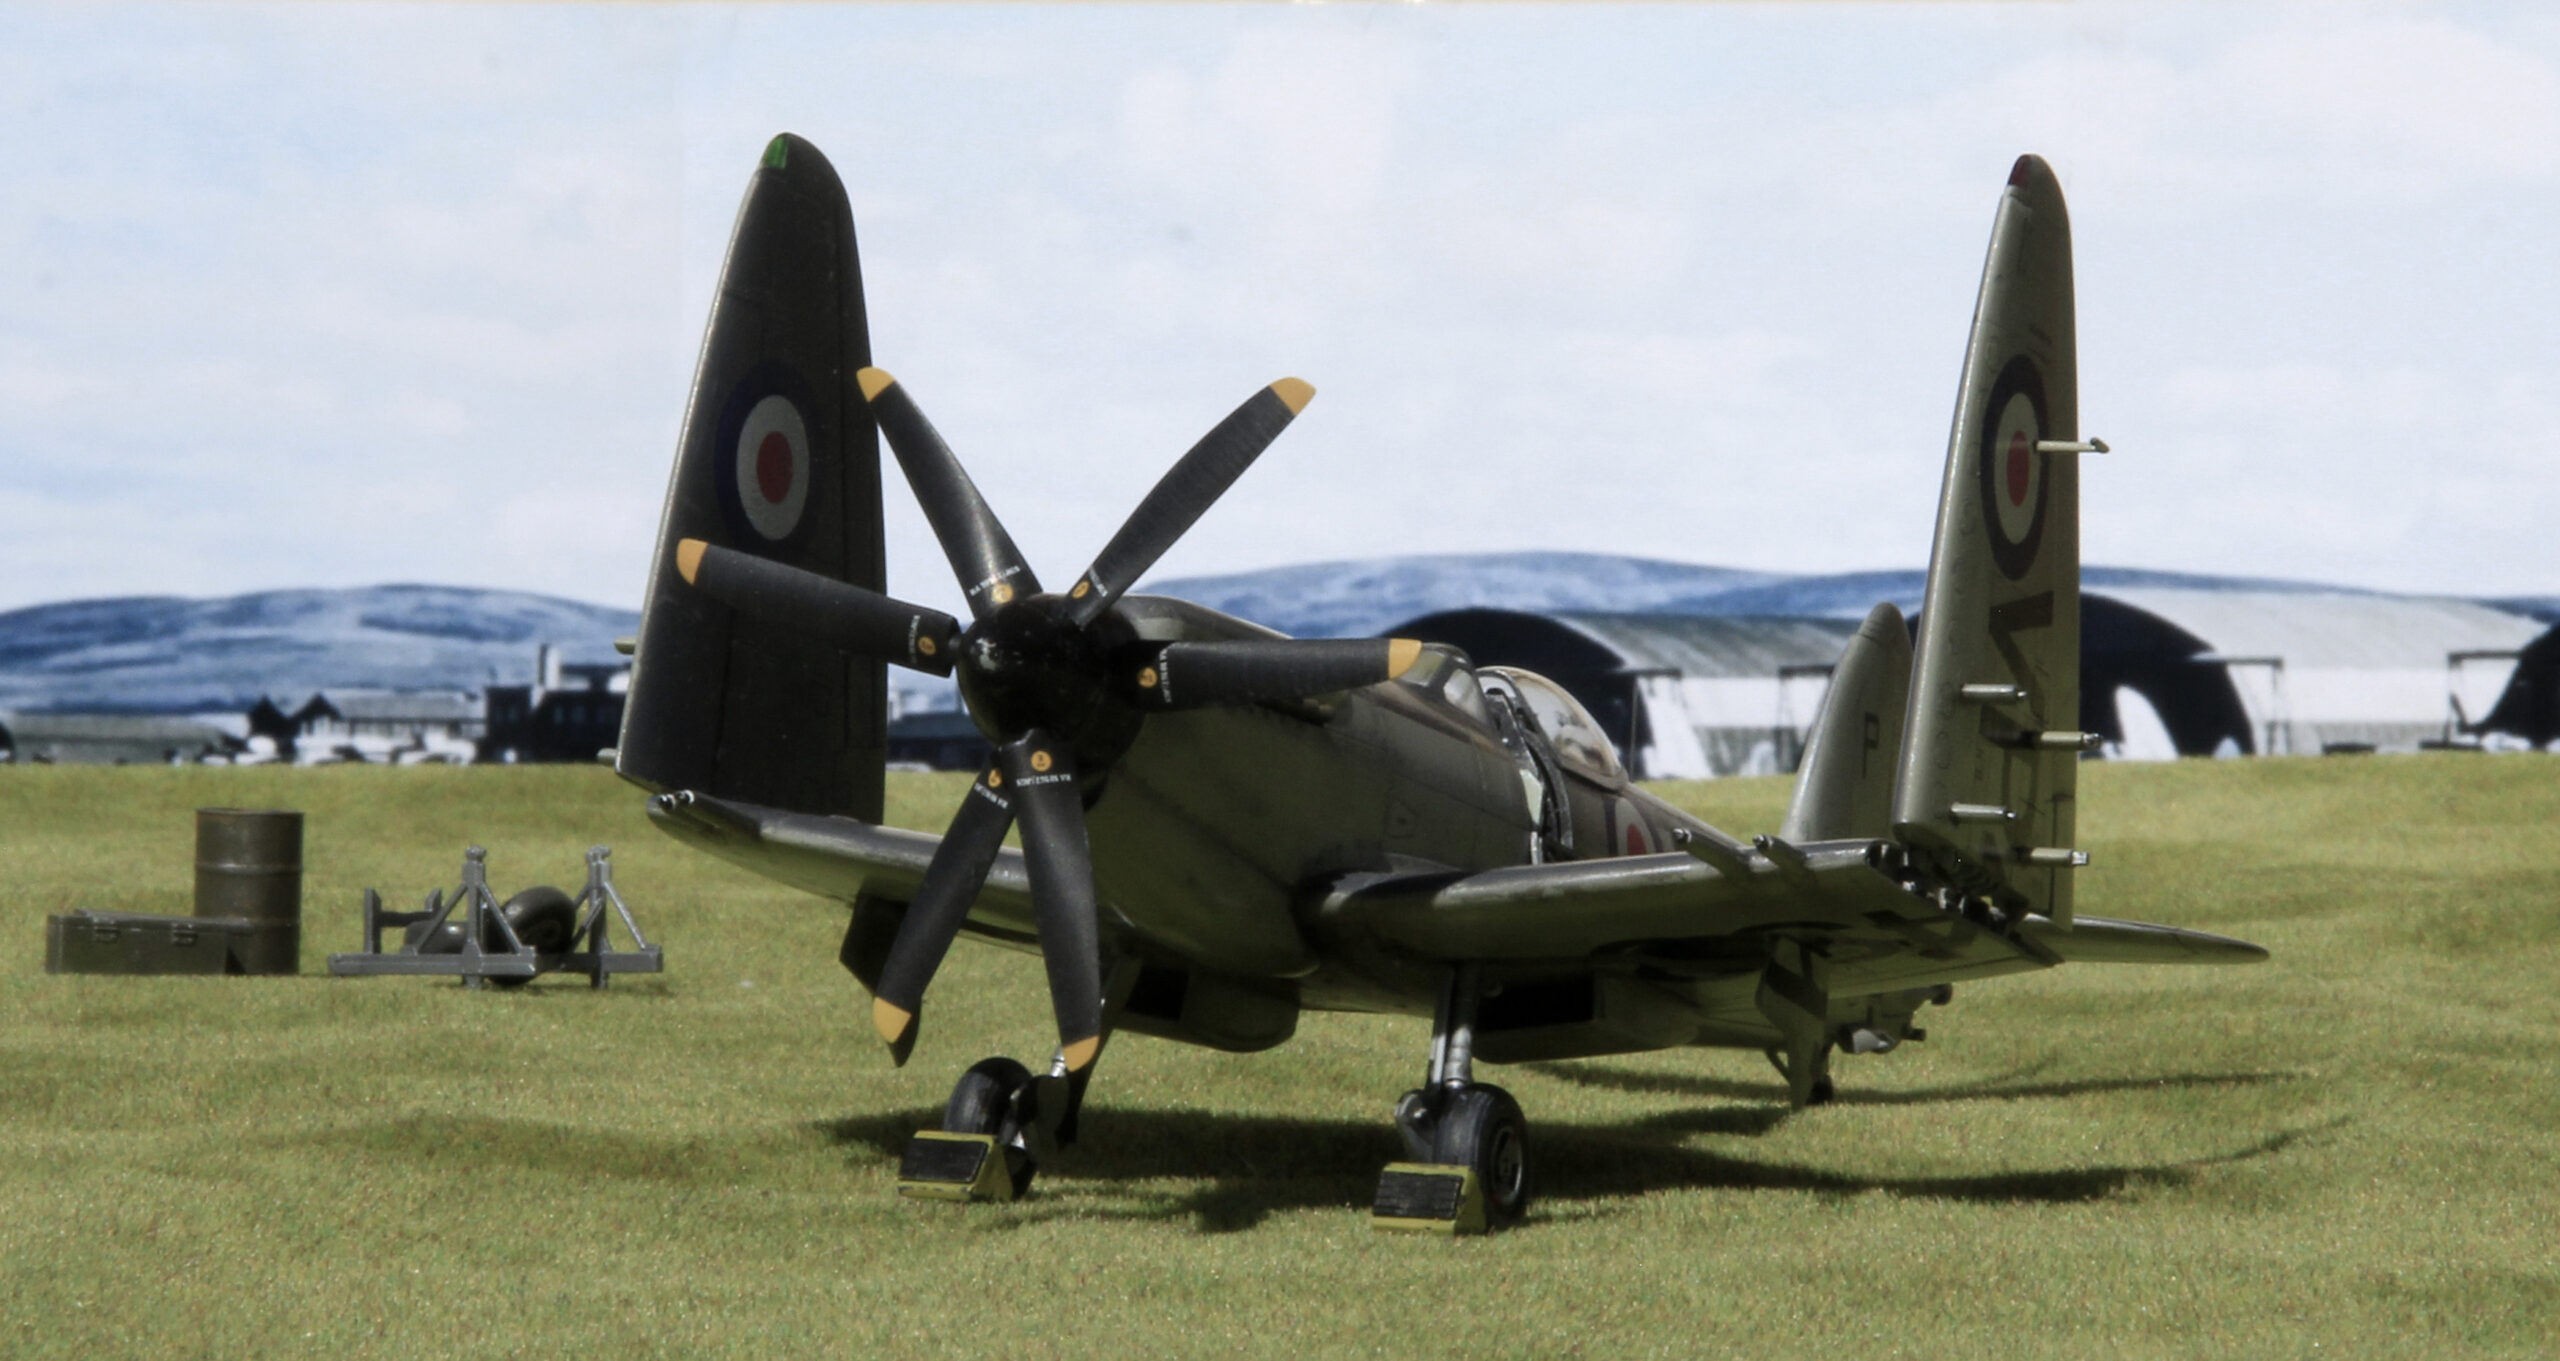
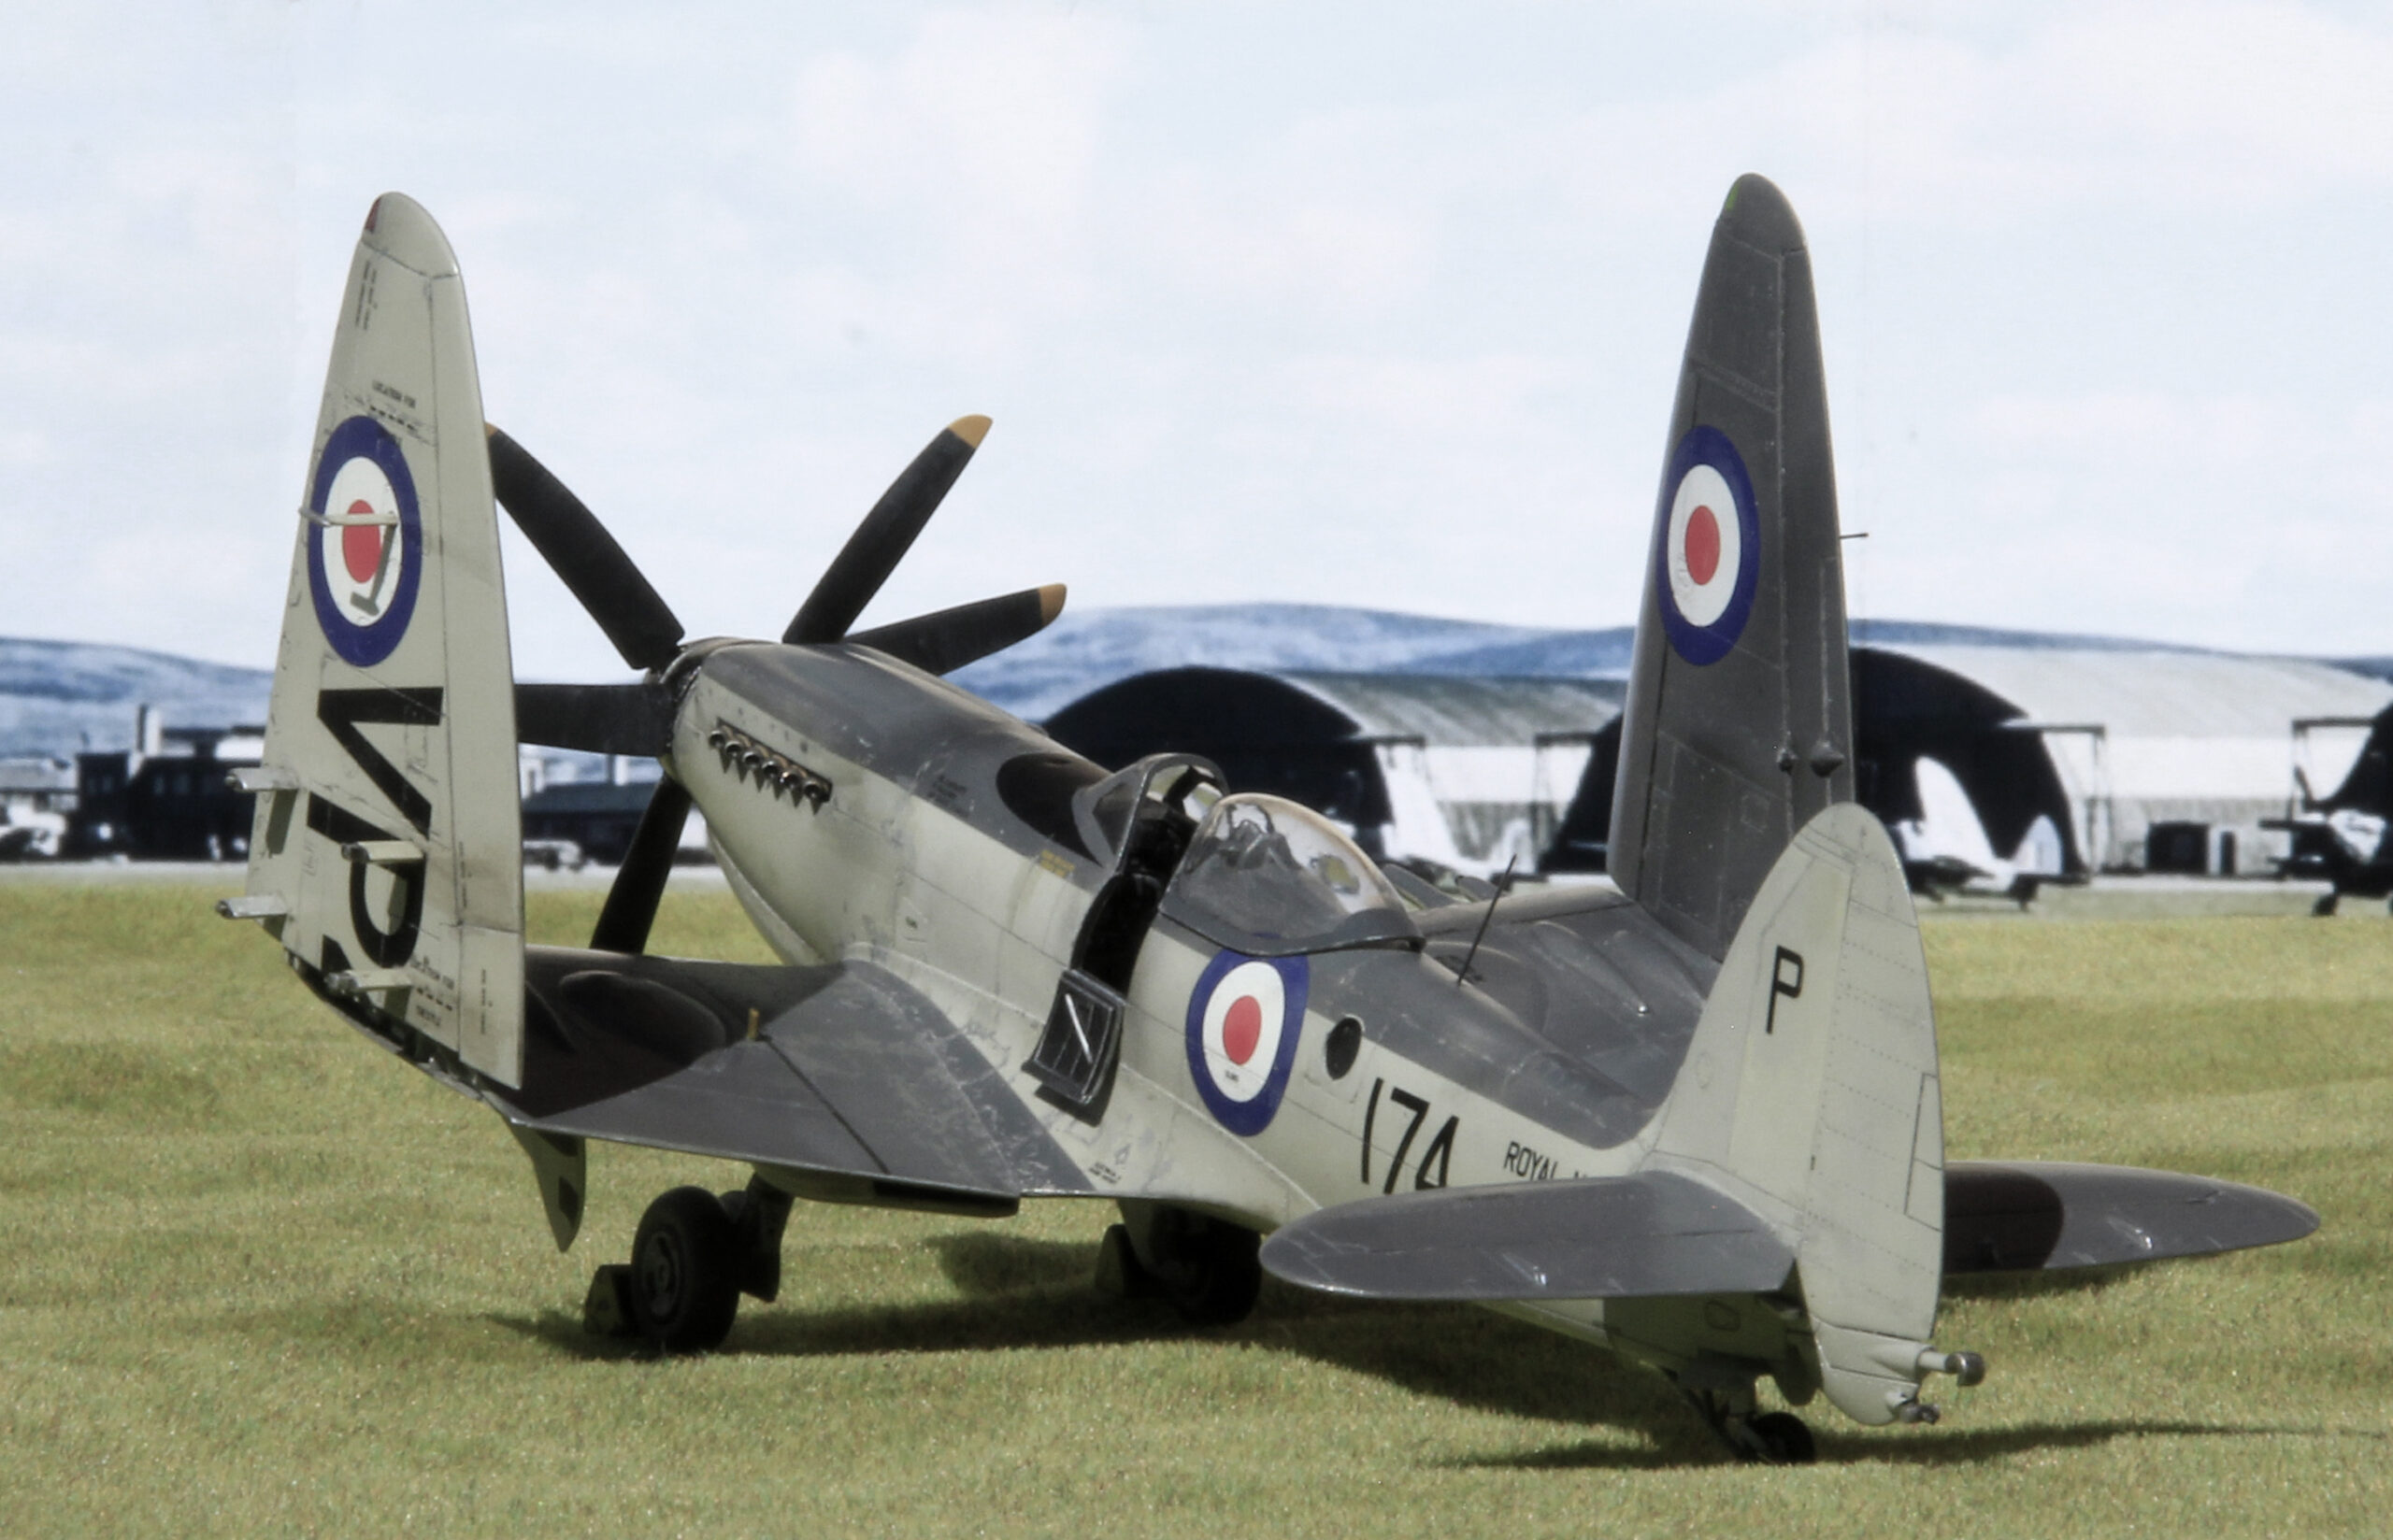
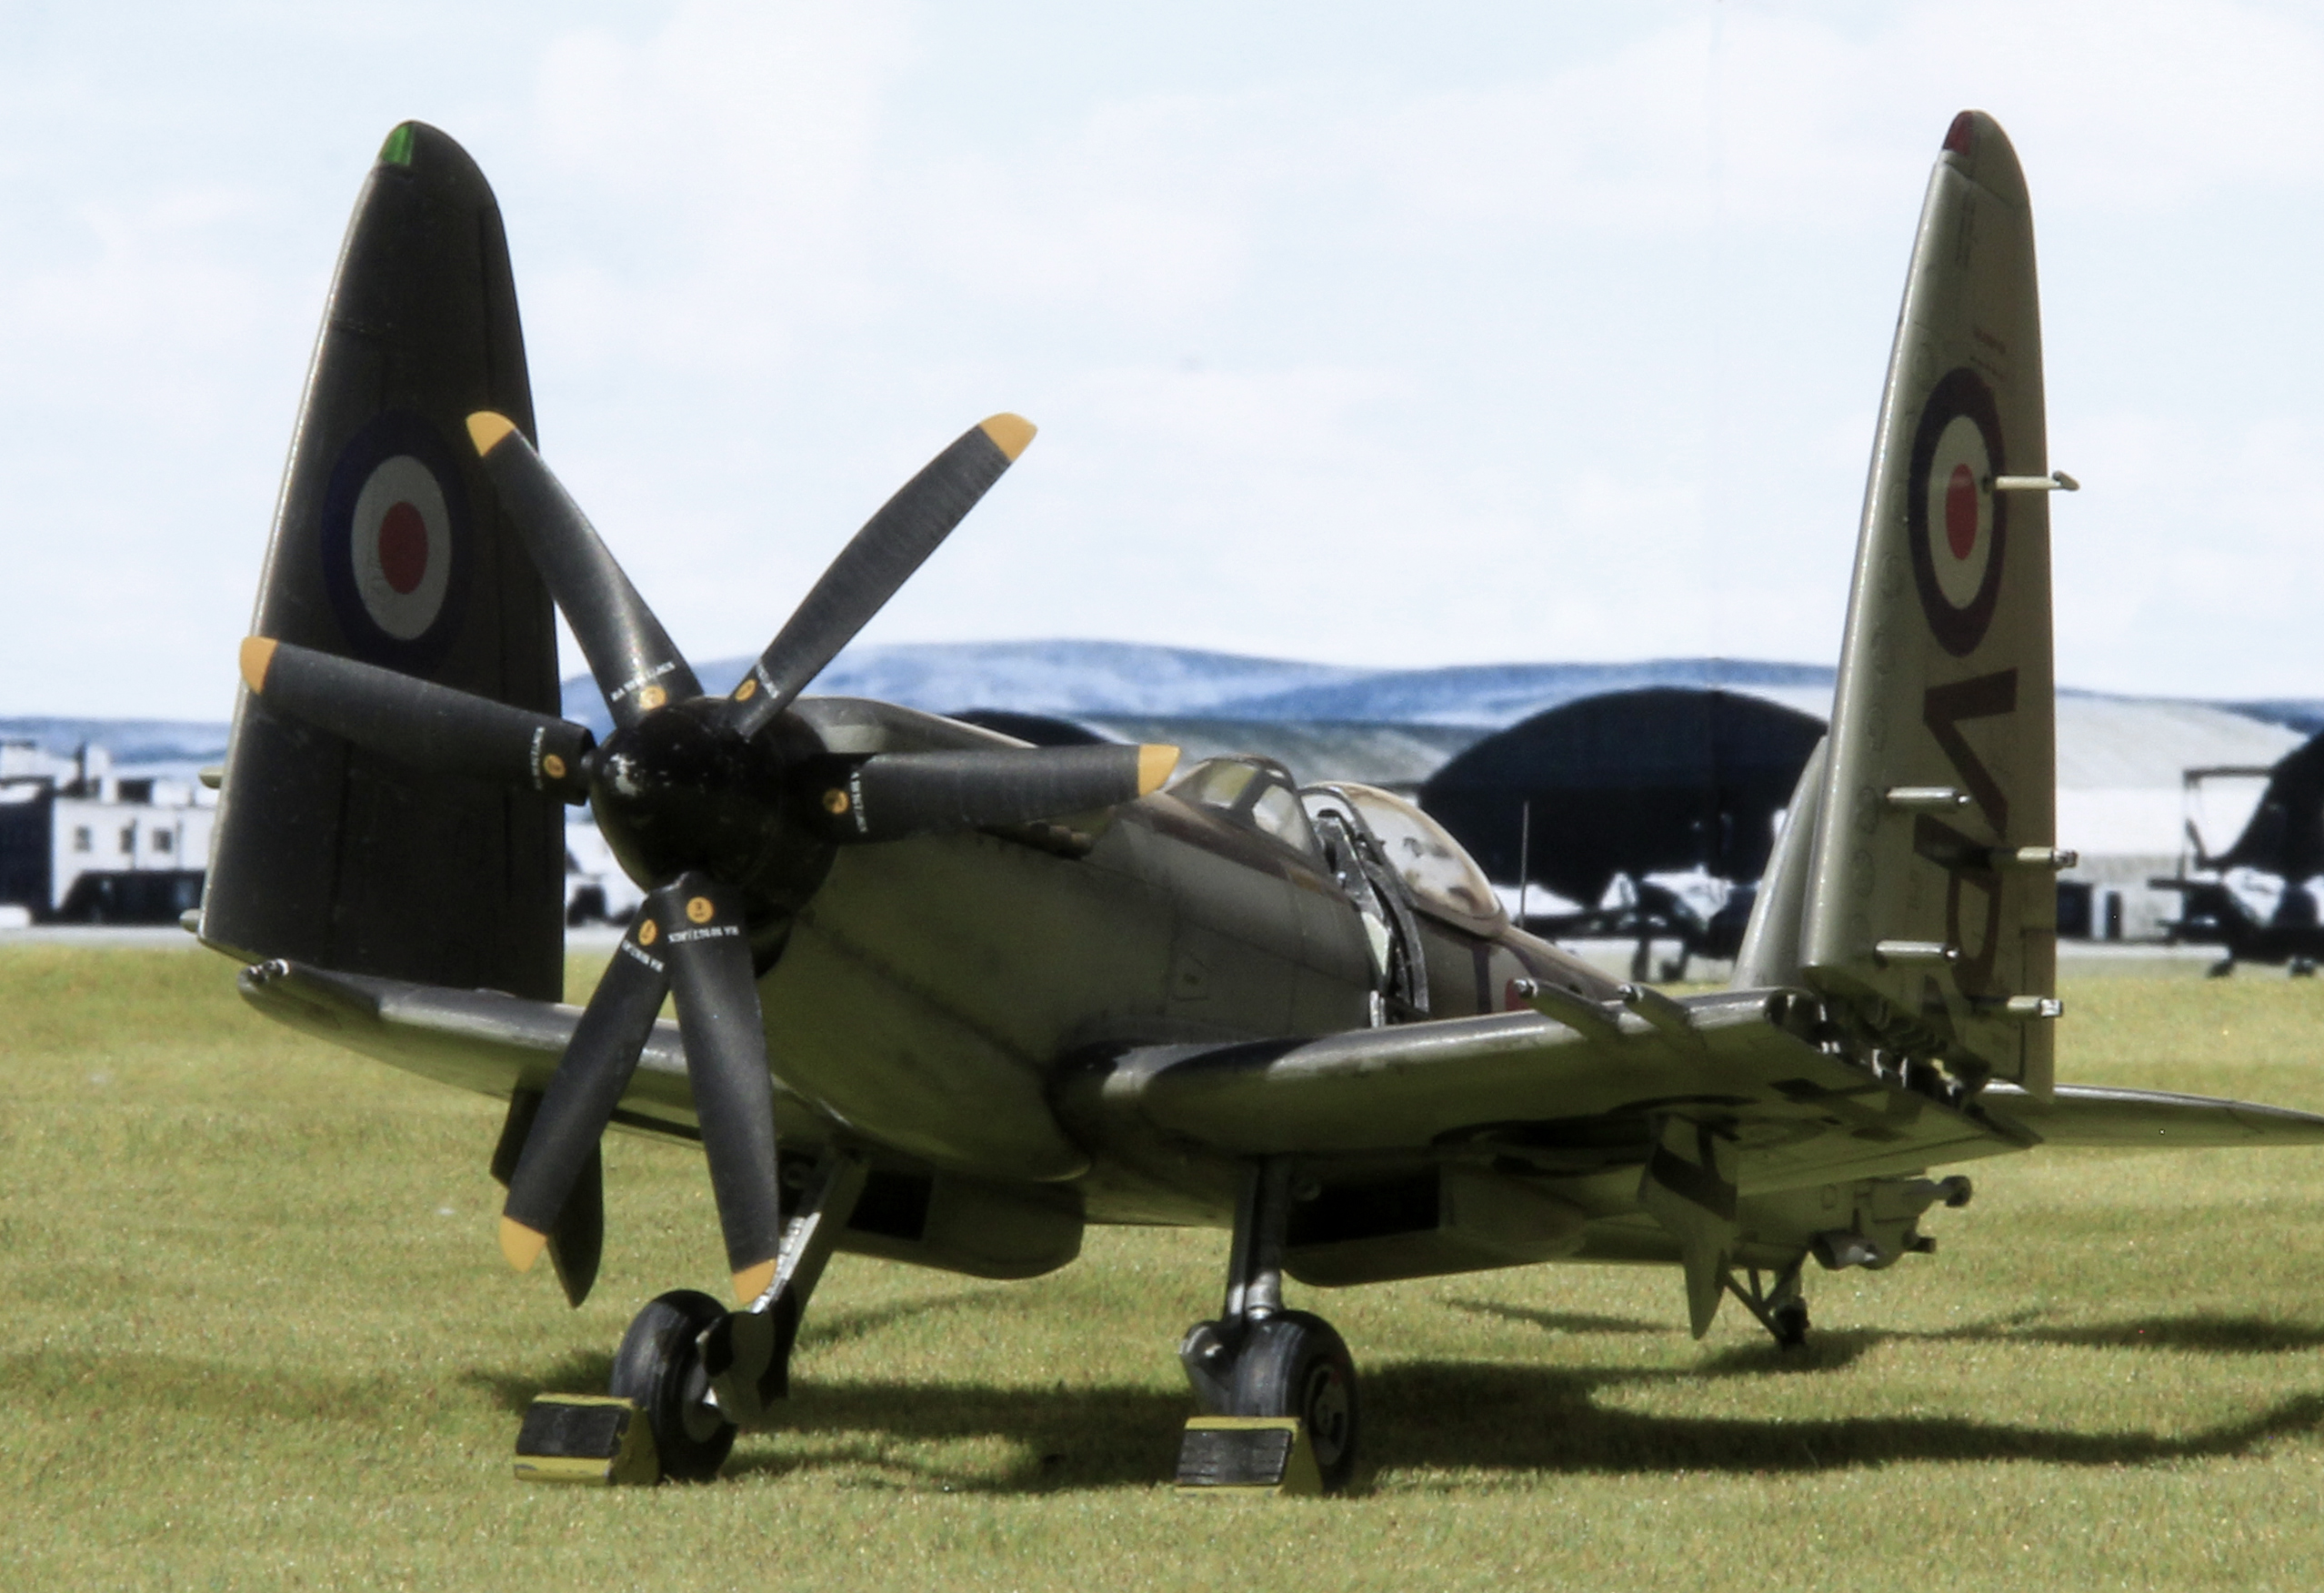
Colour Images
(click on images to enlarge)

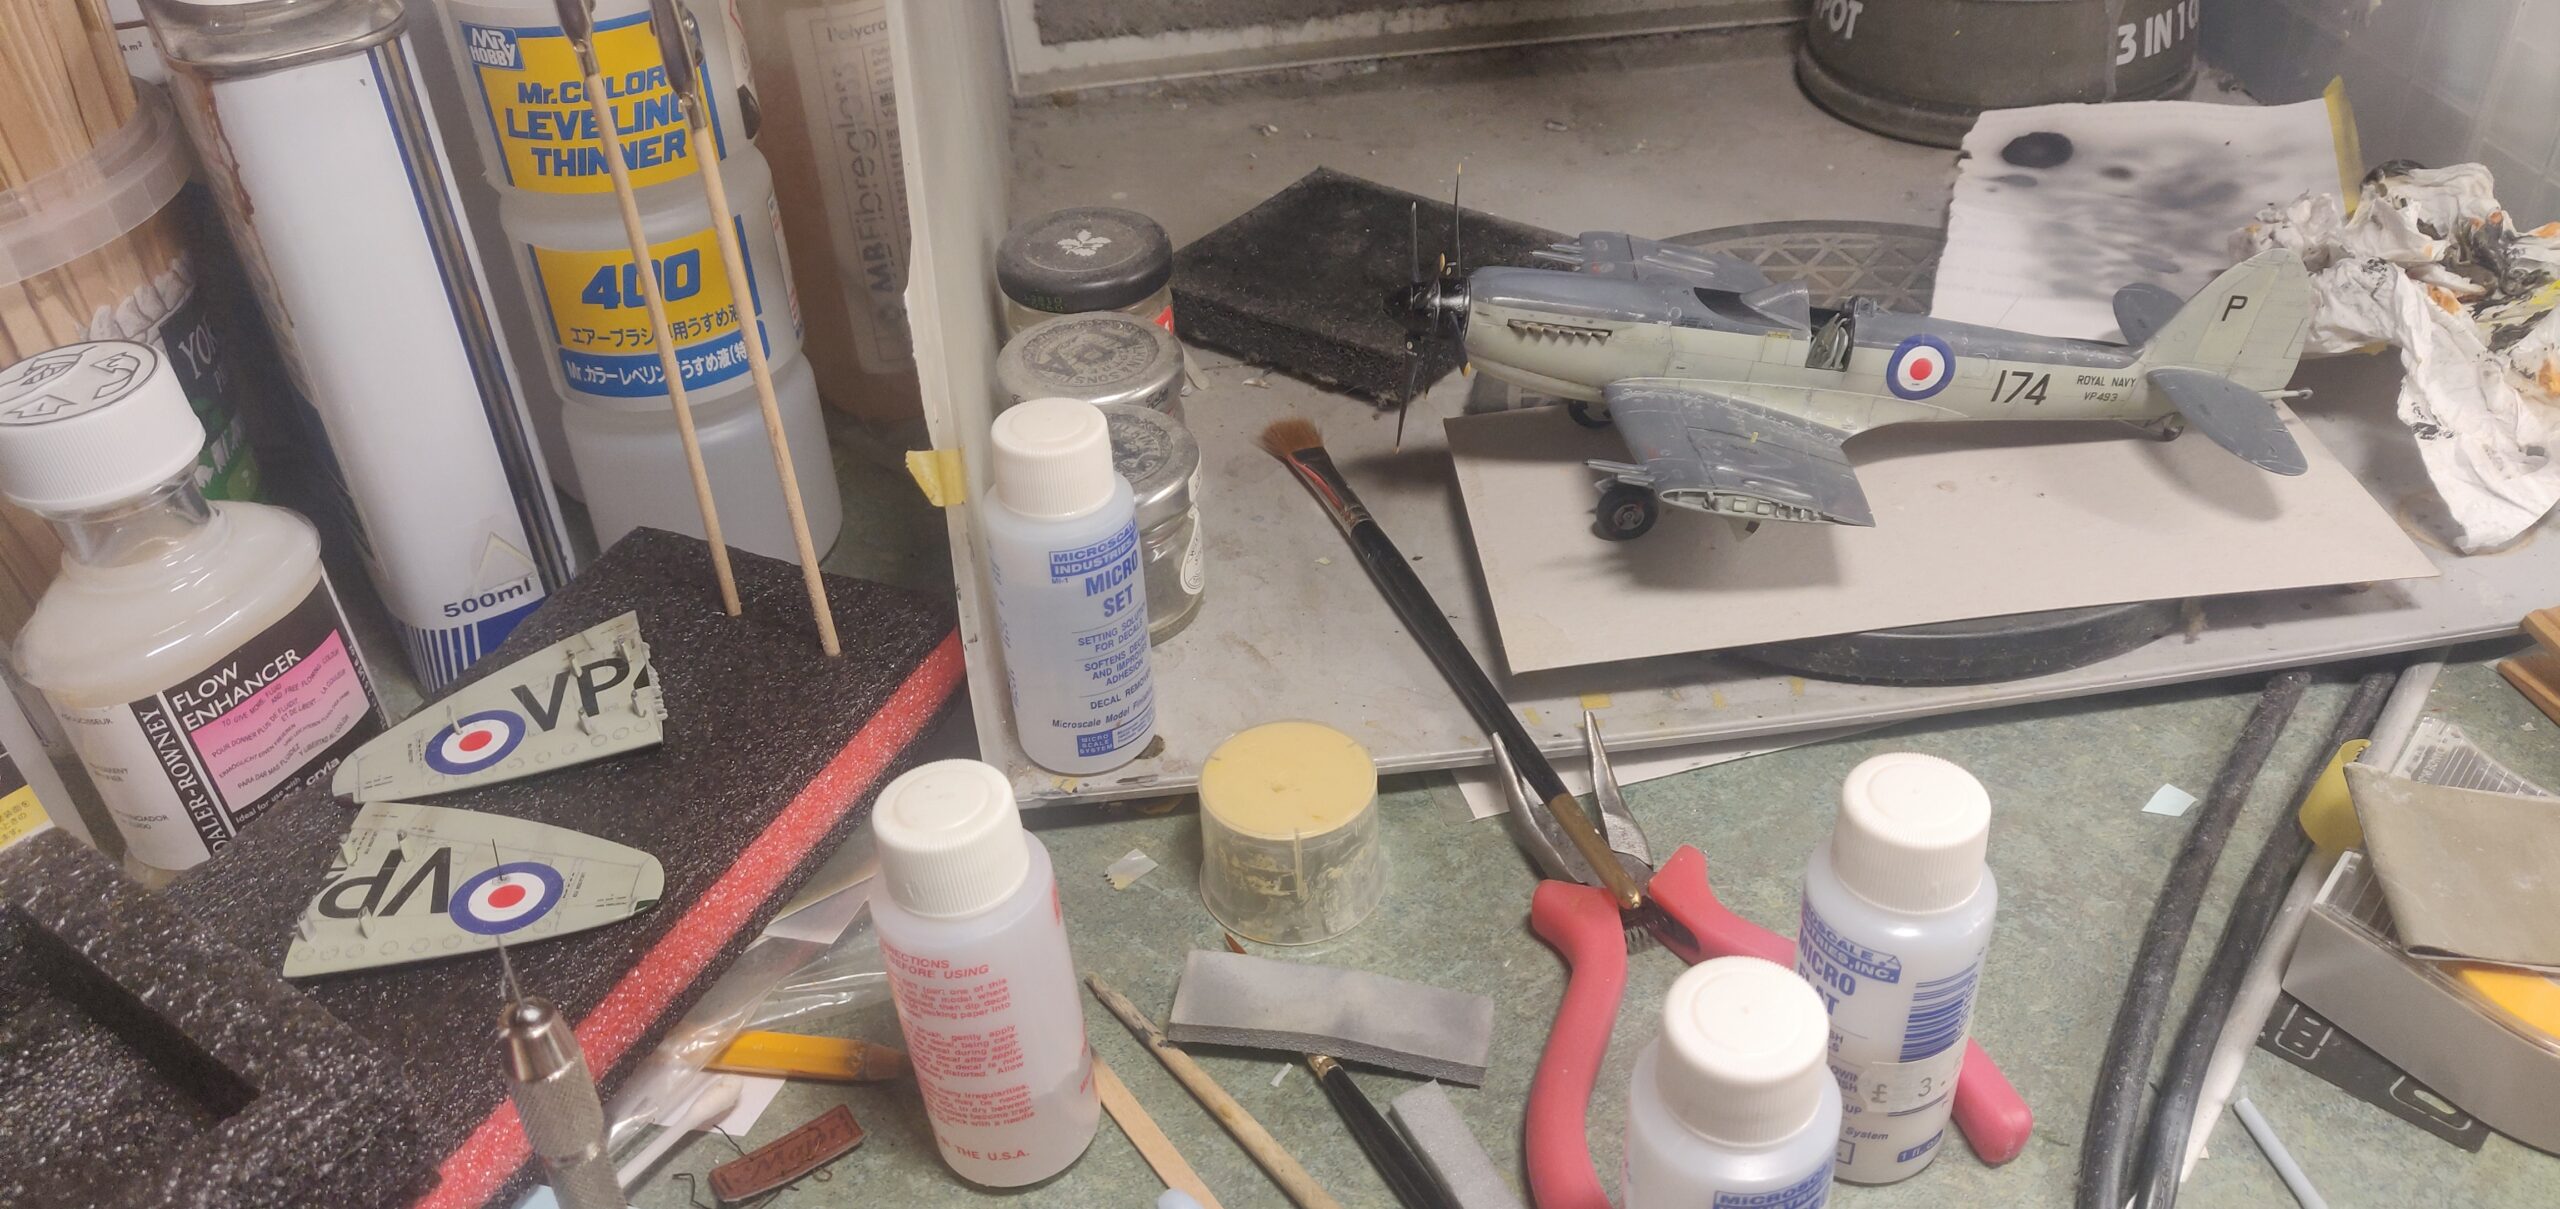
Taking The Shot
Caught by my security camera whilst taking the images shown on this page…
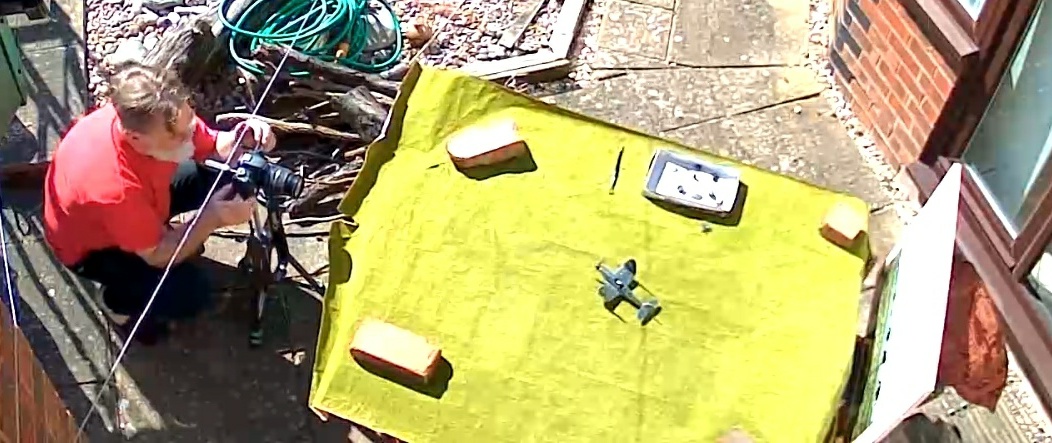
It’s the usual simple set up. A garden/patio table with a Games Workshop play mat covering it. The scene is a printed image taped to a board (three sheets of A4, with the seam line photoshopped out on the PC). The black and white images have obviously be desaturated of colour but have also have a distressed ‘old’ photograph filter added. The colour photos have had a small amount of desaturation applied, just enough to lose some of the Sky Type S colour from the under surfaces.
On The Bench
A quick view of the model on the bench during final assembly. It took days to build up the nerve to add the outer wing panels to the main airframe – my home made hinges didn’t feel beefy enough for the job and improving them would have been a royal pain.