And my opinions…
I have been making model kits since I was four years old. I started with the Airfix WWI tank and then the Leander Class Frigate. Back then Airfix Series 1 kits came in plastic bags and cost just 18p each!
I stopped modelling once I started drinking, driving and having other kinds of teenage fun. Then work, kids and the rest of life took over.
Back to modelling now that I am older and wiser (yeah, right!), as I knew I always would.
I focus on British WWII and post WWII aircraft although I have built the occasional AFV.
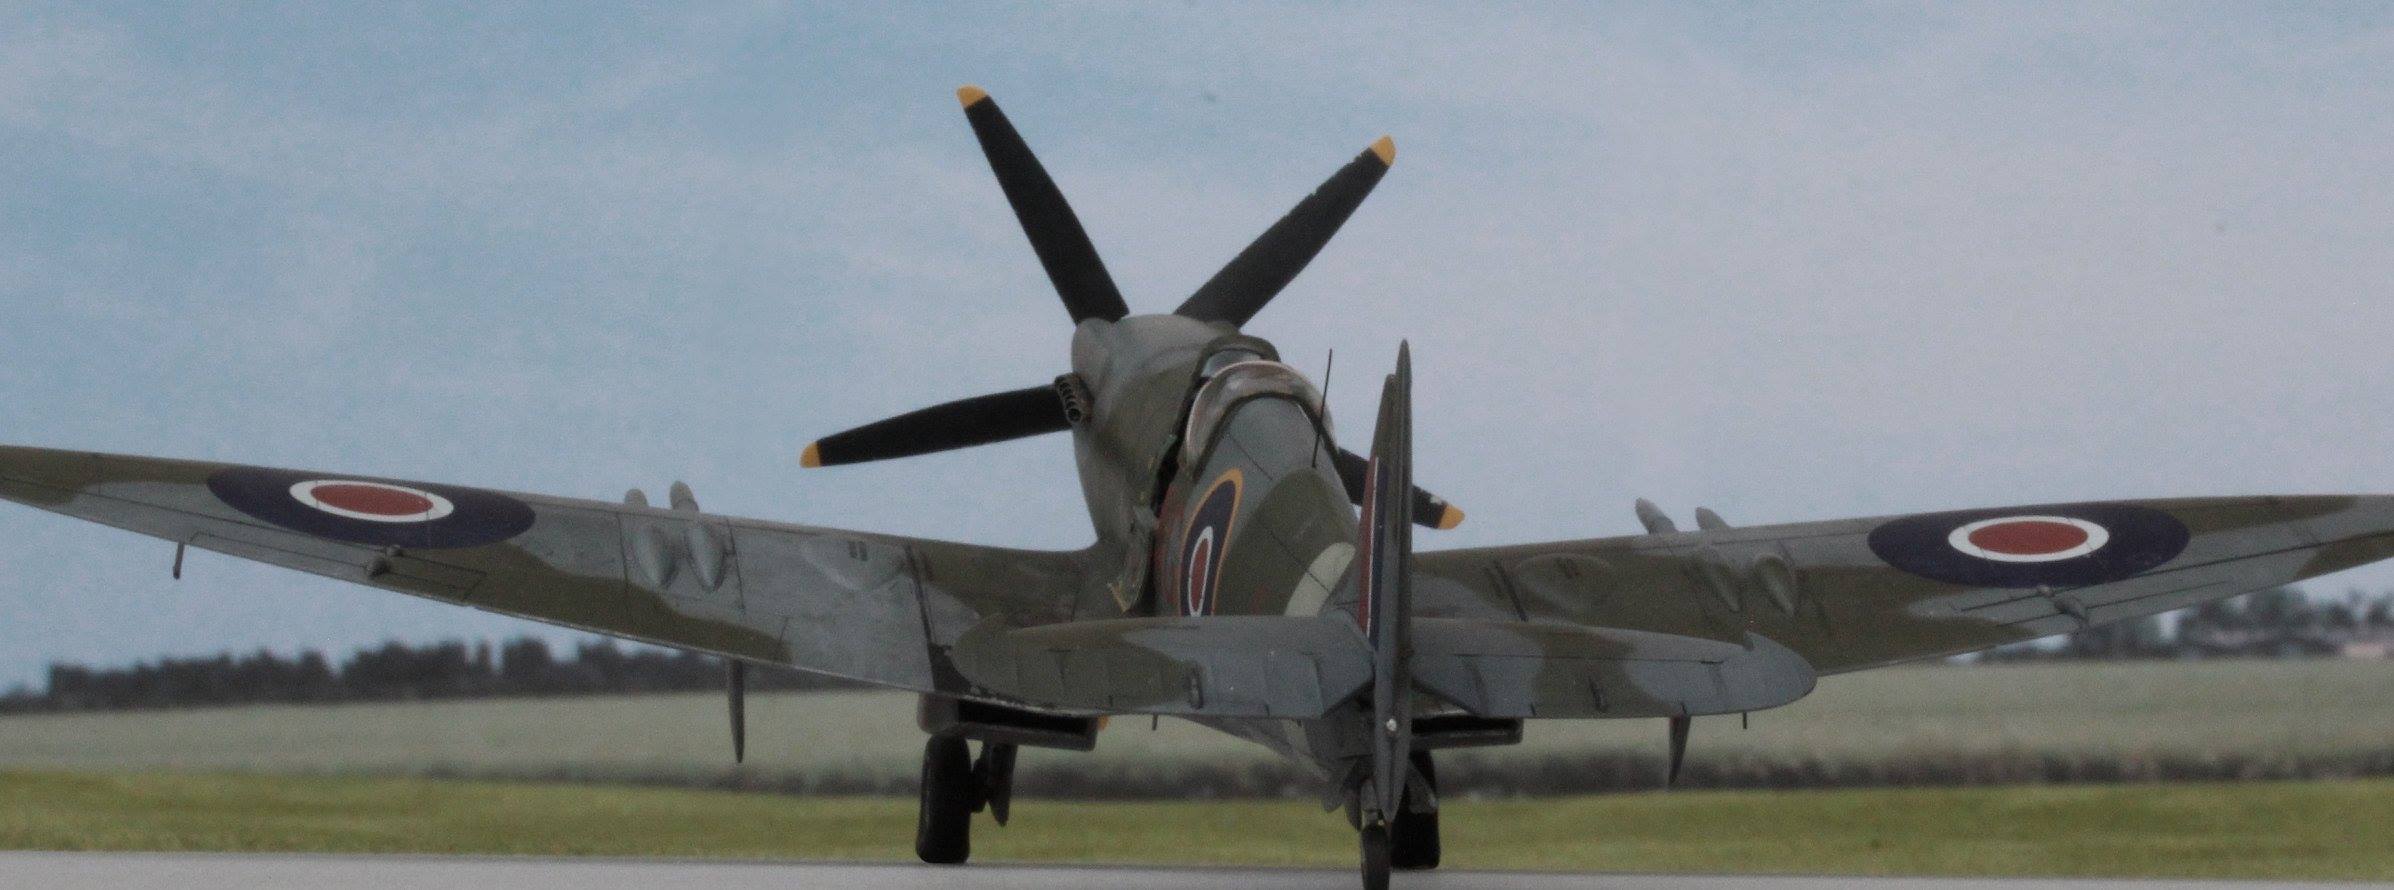
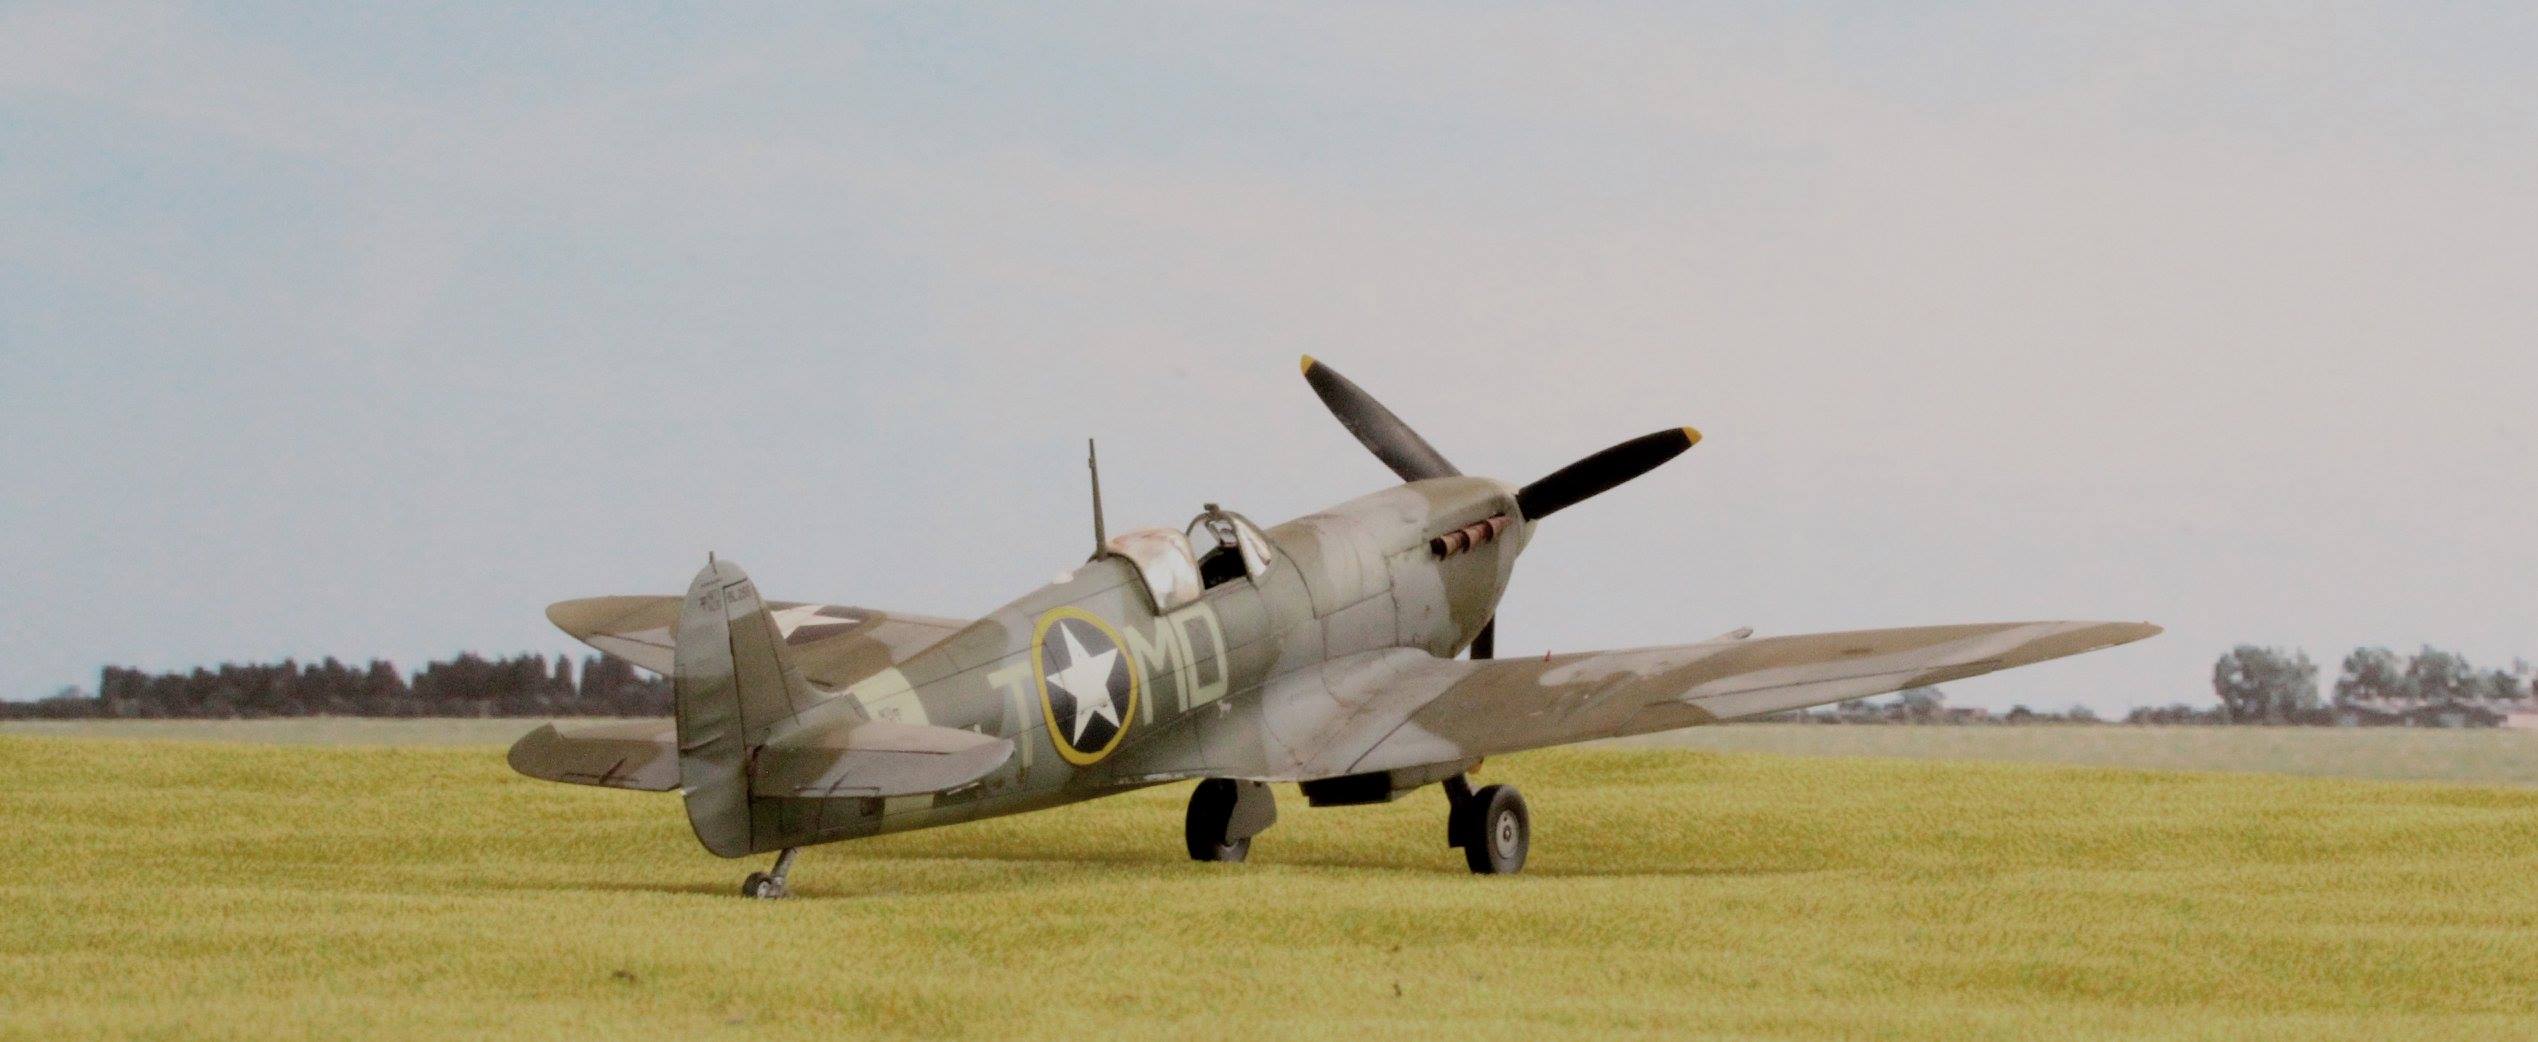
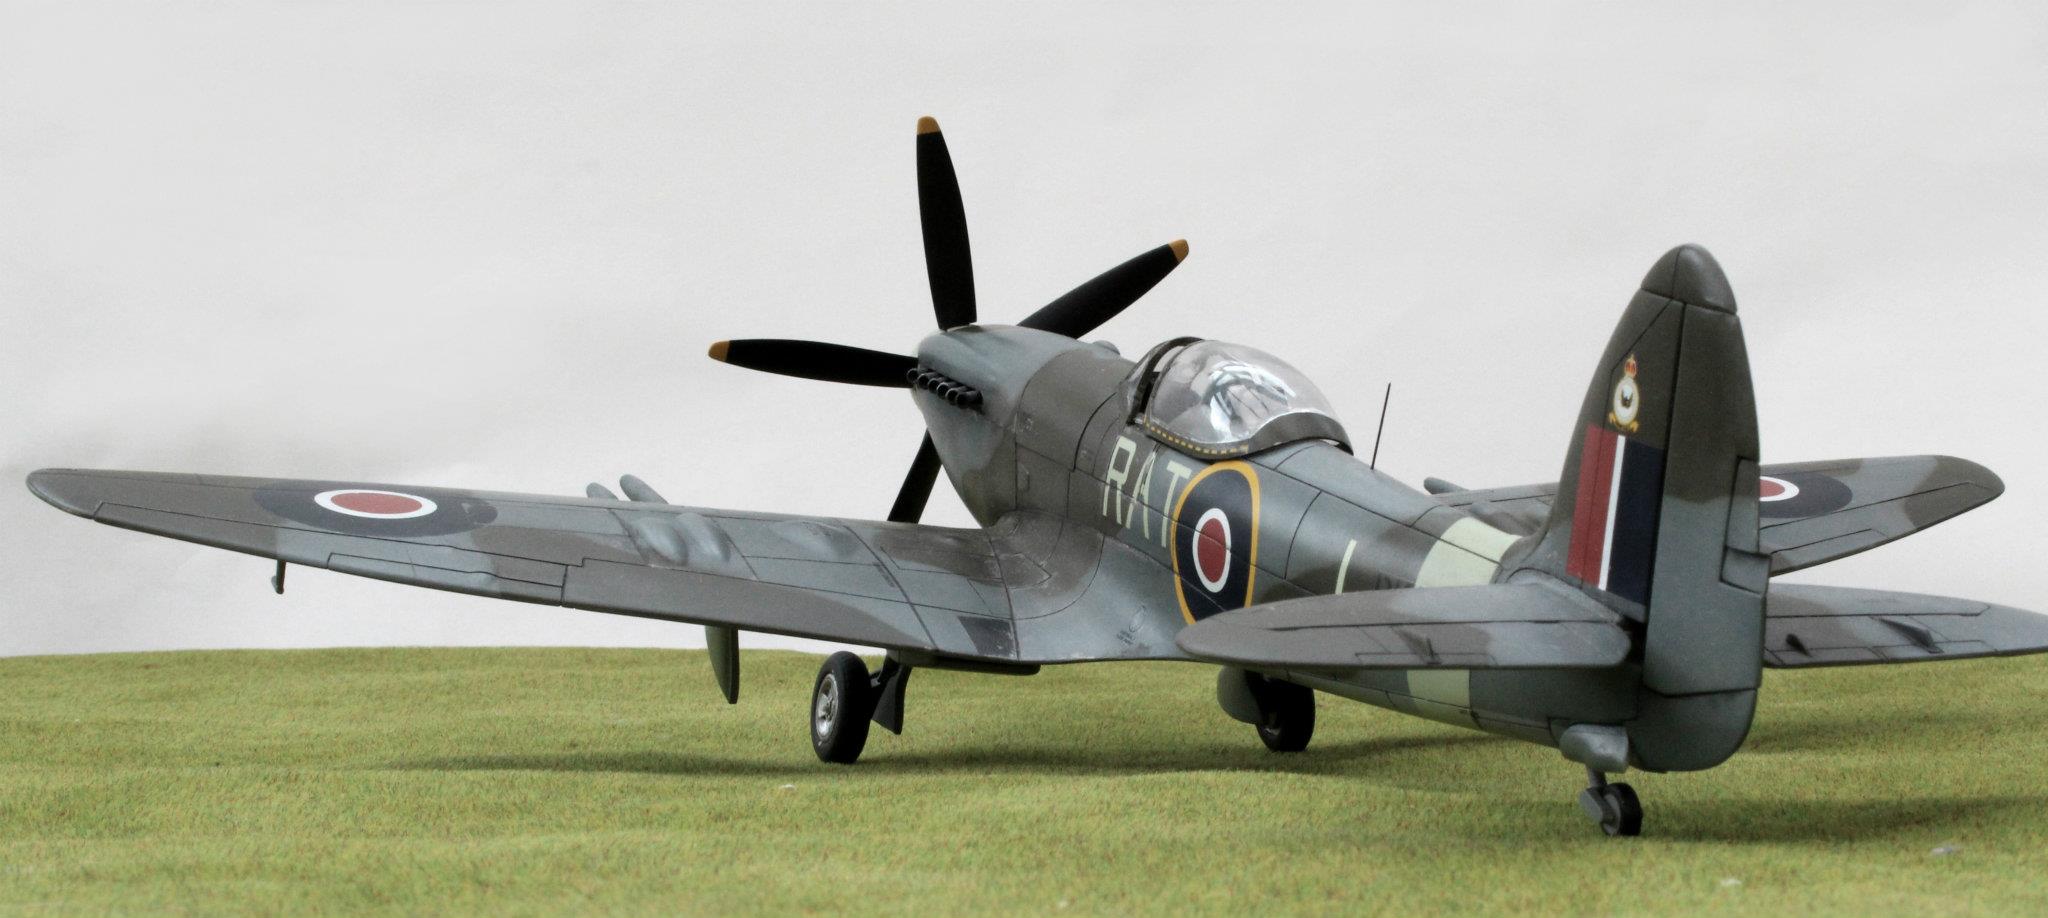
Spitfires and Seafires get most of my attention. And nearly all in 1/48th scale.
Typically it takes me about 3 months to complete a 1/48 Spitfire – when I’m not interrupted – but some of these kits have been spread over a number of years (work just gets in the way!). I like to spend hours researching and collecting photos – thank goodness for the internet – and most of my build-focus is on final painting (I hate the fitting and sanding stages). I’m particularly obsessed with replicating (or trying to replicate) the apparent worn and faded condition of operational airframes – although I have a long way to go with this. The last couple of models I built I counted around 26 different paint layers! Generally, I lay down an airframe silver colour which is sealed. After that I lay down colour layers in between chipping mediums – it’s not always successful.
Couple of other things I’m obsessed about;
- Undercarriage geometry; particularly on Spitfires and Seafires. So many modellers get this wrong and it, for me, ruins a good model. Some of the Spitfire/Seafire kits are tricky to get this right – the latest Tamiya kits for the Mk1a show how it can be done.
- Canopies; they are part of the airframe so I don’t understand why these are added last by some modellers, after all the other seams have been filled and sanded and all the painting is done. A good example of this are aeroplane kits of the Sunderland, B-17 and B-25 where the windscreen and side windows are fitted into the fuselage – and there should be no seam/gap where the clear plastic part joins the main body. It’s only the rear of bubble-top canopies or centre sections on Spitfires that get added last after all the painting. All other canopy parts are added with carefully applied regular polystyrene cement and have their seams filled and blended while the glass panes are masked. Against my better judgement, I added the windscreen of my Hunter F.6 last and for me this still doesn’t look right (in fact, it later fell off after a slight knock!).
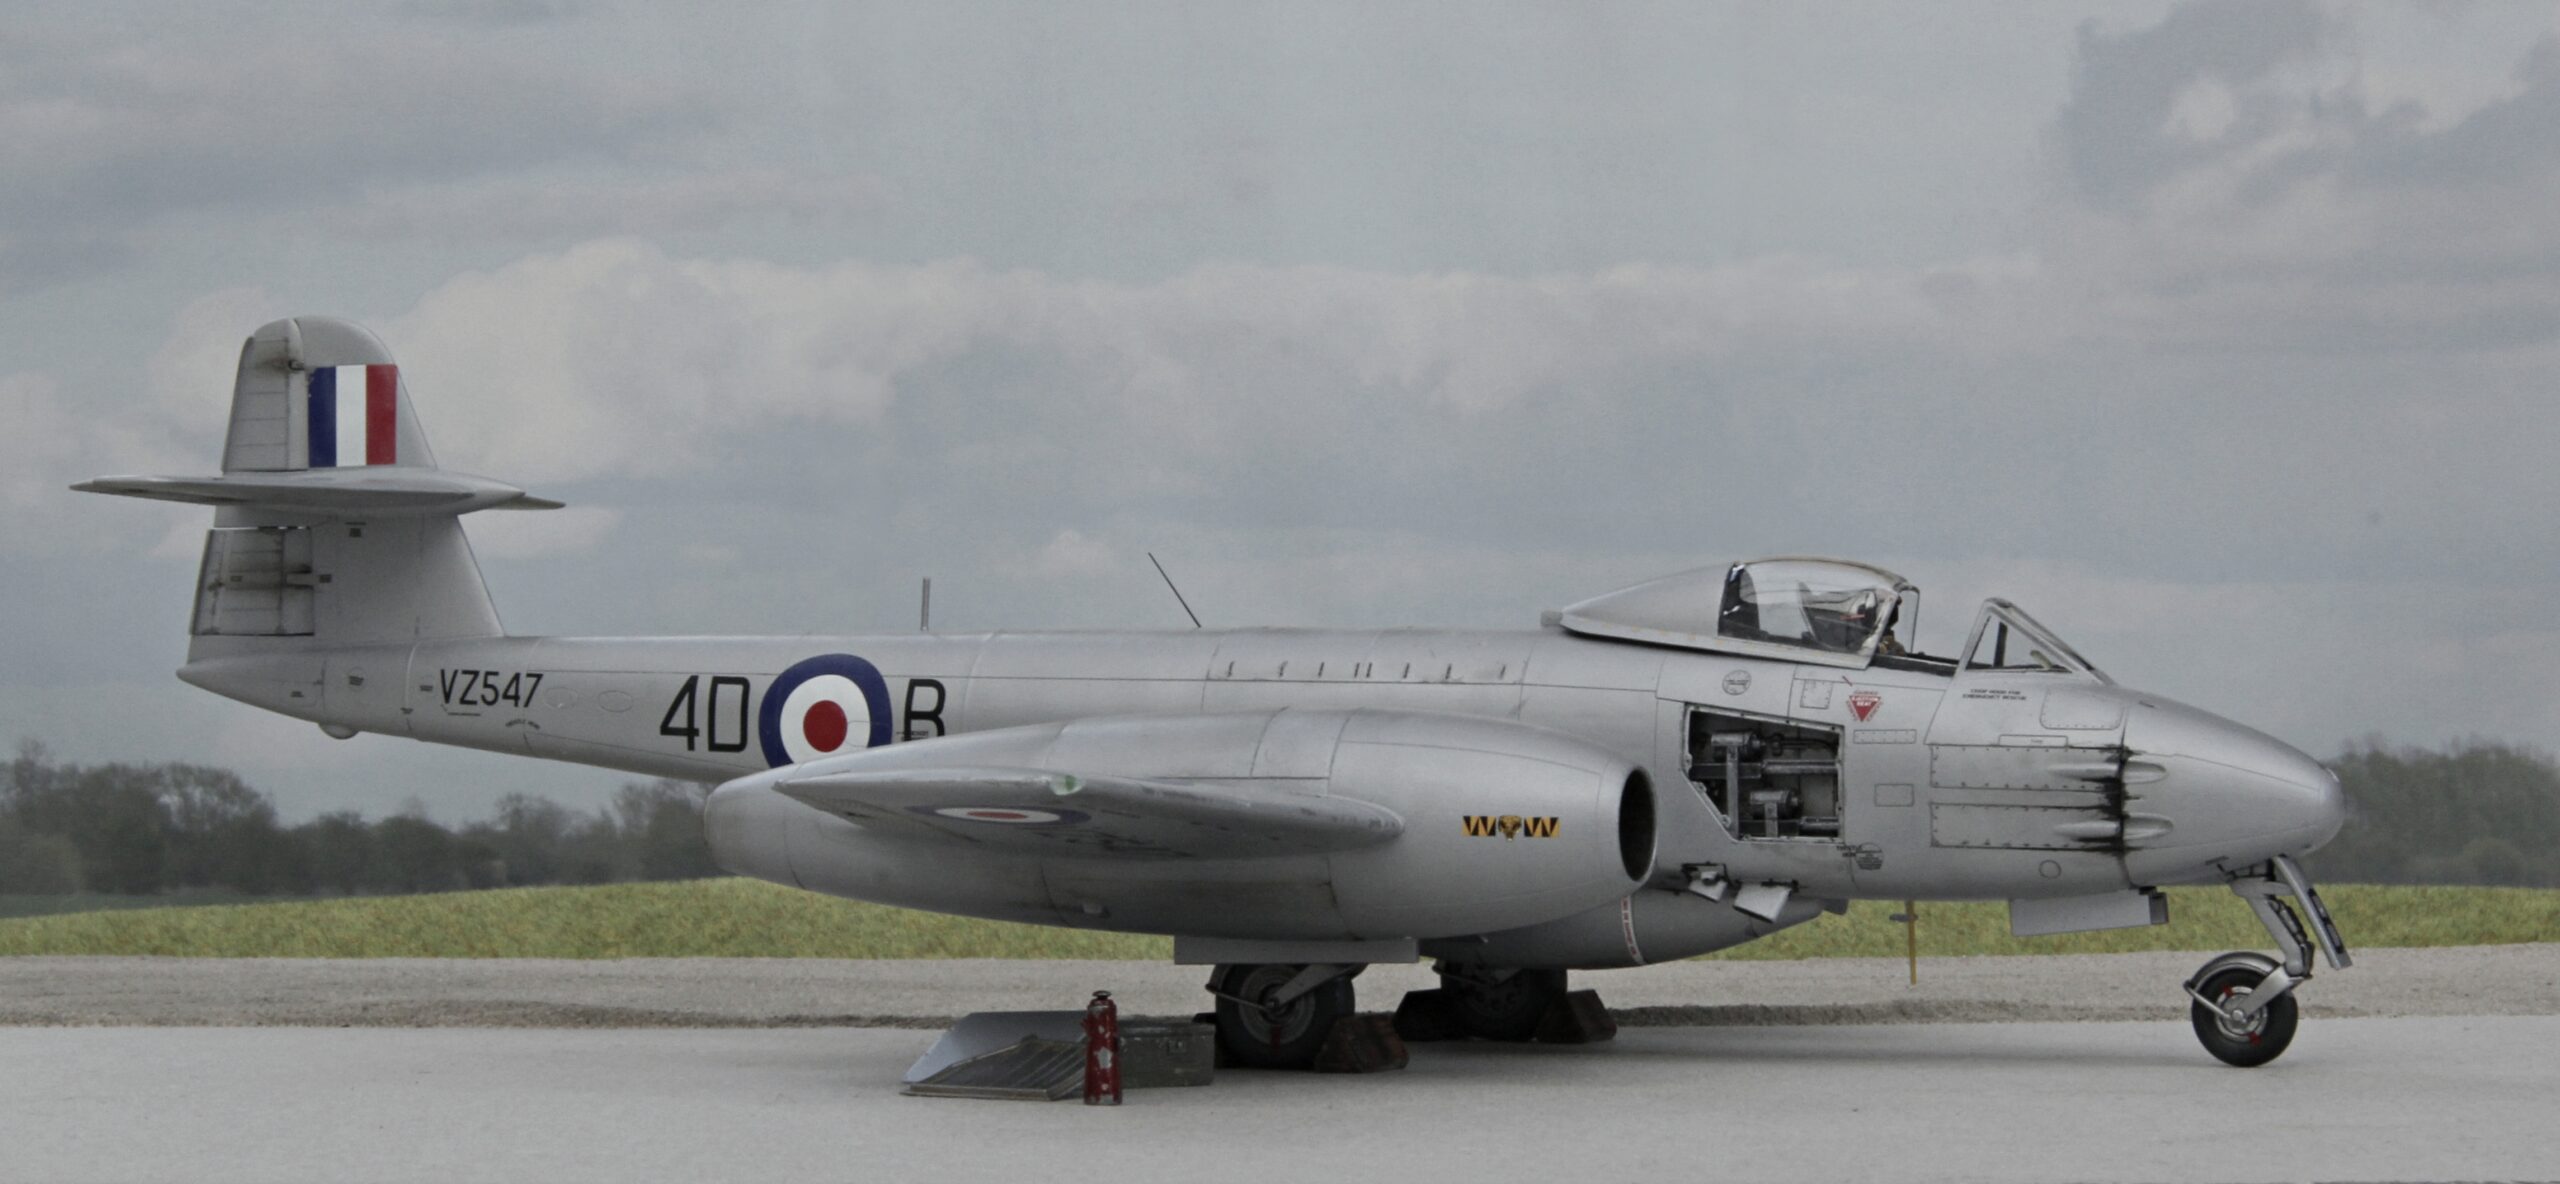
- High Speed Silver (HSS); is not a Natural Metal Finish (NMF). Most RAF aircraft that appear to be ‘silver’, this includes Meteors, Vampires and Spitfires, are painted in a silver-coloured dope. They are not bare polished metal – like many USAF types. Though this isn’t a 100% absolute, bare metal is rare for RAF aircraft. For me, HSS tends to dull down and look like a grey with a hint of silver which is quite a different look to a polished aluminium. It’s also more consistent across the airframe rather then having panels of different reflectivity, It’s really obvious when one sees a ‘silver’ Vampire or Mosquito since these aeroplanes are mostly made of wood they couldn’t be ‘polished’ or ‘bare metal’. Very shiny Meteors just don’t look right to me. Typically I’ll add a drop of white into the silver to get a duller look. This works well on inter-war biplanes where you want a difference between the polished metal engine cowl and fabric doped in silver.
- Scalemates; use this website! Before you buy a kit and get all bent out of shape because it’s fit, accuracy and detailing is bad, use this site to research the production history – and find out how old the mould is! Get your expectations set right in the first place before you buy and don’t moan about the quality of an old kit that’s still in production. The sites provides a wealth of useful info. You can also get copies of instruction sheets too! On each of my model pages I provide a link to the kit details on Scalemates. Use the site to research the kit, before you buy it.
So modelling is a journey to every closer authenticity and realism and there’s always more to learn and more to see if one looks carefully enough.
My Models
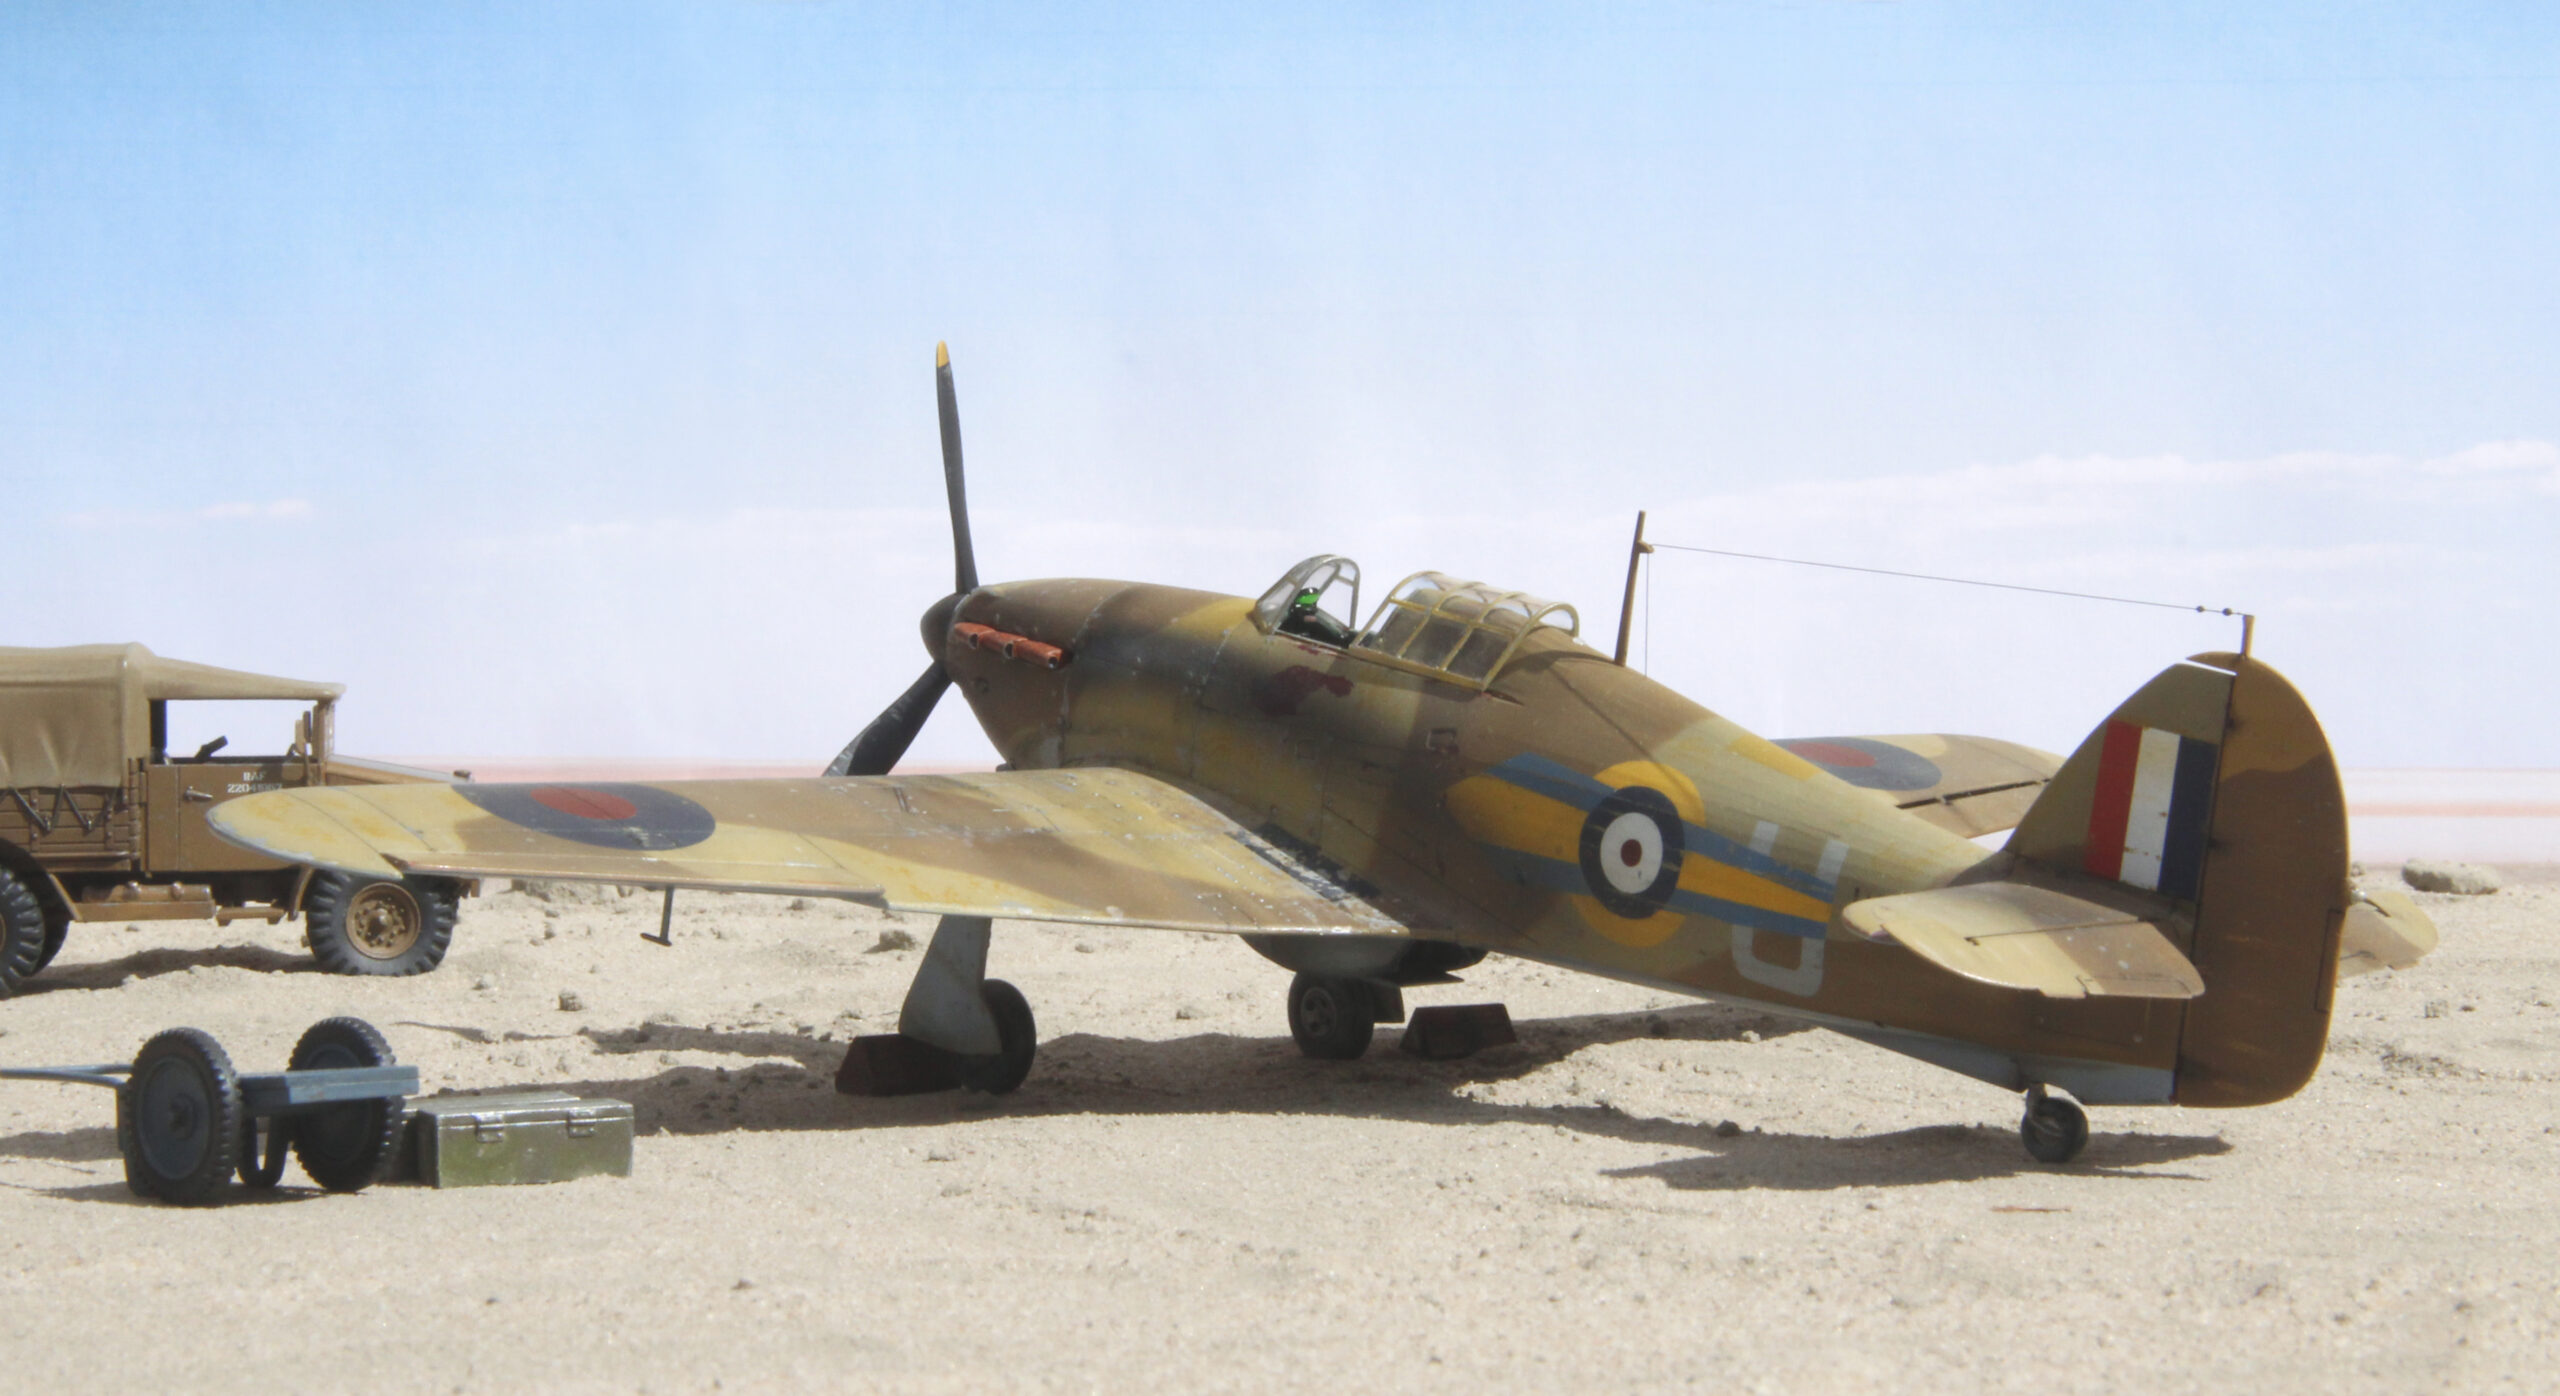
Hawker Hurricane Mk I (Tropical) Airfix 1/48 scale Kit
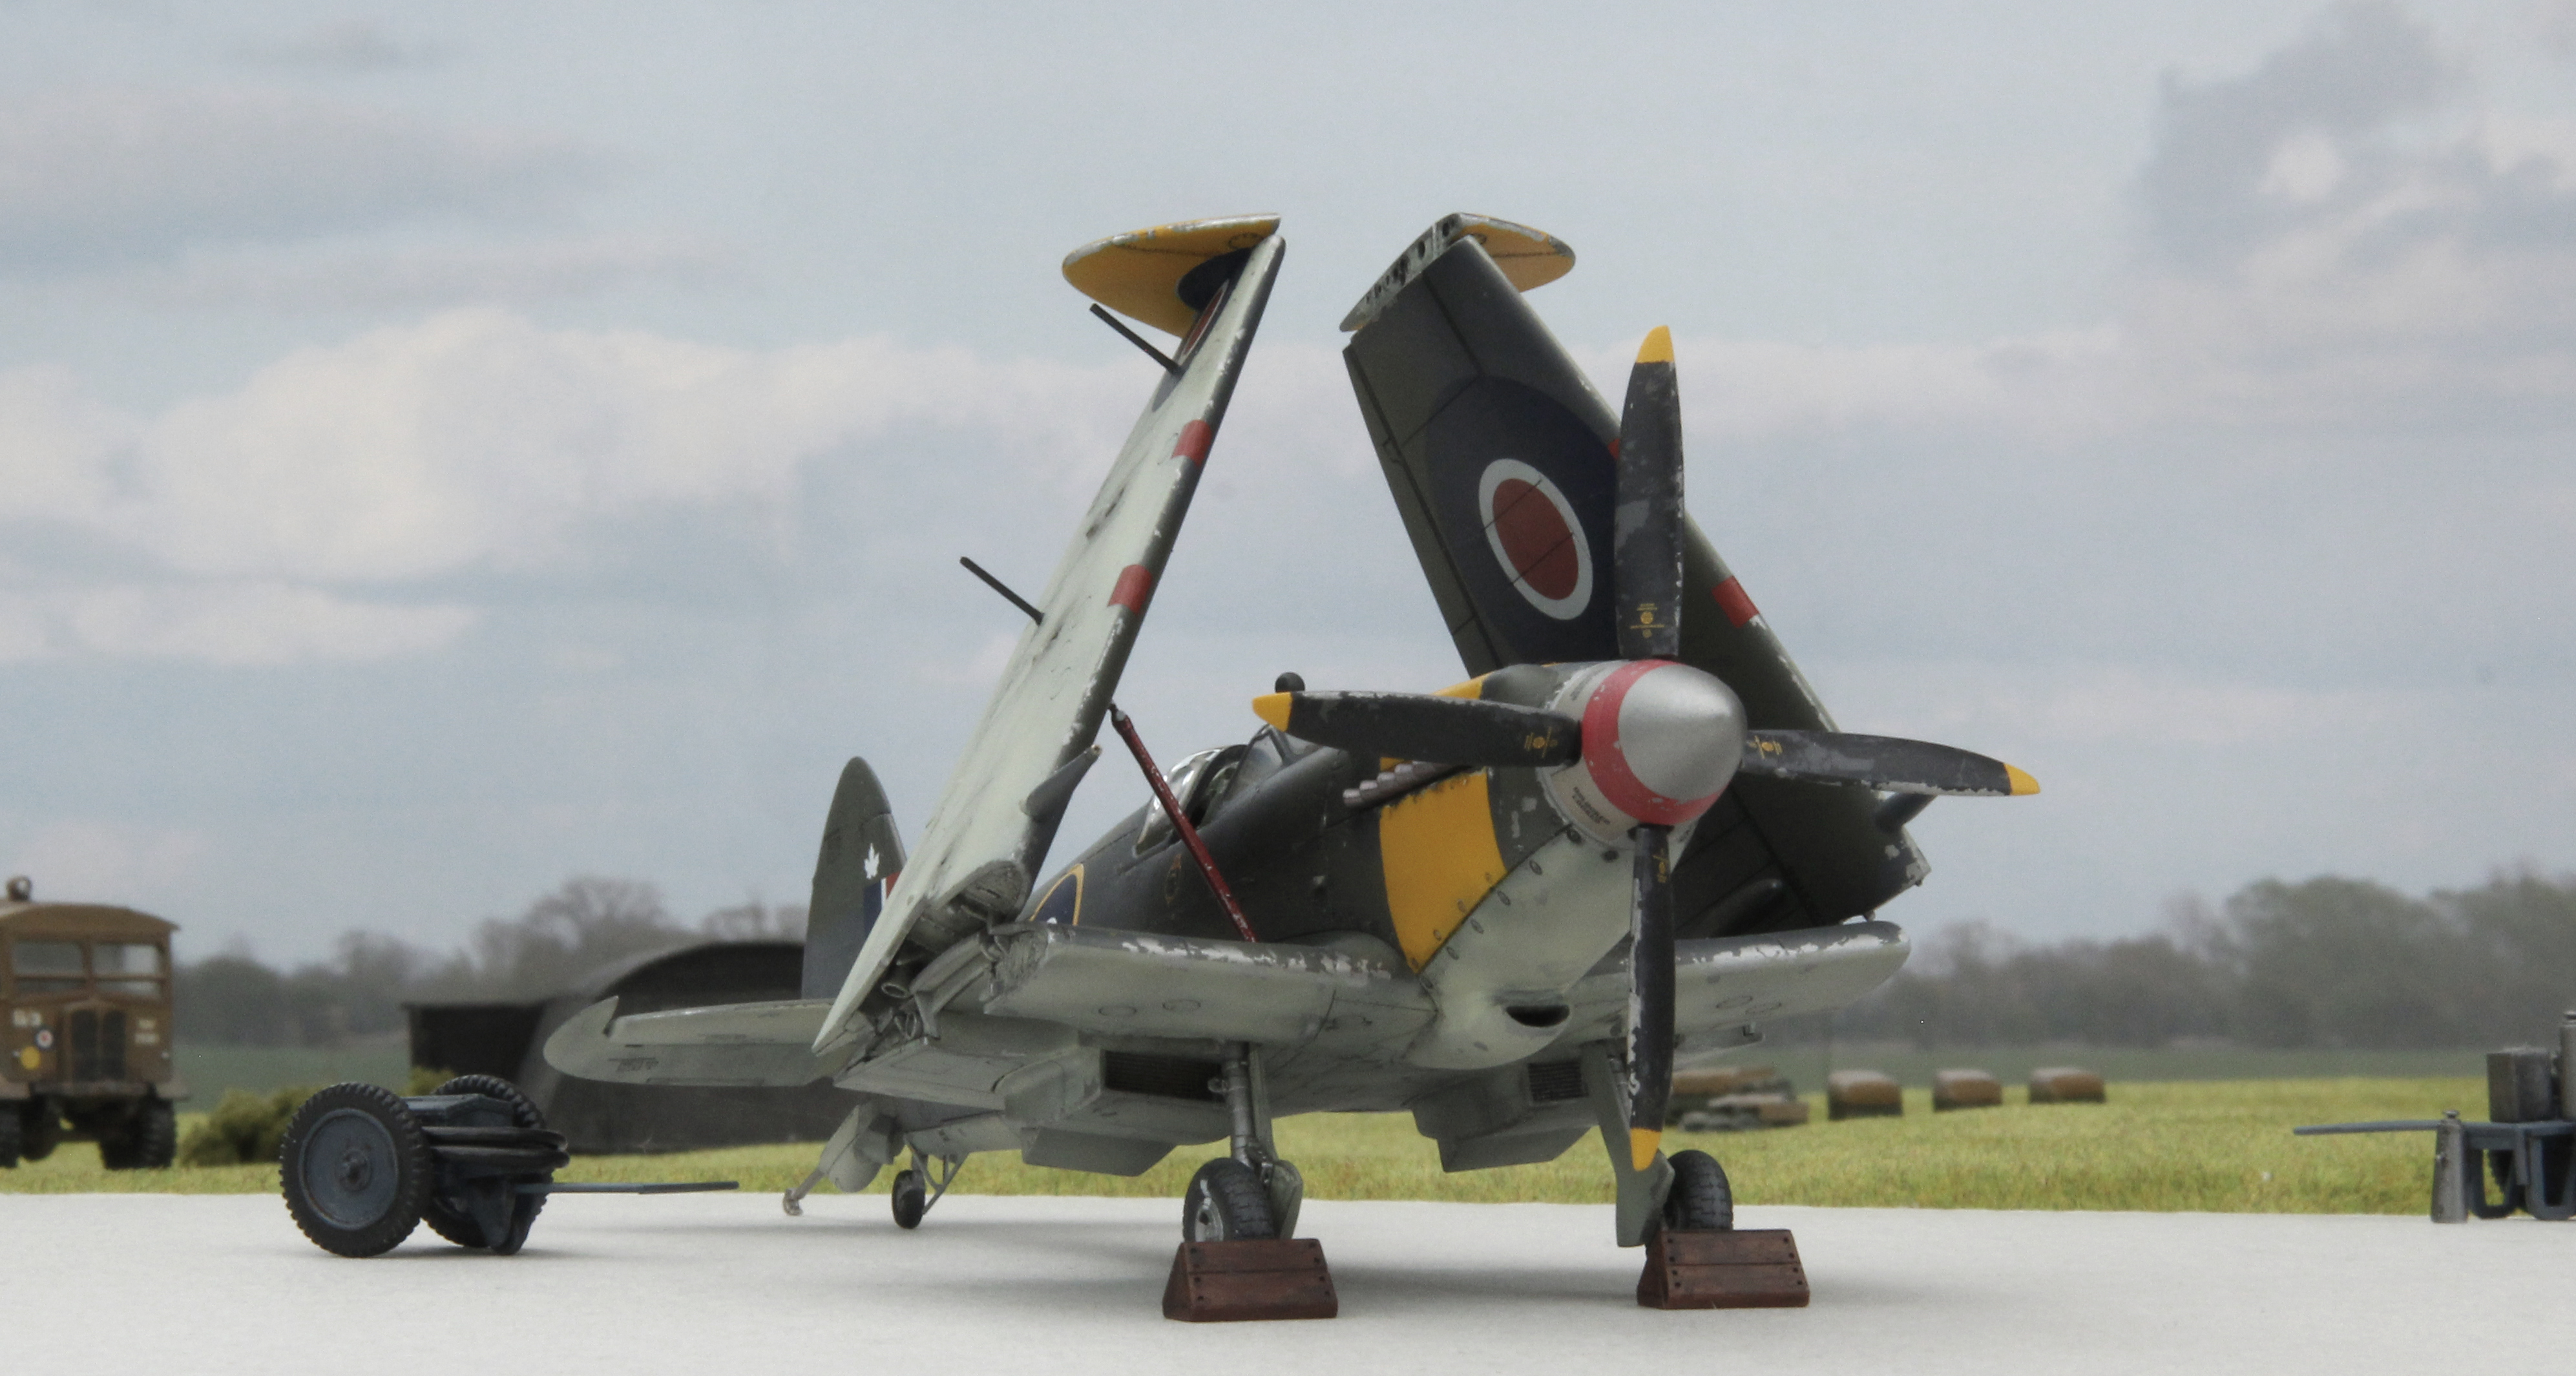
Supermarine Seafire Mk XV (RCN) Airfix kit bash
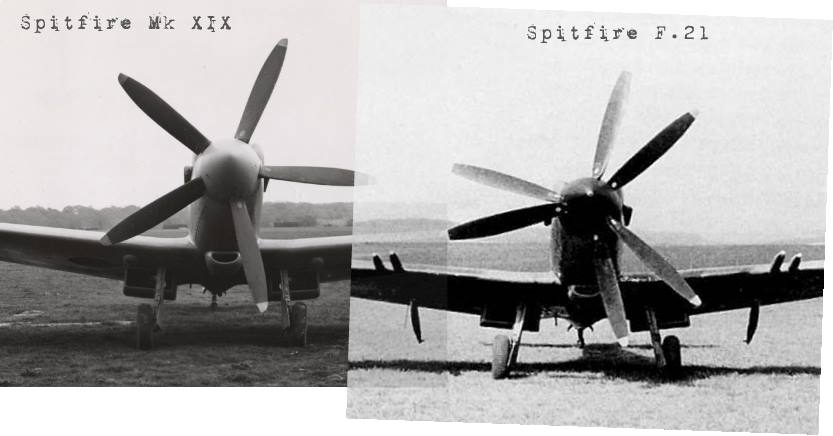
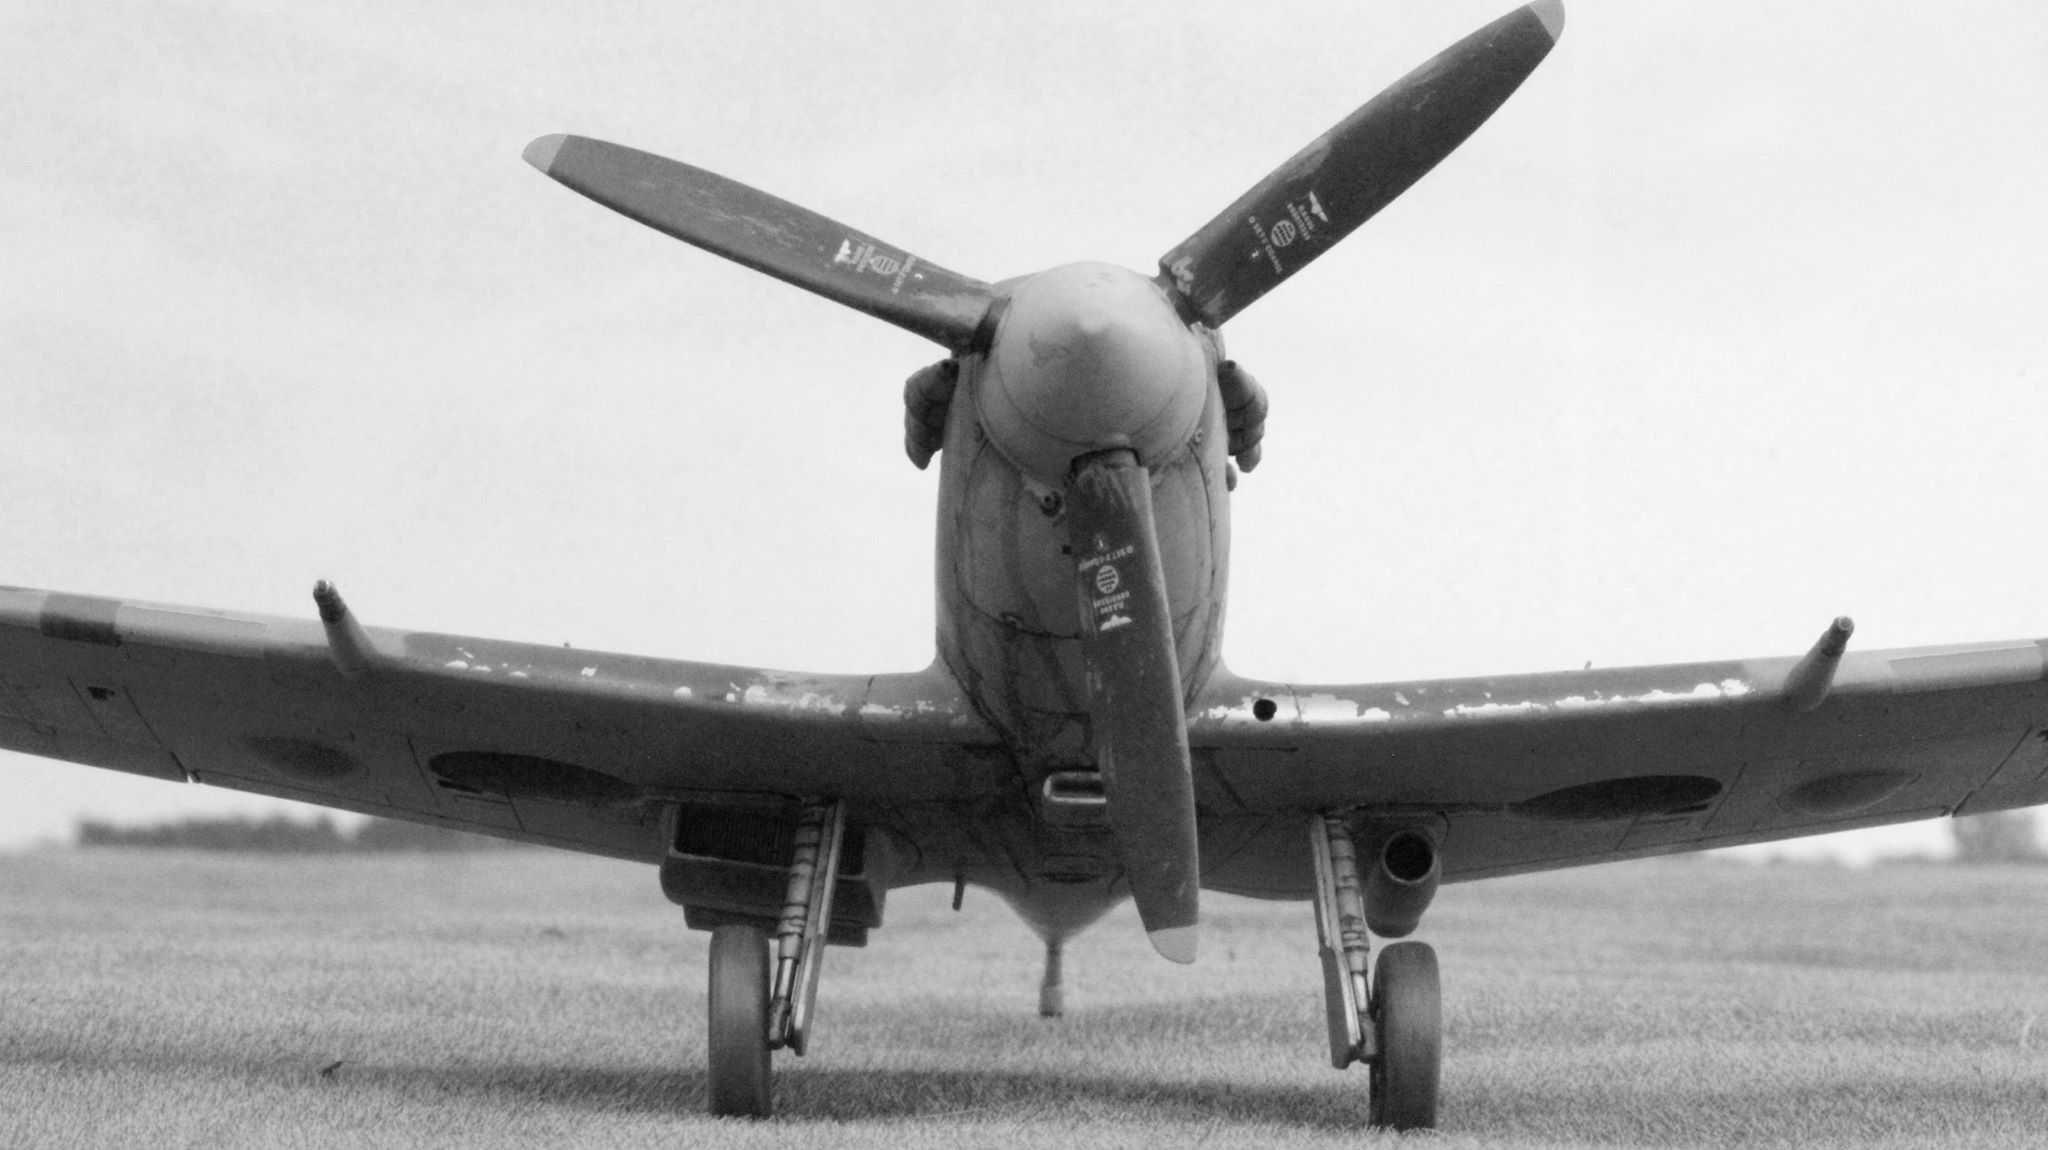
Supermarine Spitfire F Mk 21 Airfix kit bash
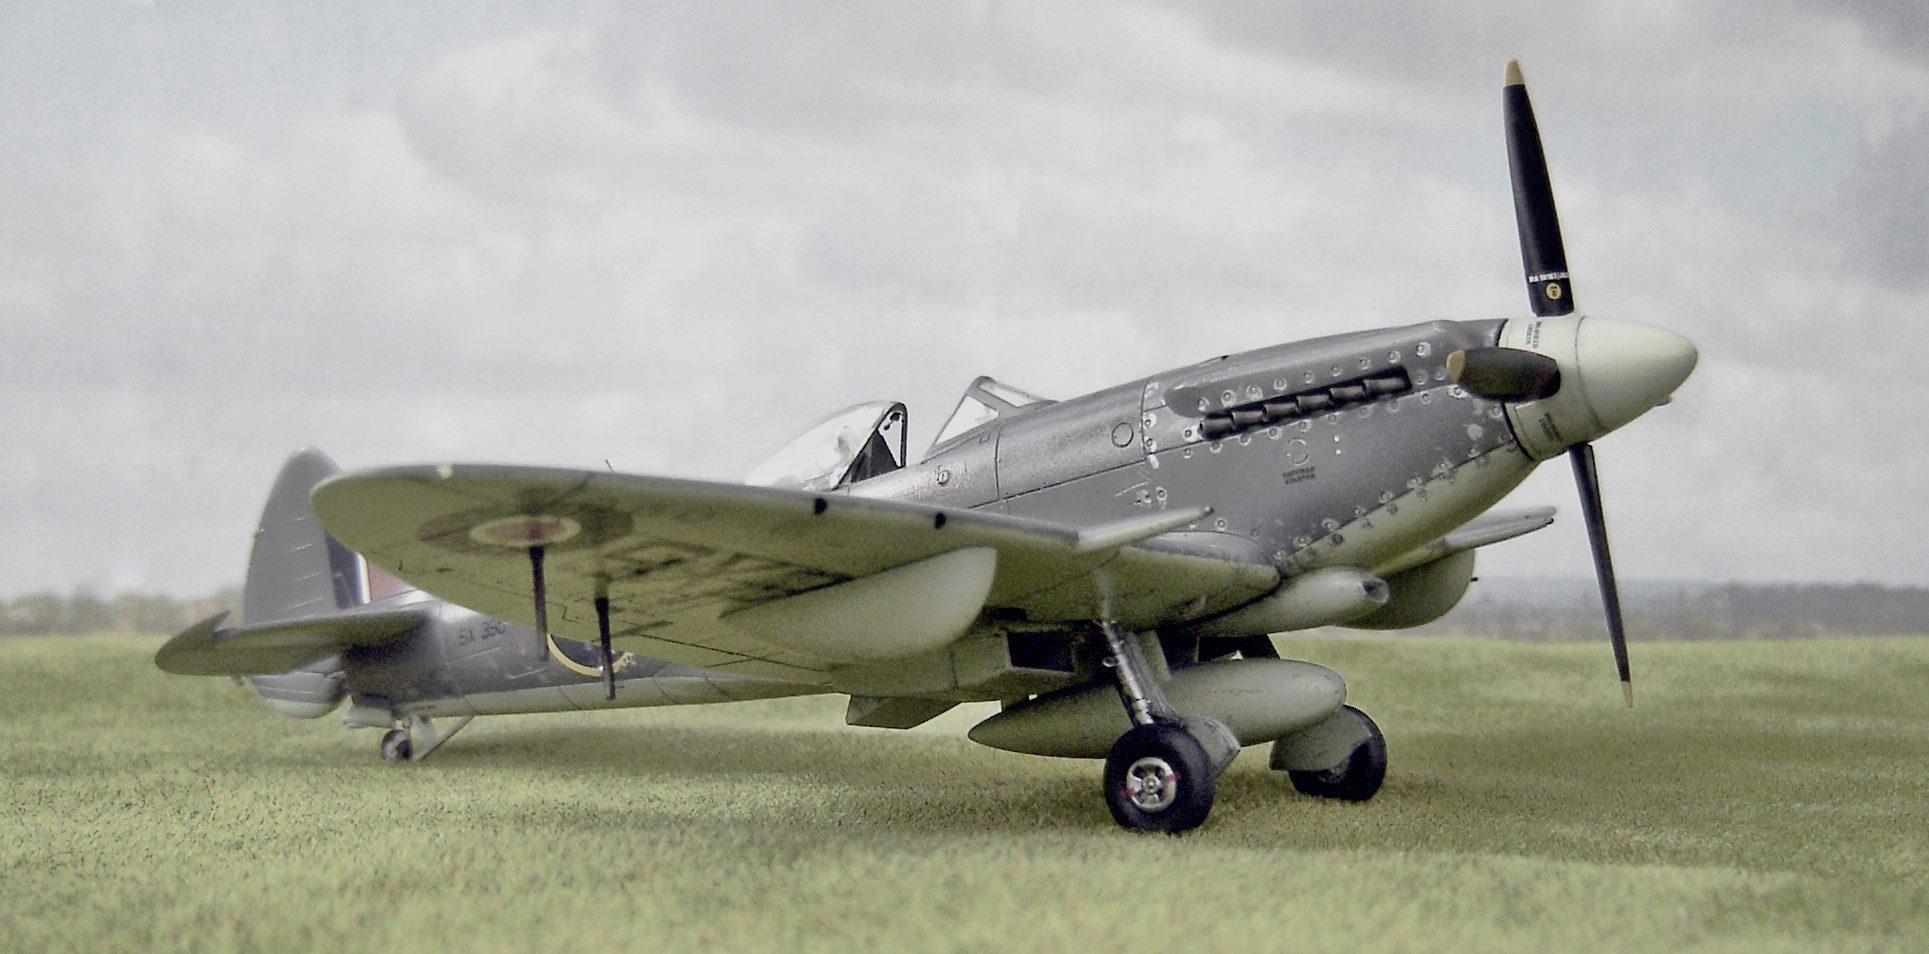
North American P-51K/MkIV Mustang airfix 1/48th scale kit

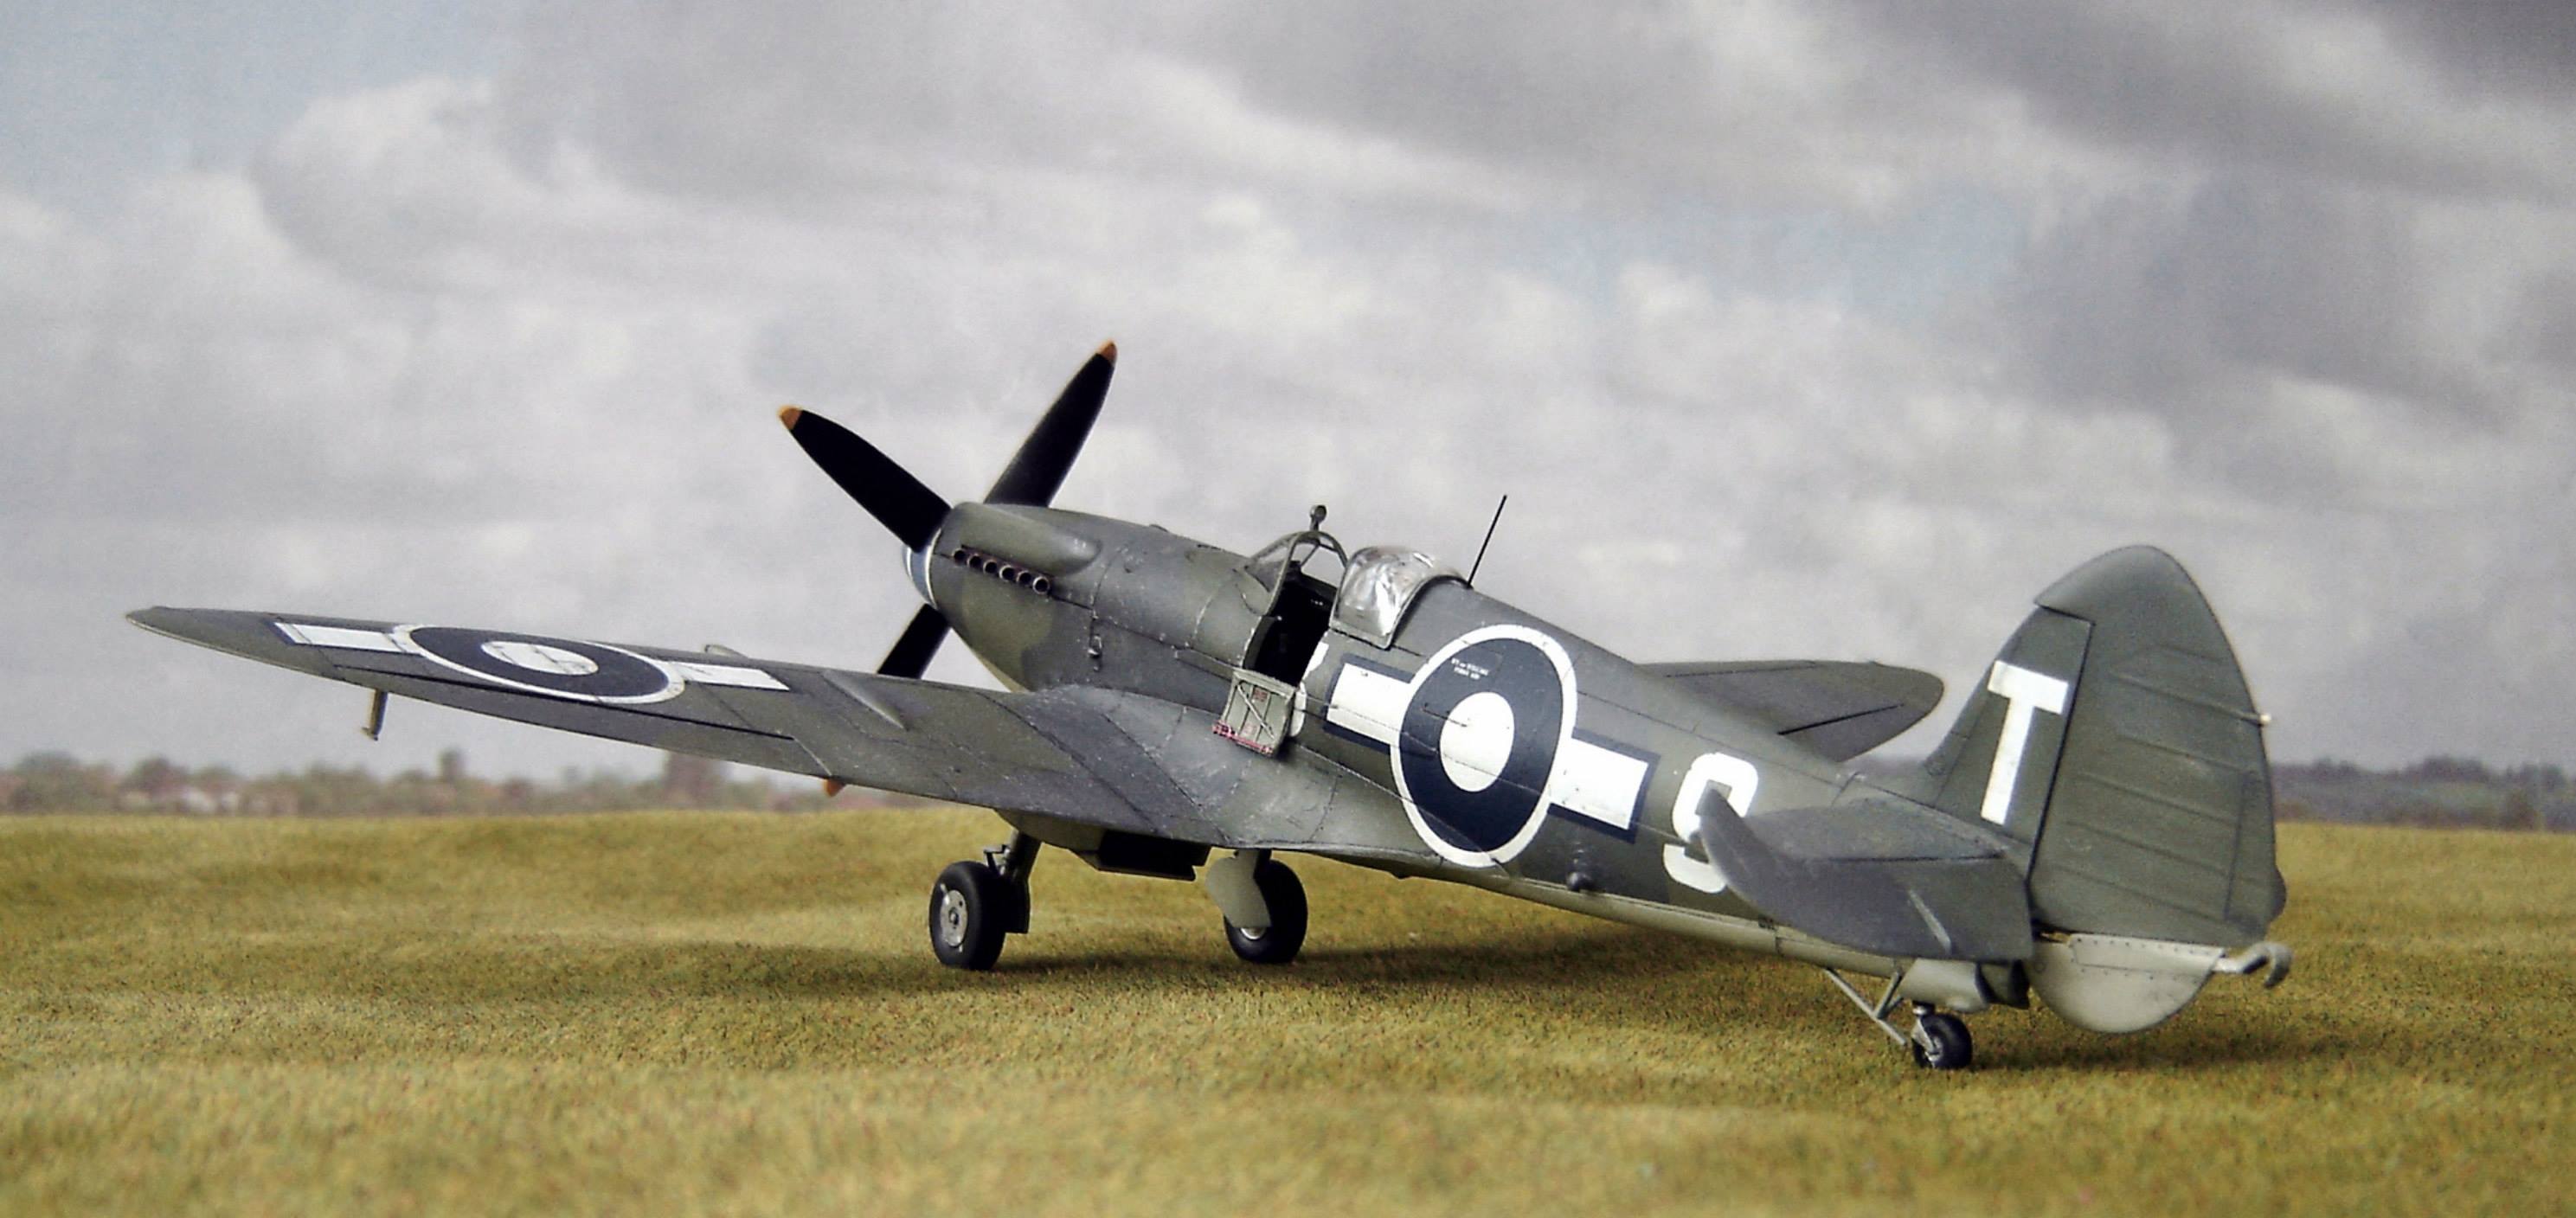
Supermarine Spitfire Vb 1/48 Airfix kit
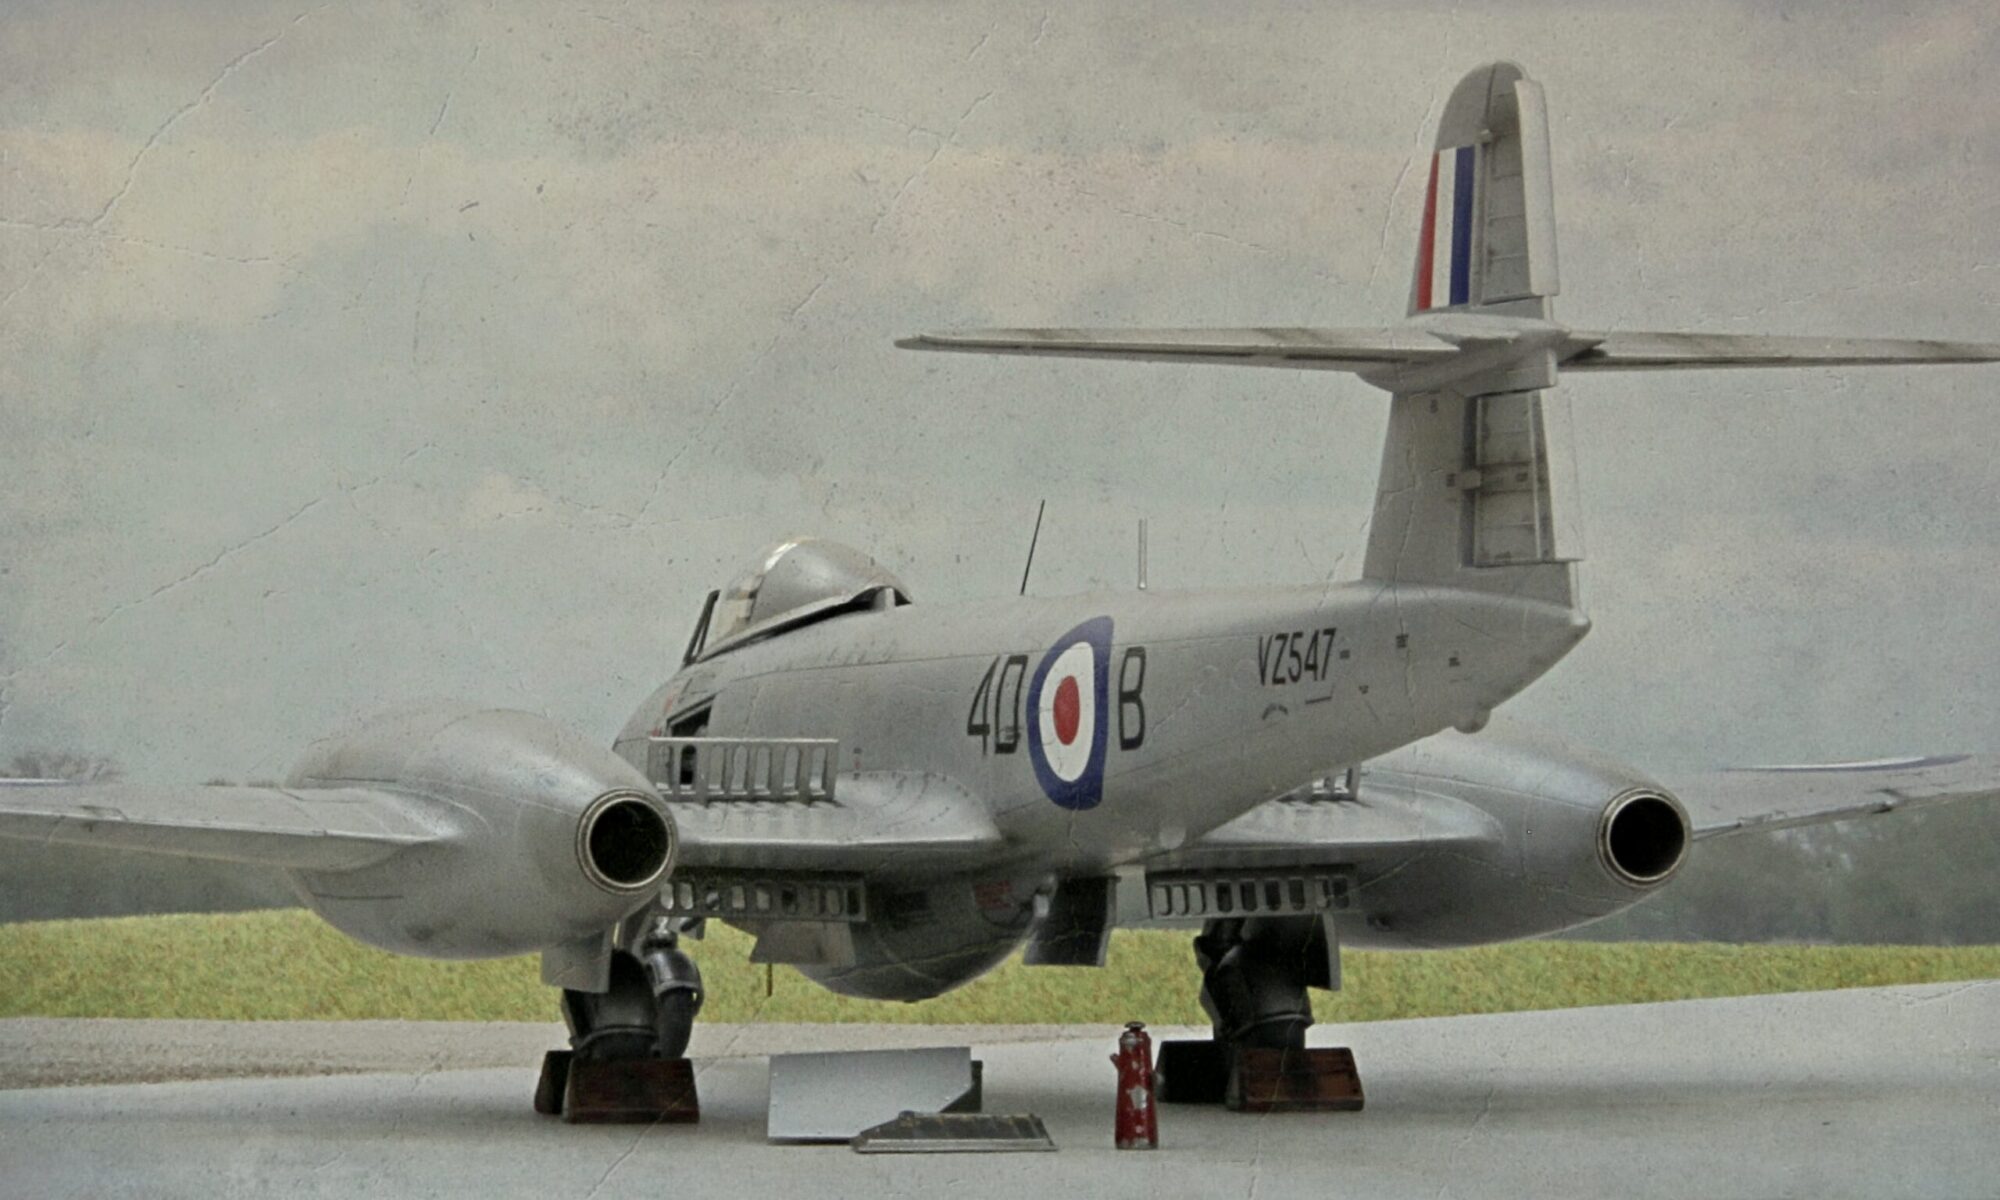
Gloster Meteor F.8 airfix 1/48th scale kit
Hawker Hunter F.6 (RAF in 1958) 1/48th Scale Airfix

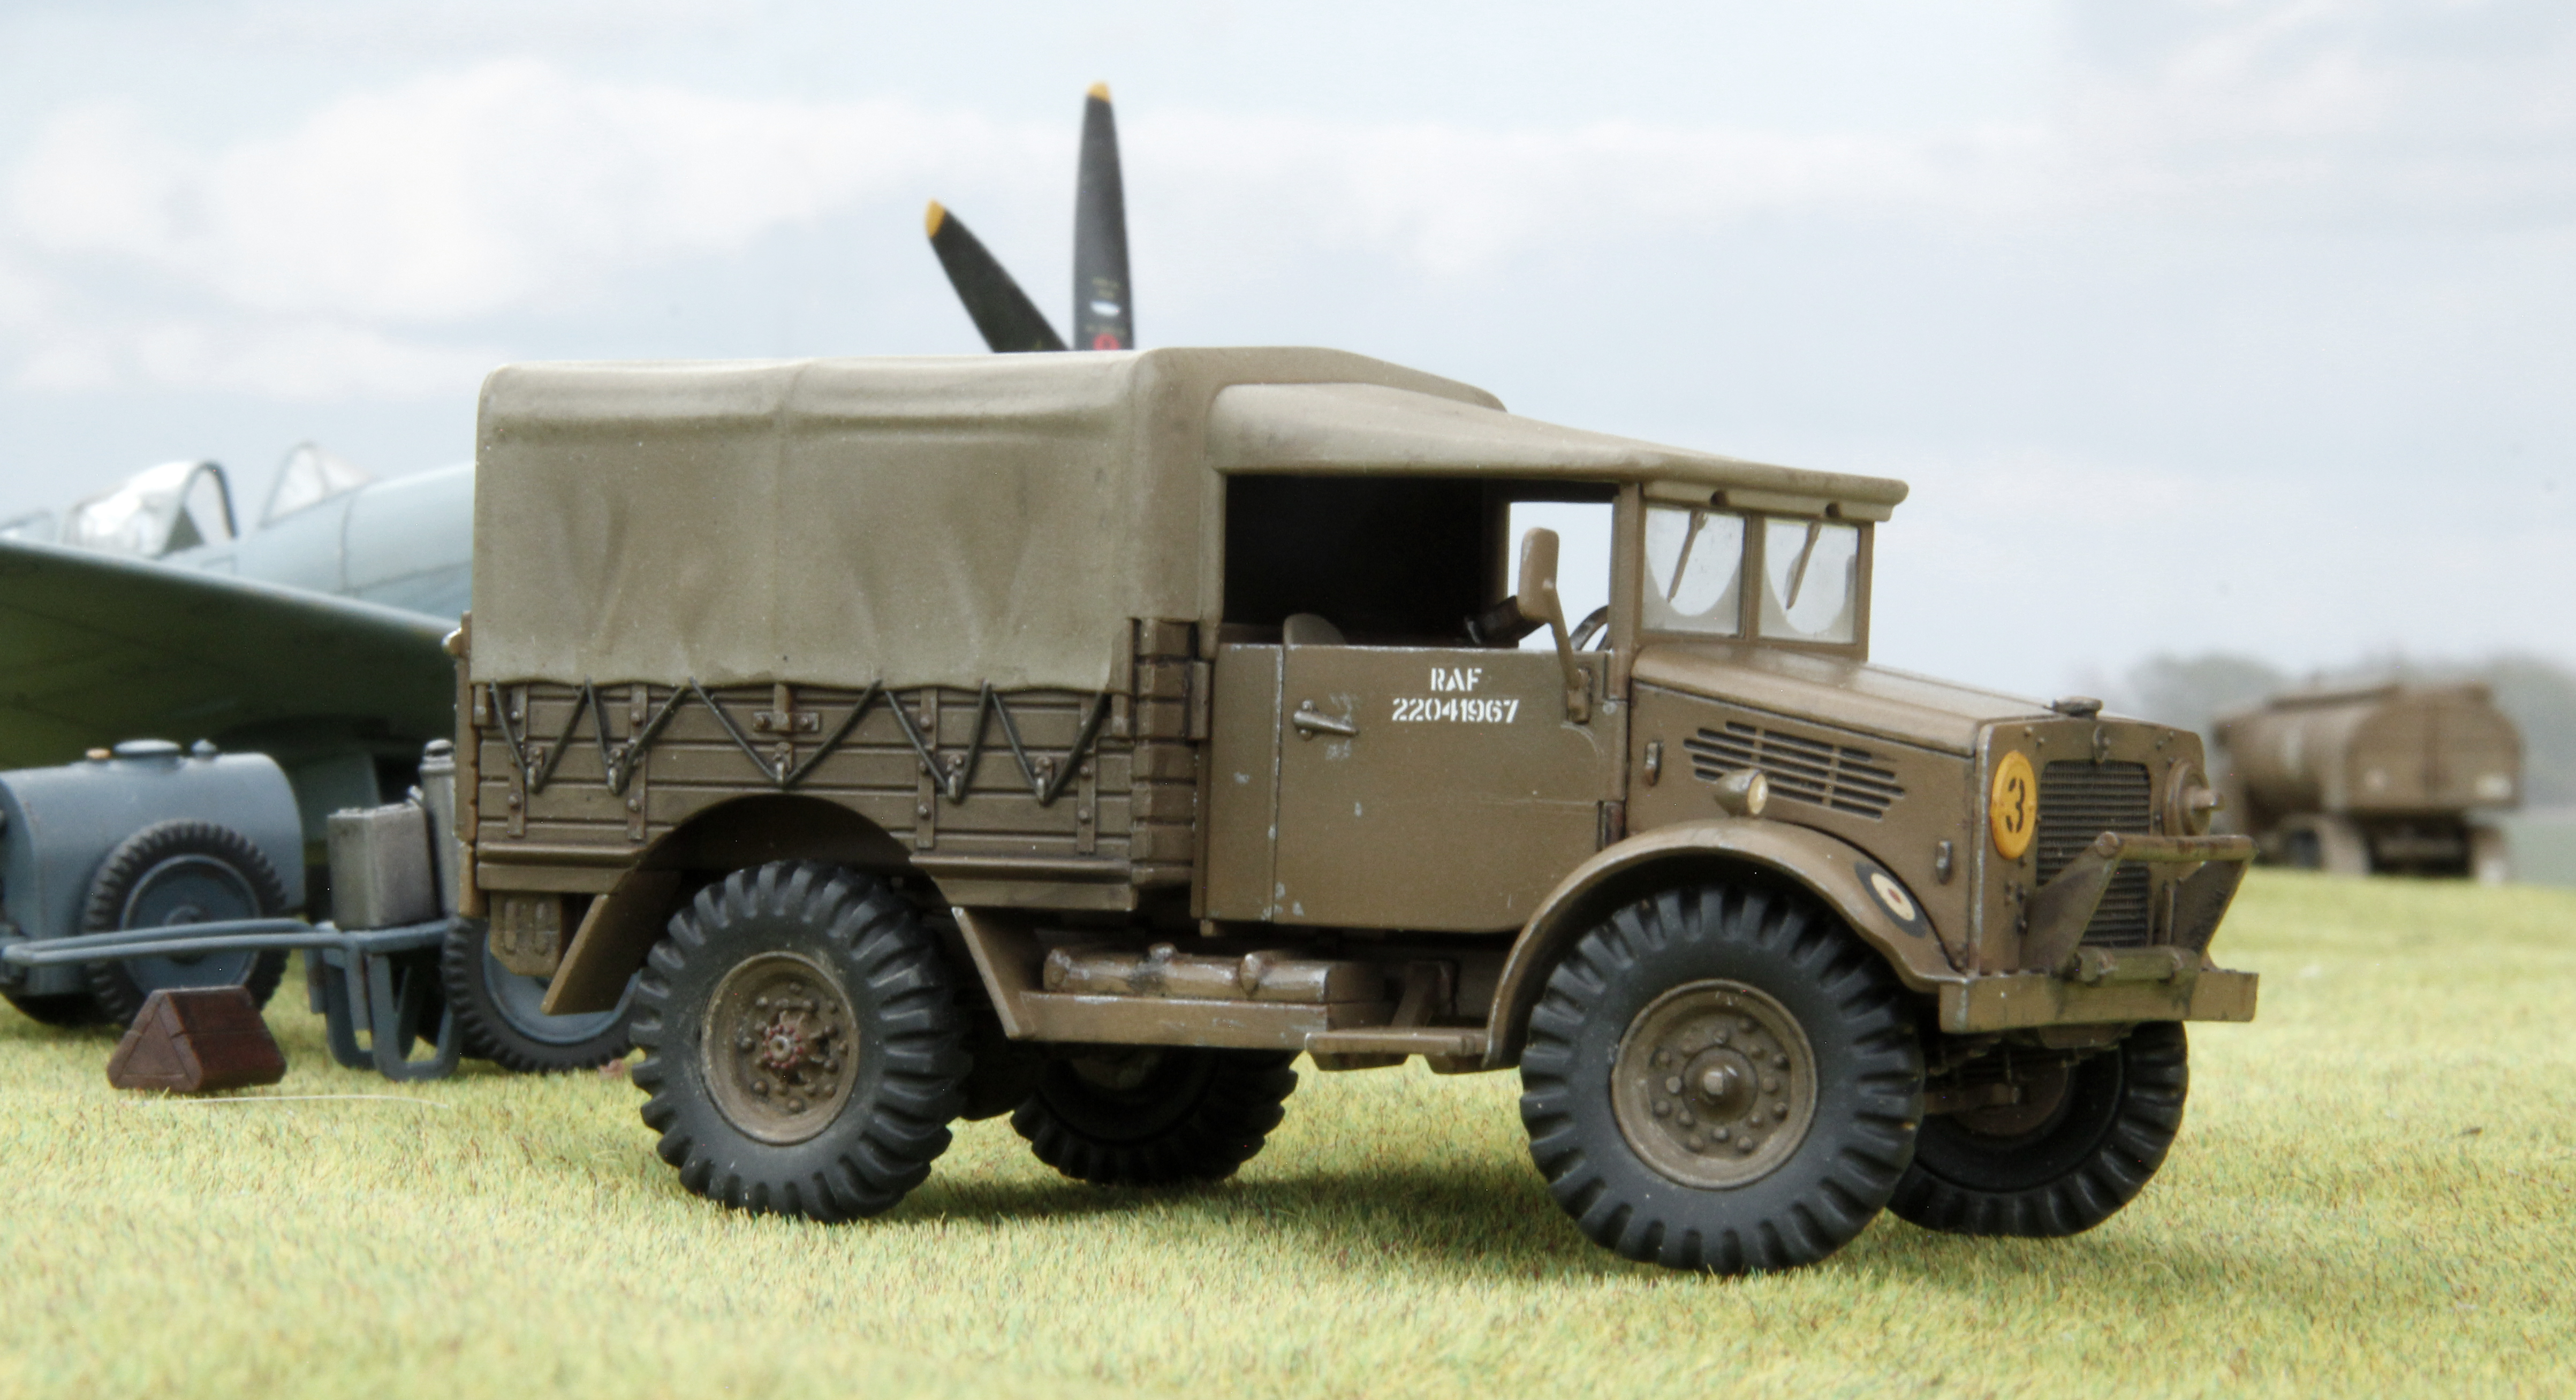
BEDFORD MWD Airfix 1/48th Scale
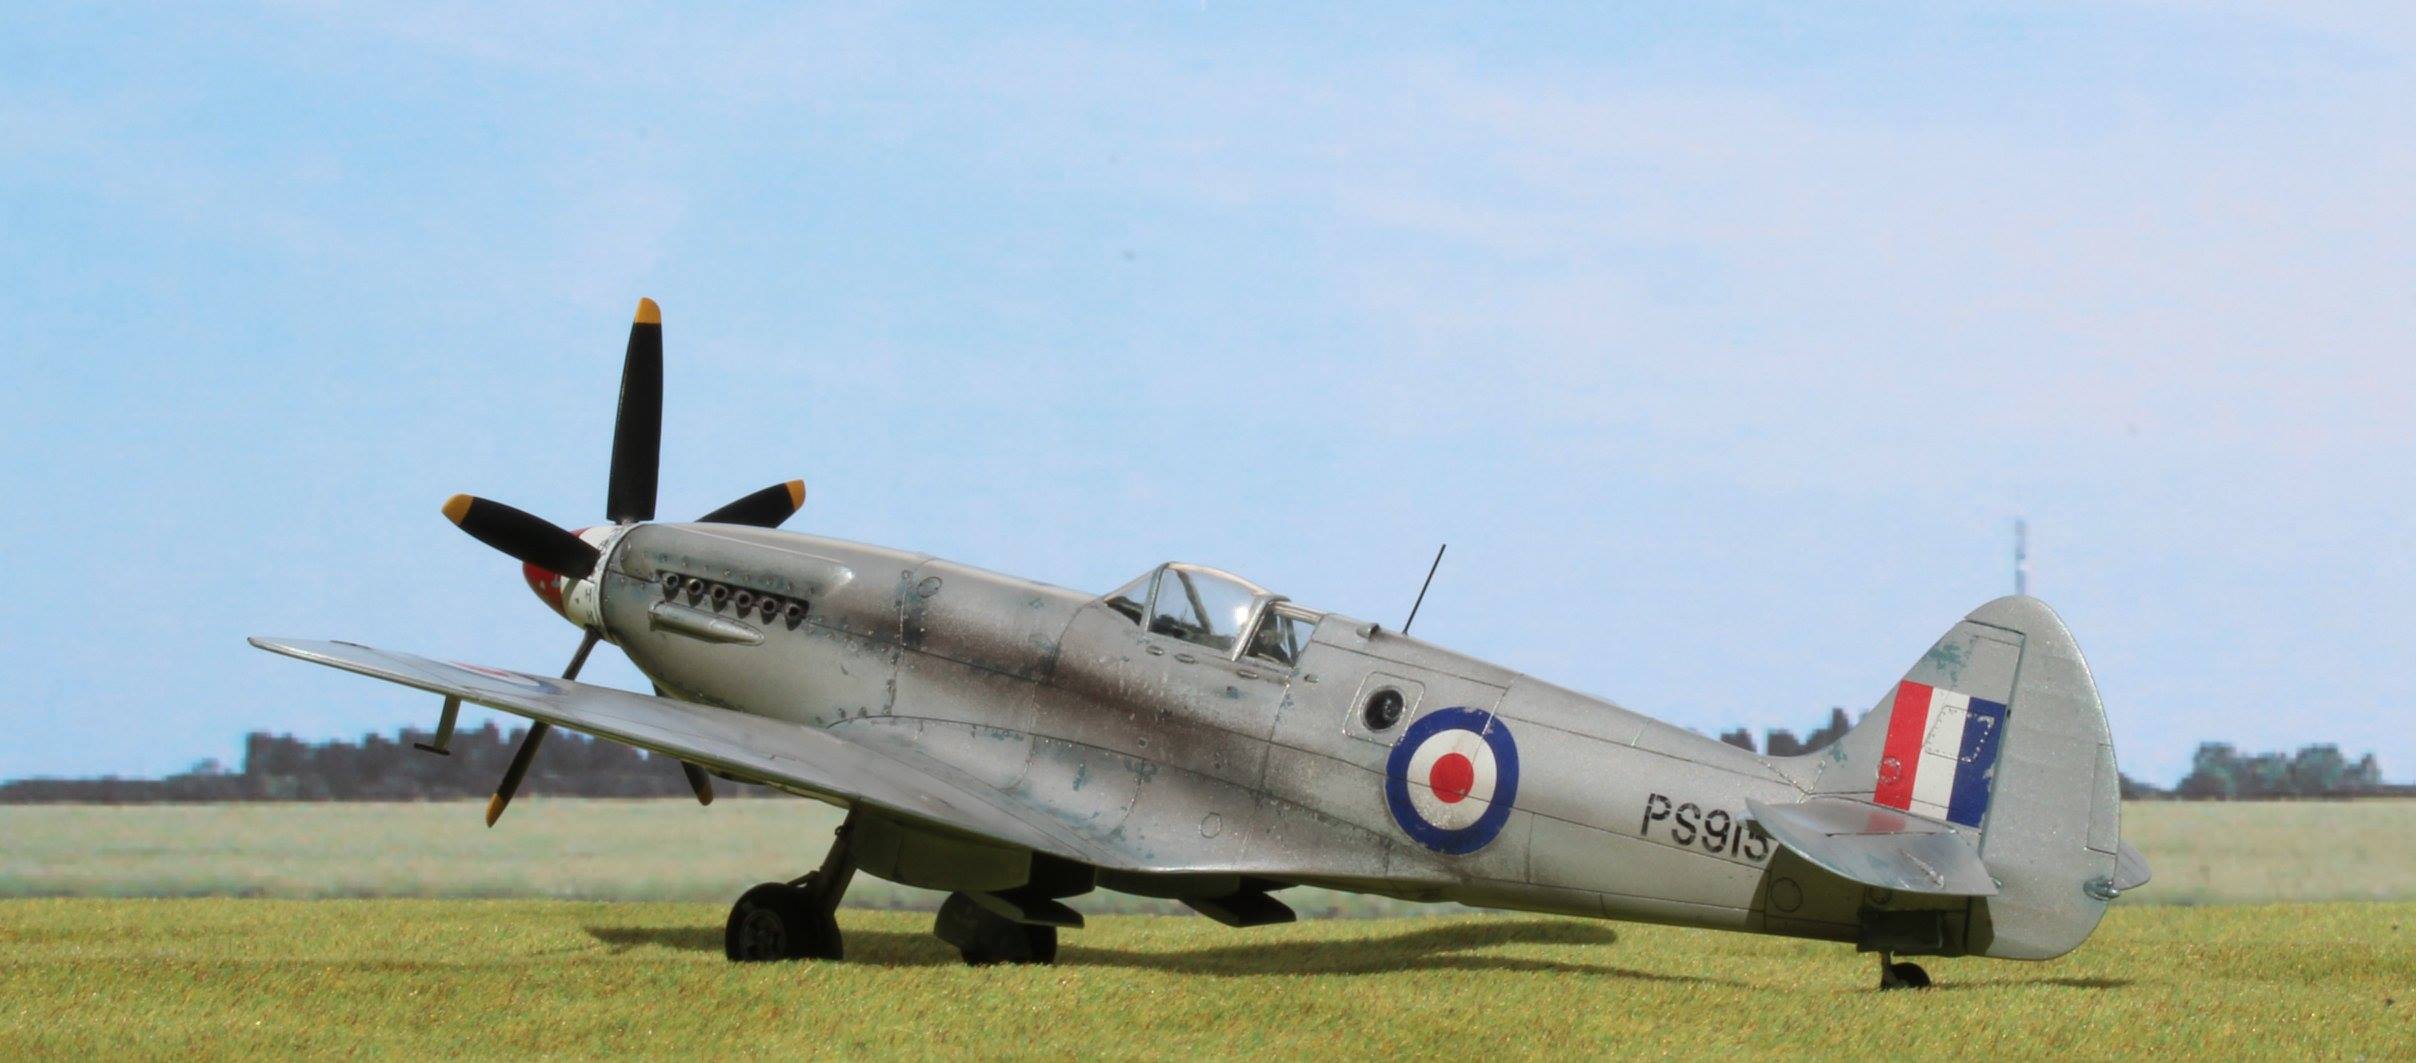
Supermarine Spitfire Mk XIX (early Version) 1/48 scale Airfix

Supermarine Spitfire Mk XIX (Later Version) 1/48 Scale Airfix
Supermarine Seafire Mk XVII 1/48th scale Airfix kit
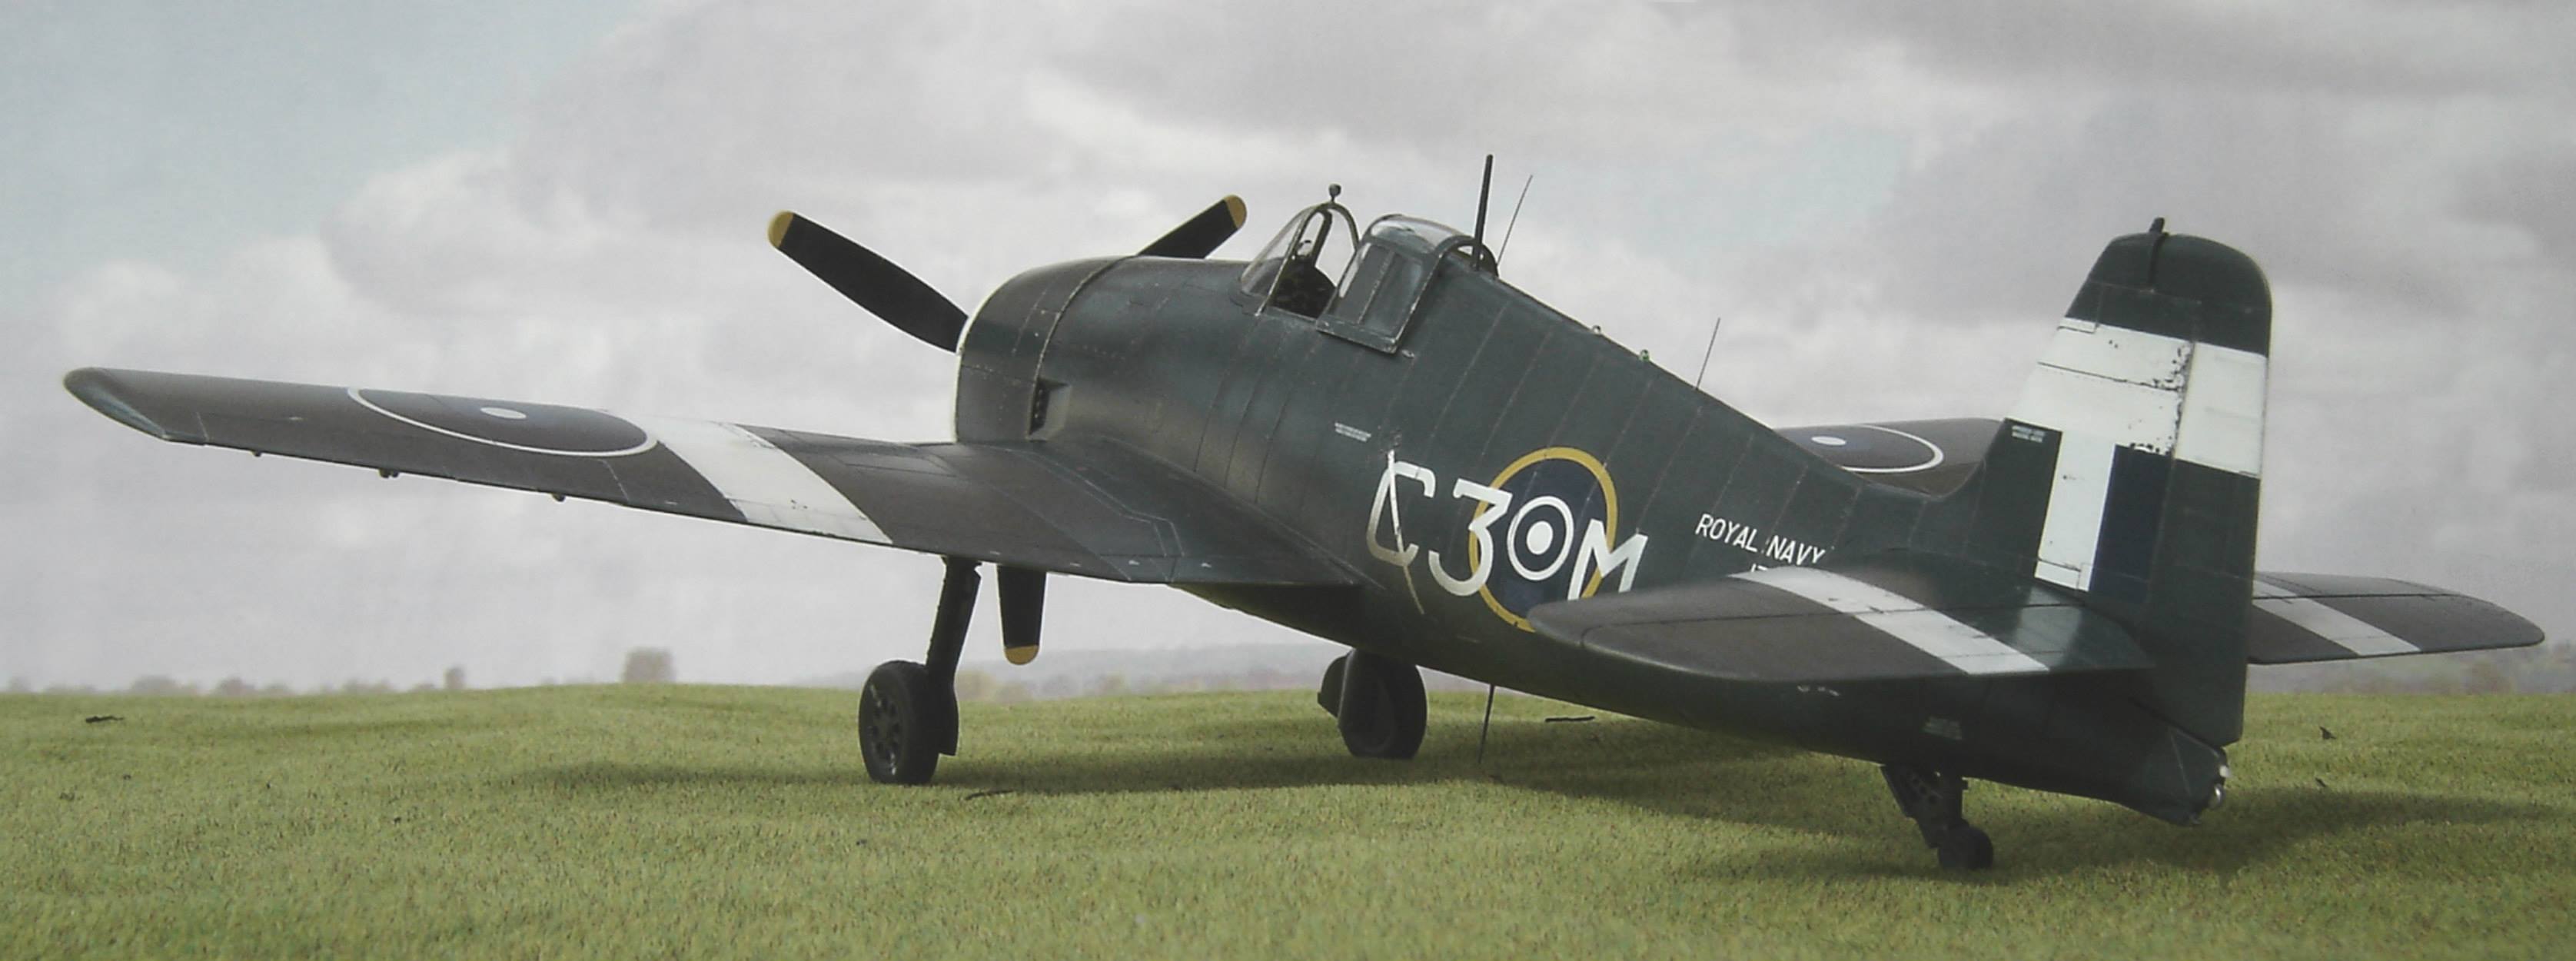
Grumman Hellcat Mk II 1//48th scale Eduard kit
Supermarine Seafire Mk XV 1/48th scale Special Hobby kit
Supermarine Spitfire F Mk 22 1/32nd old Matchbox kit from the 1970s
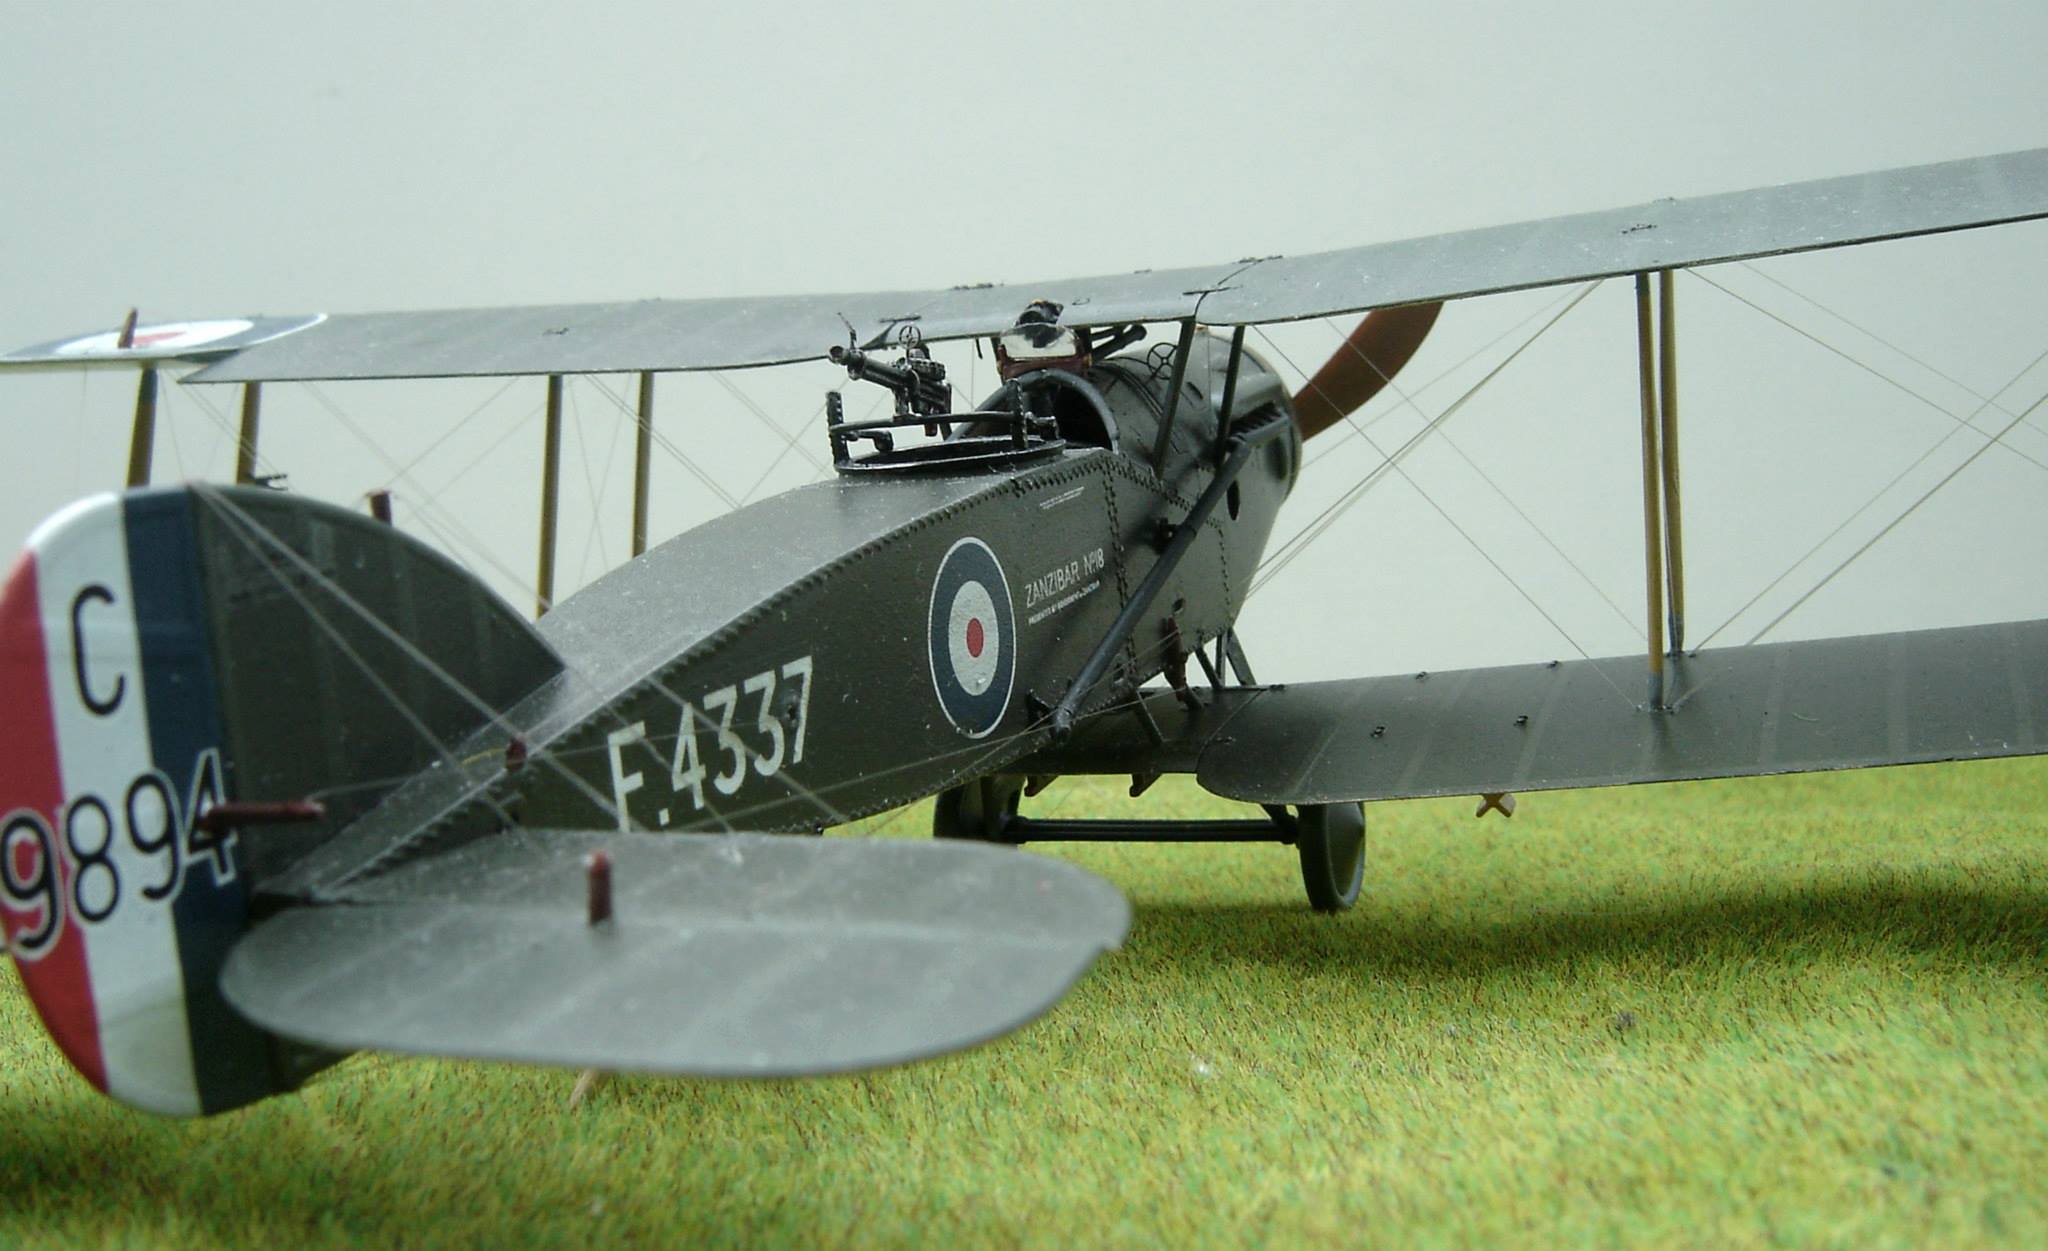
Bristol F.2B Fighter 1/48 scale Eduard kit
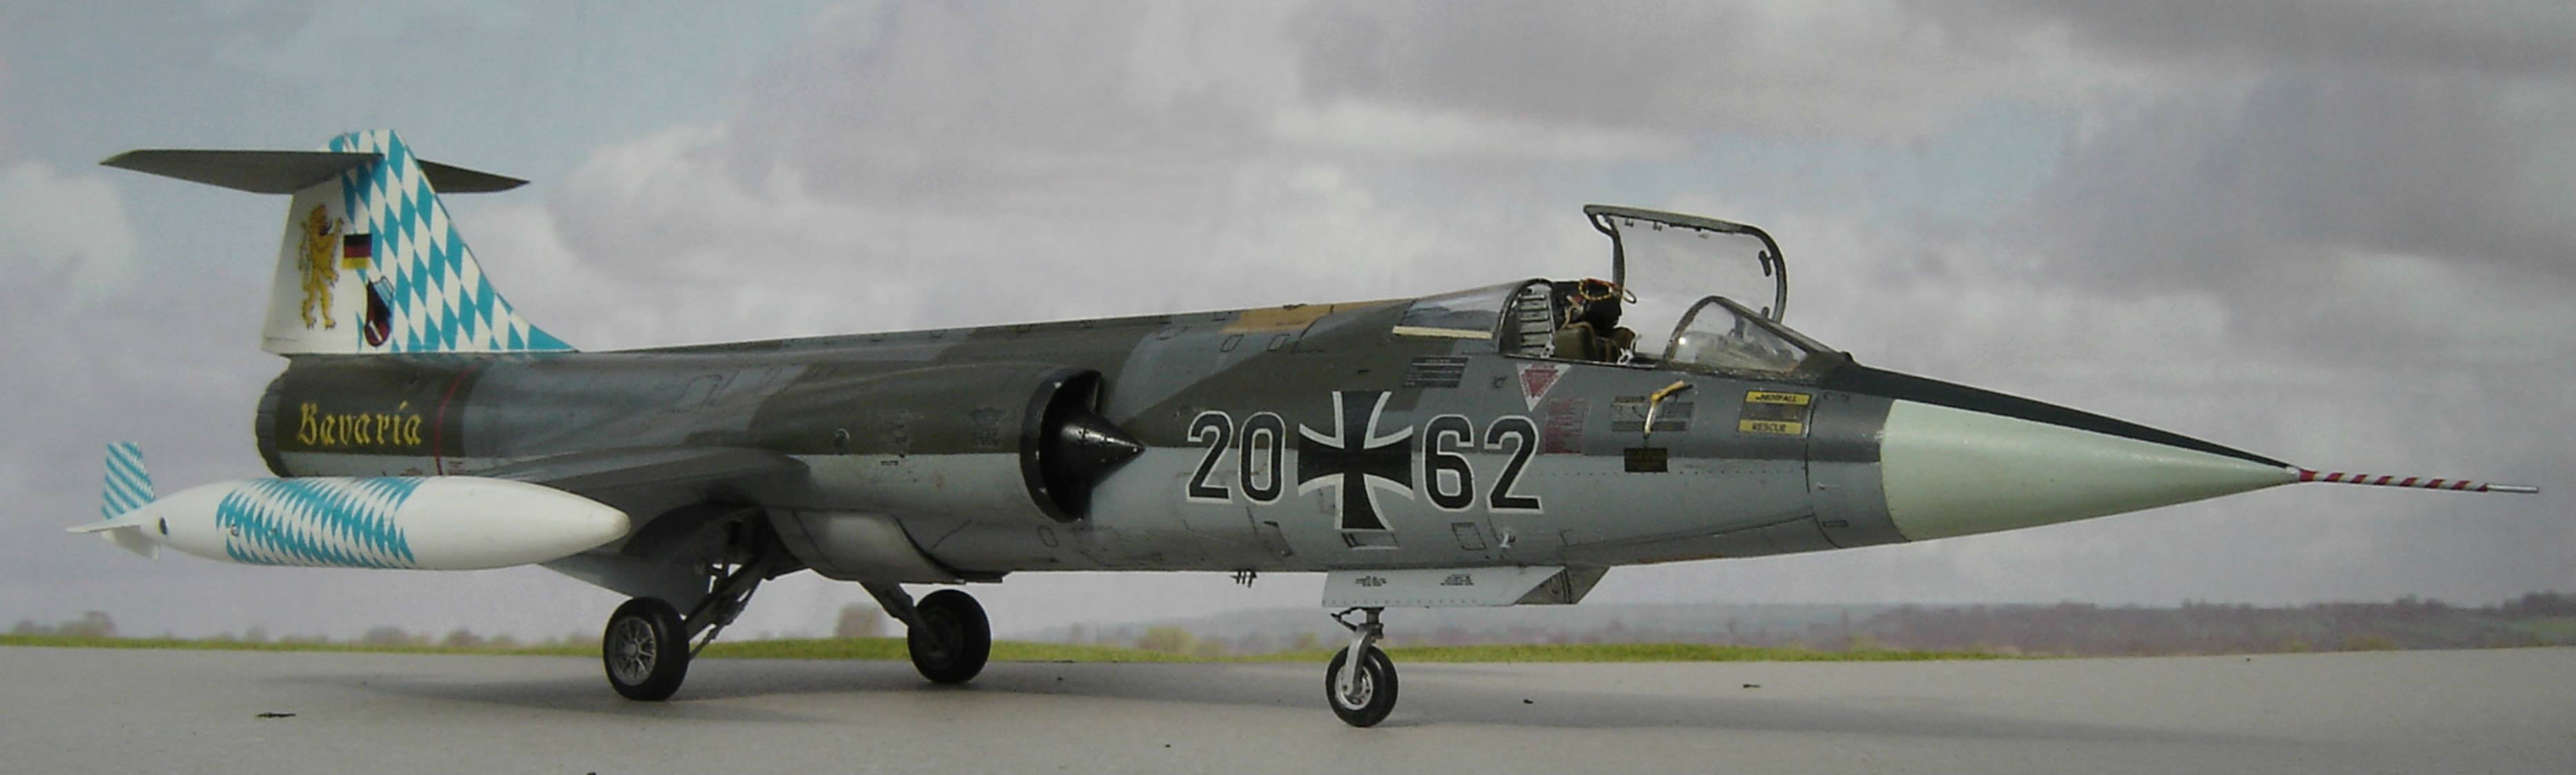
Lockheed F-104G StarFighter ‘NATO Fighter’ Hasegawa 1/48th Scale
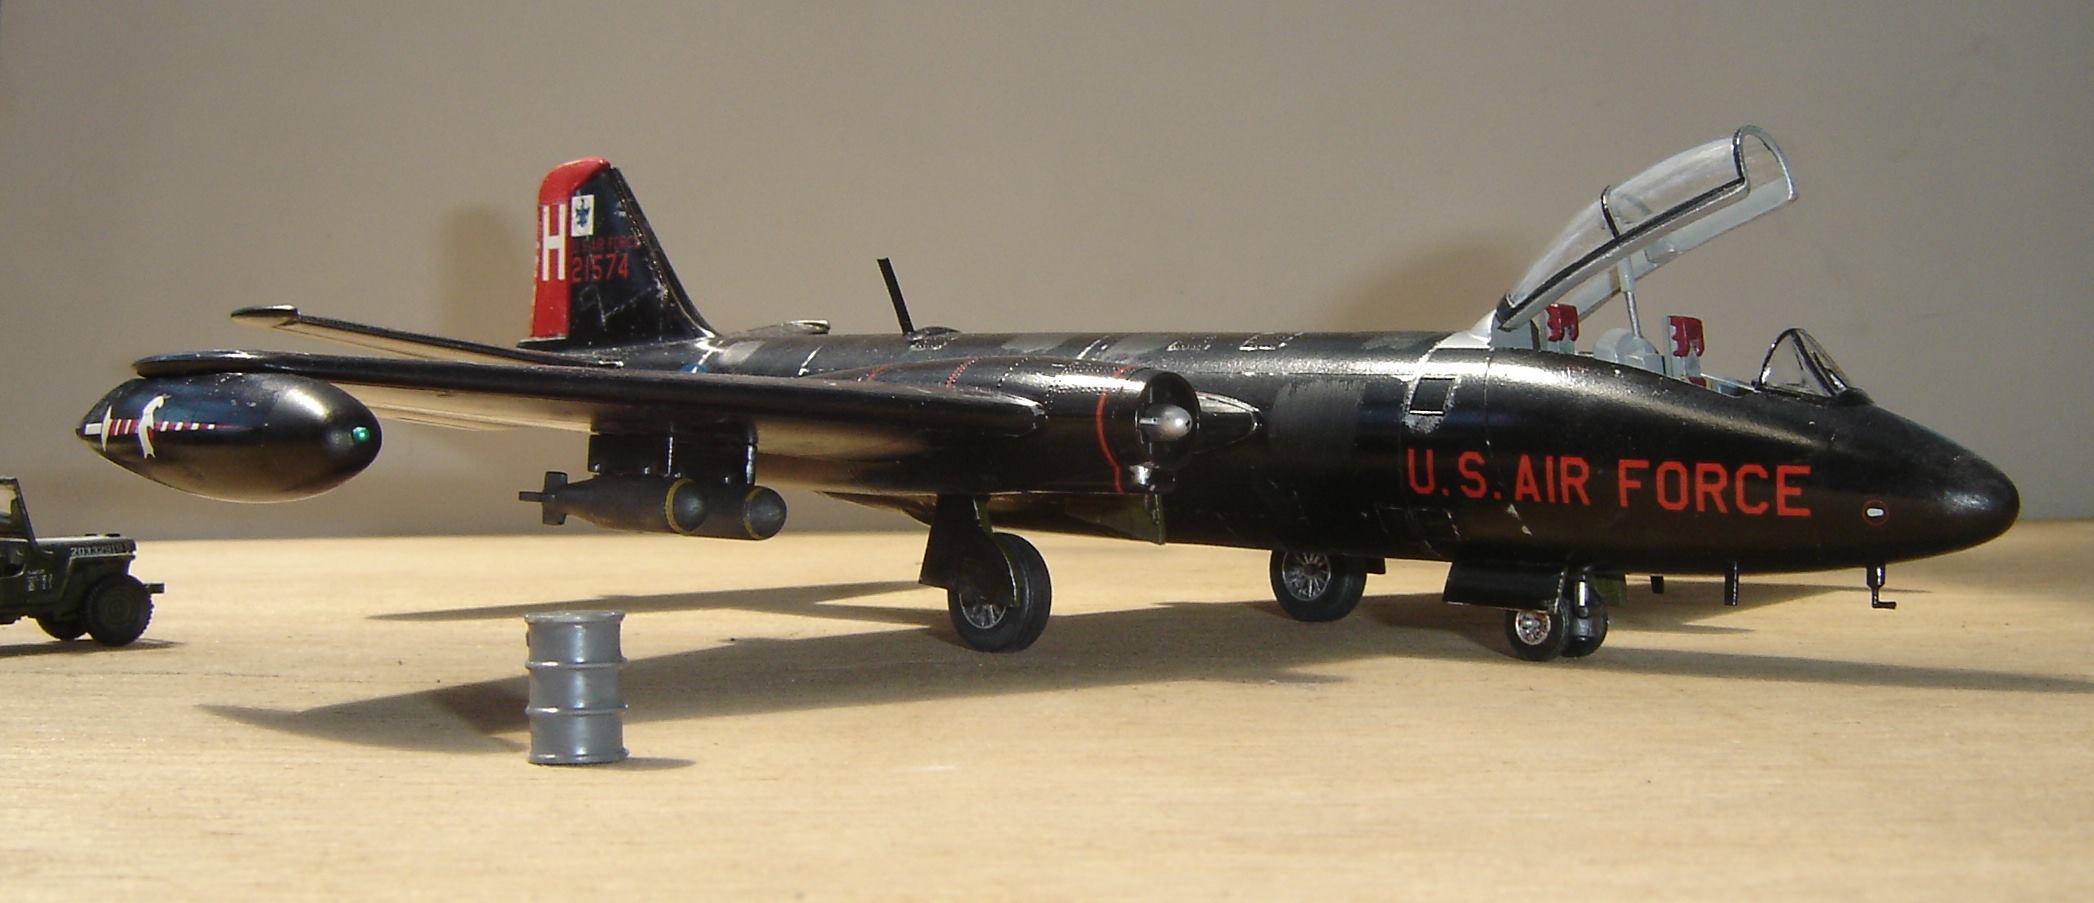
Martin B-57 1/72nd scale Airfix kit from the 1980s
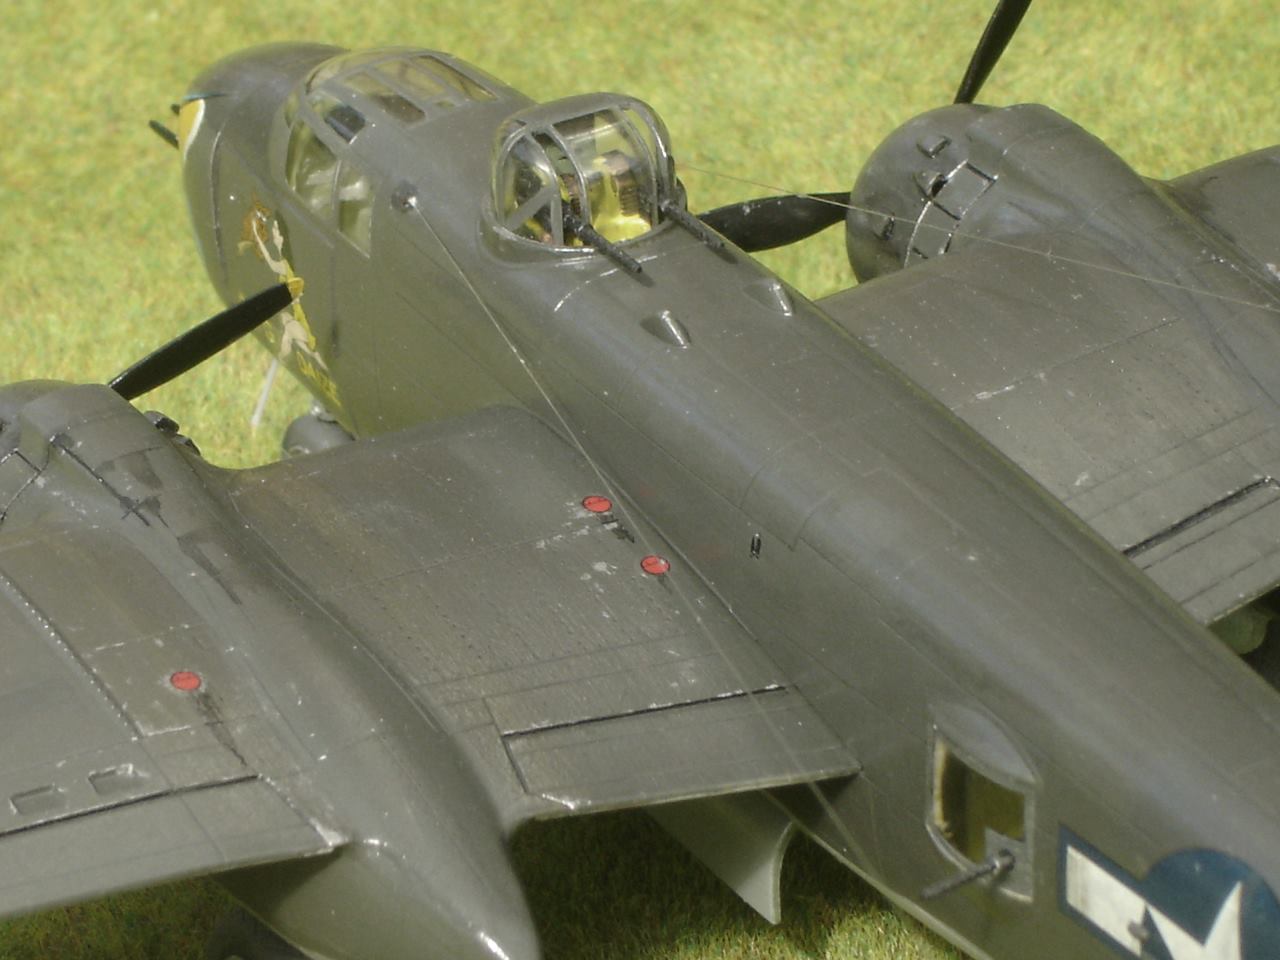
North American B-25H 1/72 scale Hasegawa kit